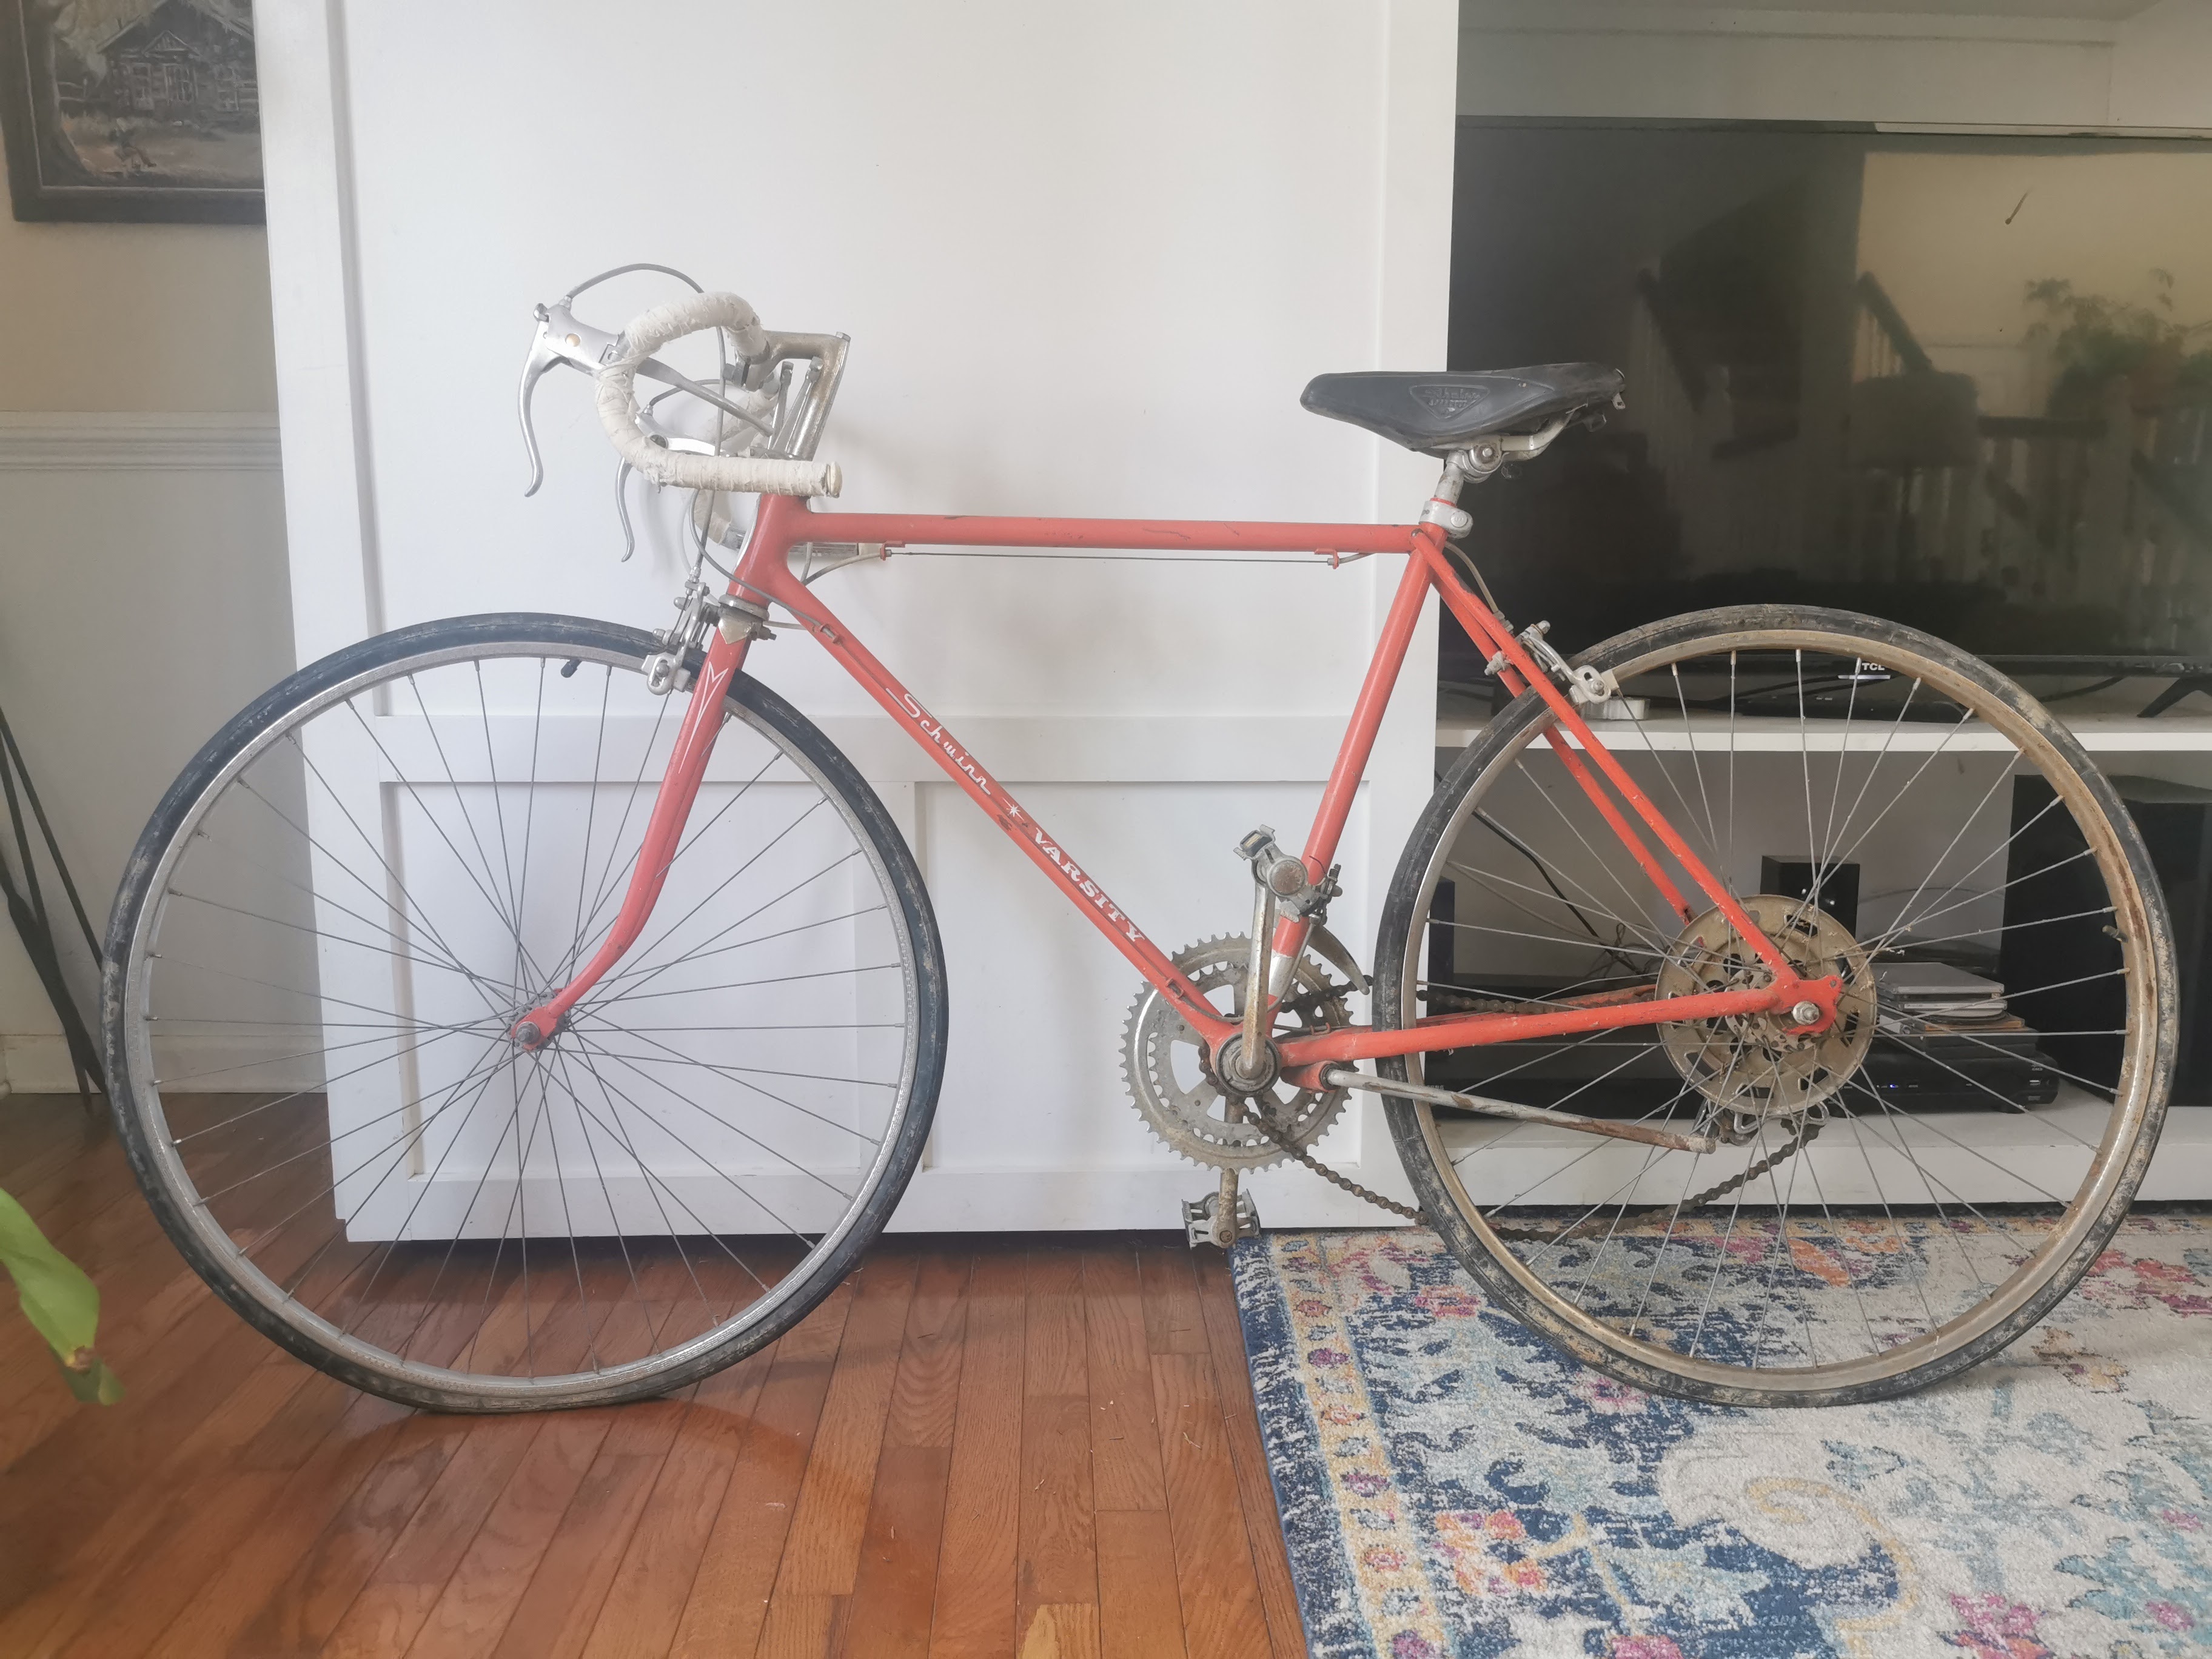
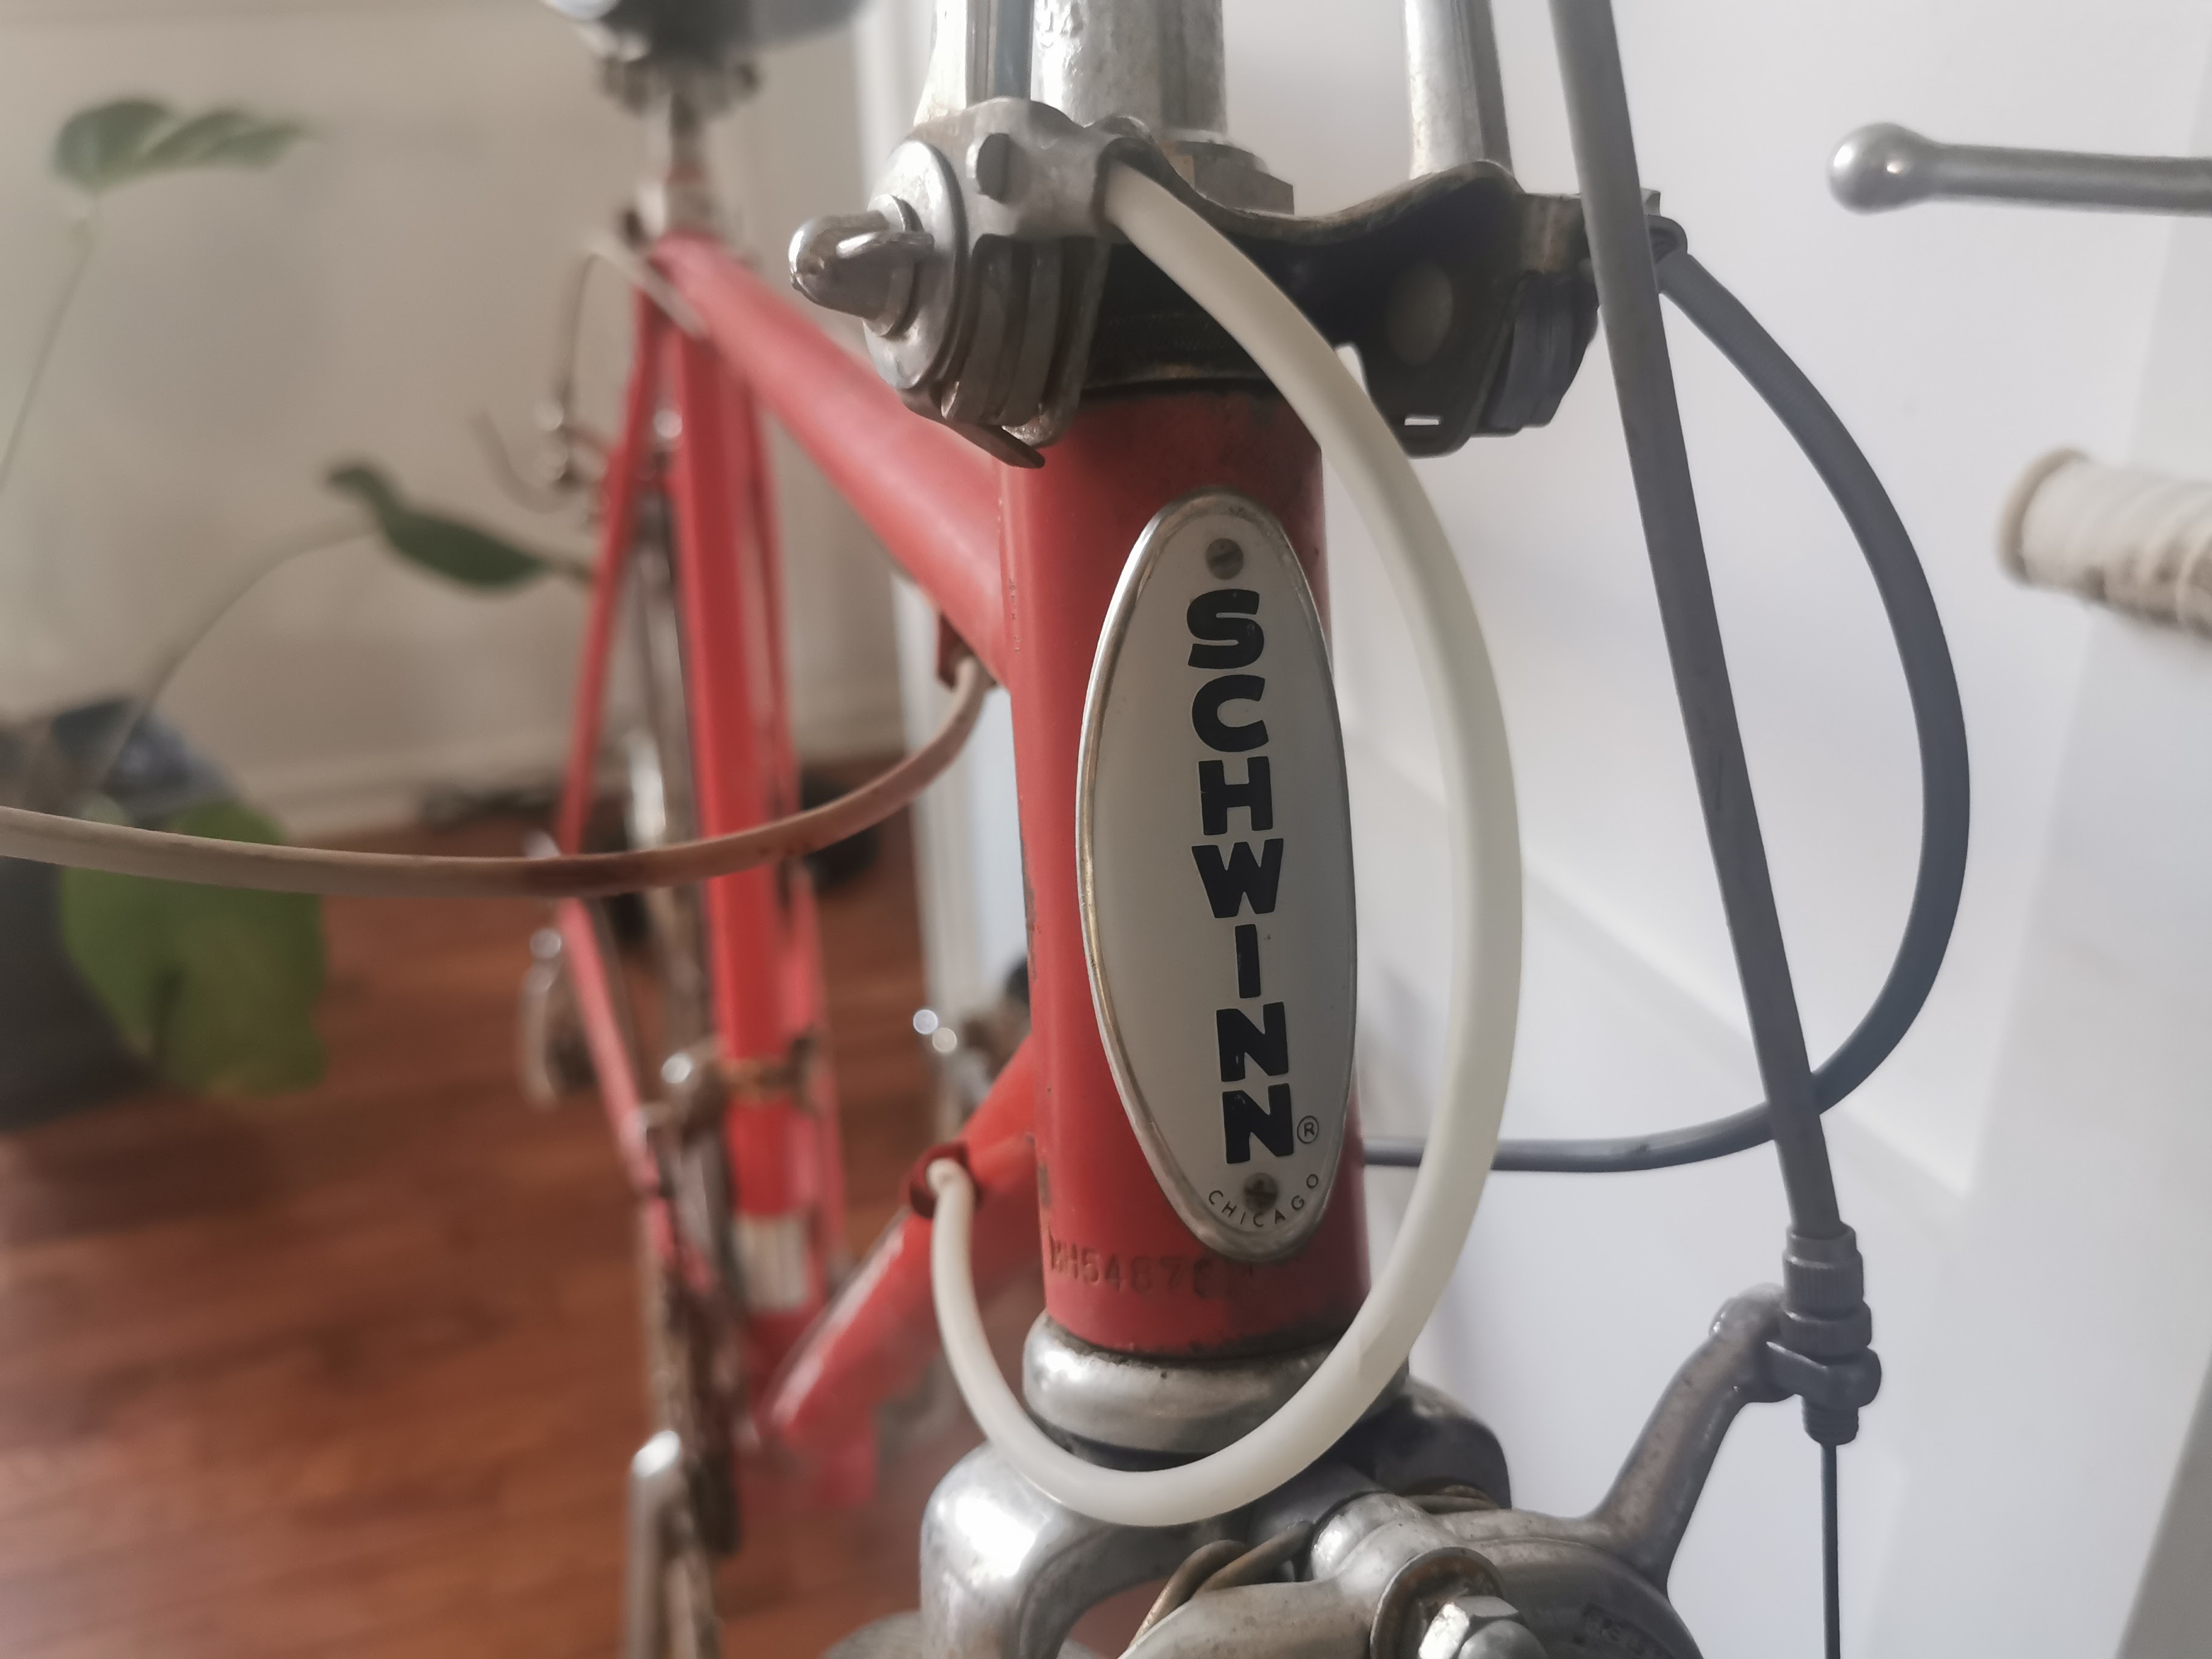
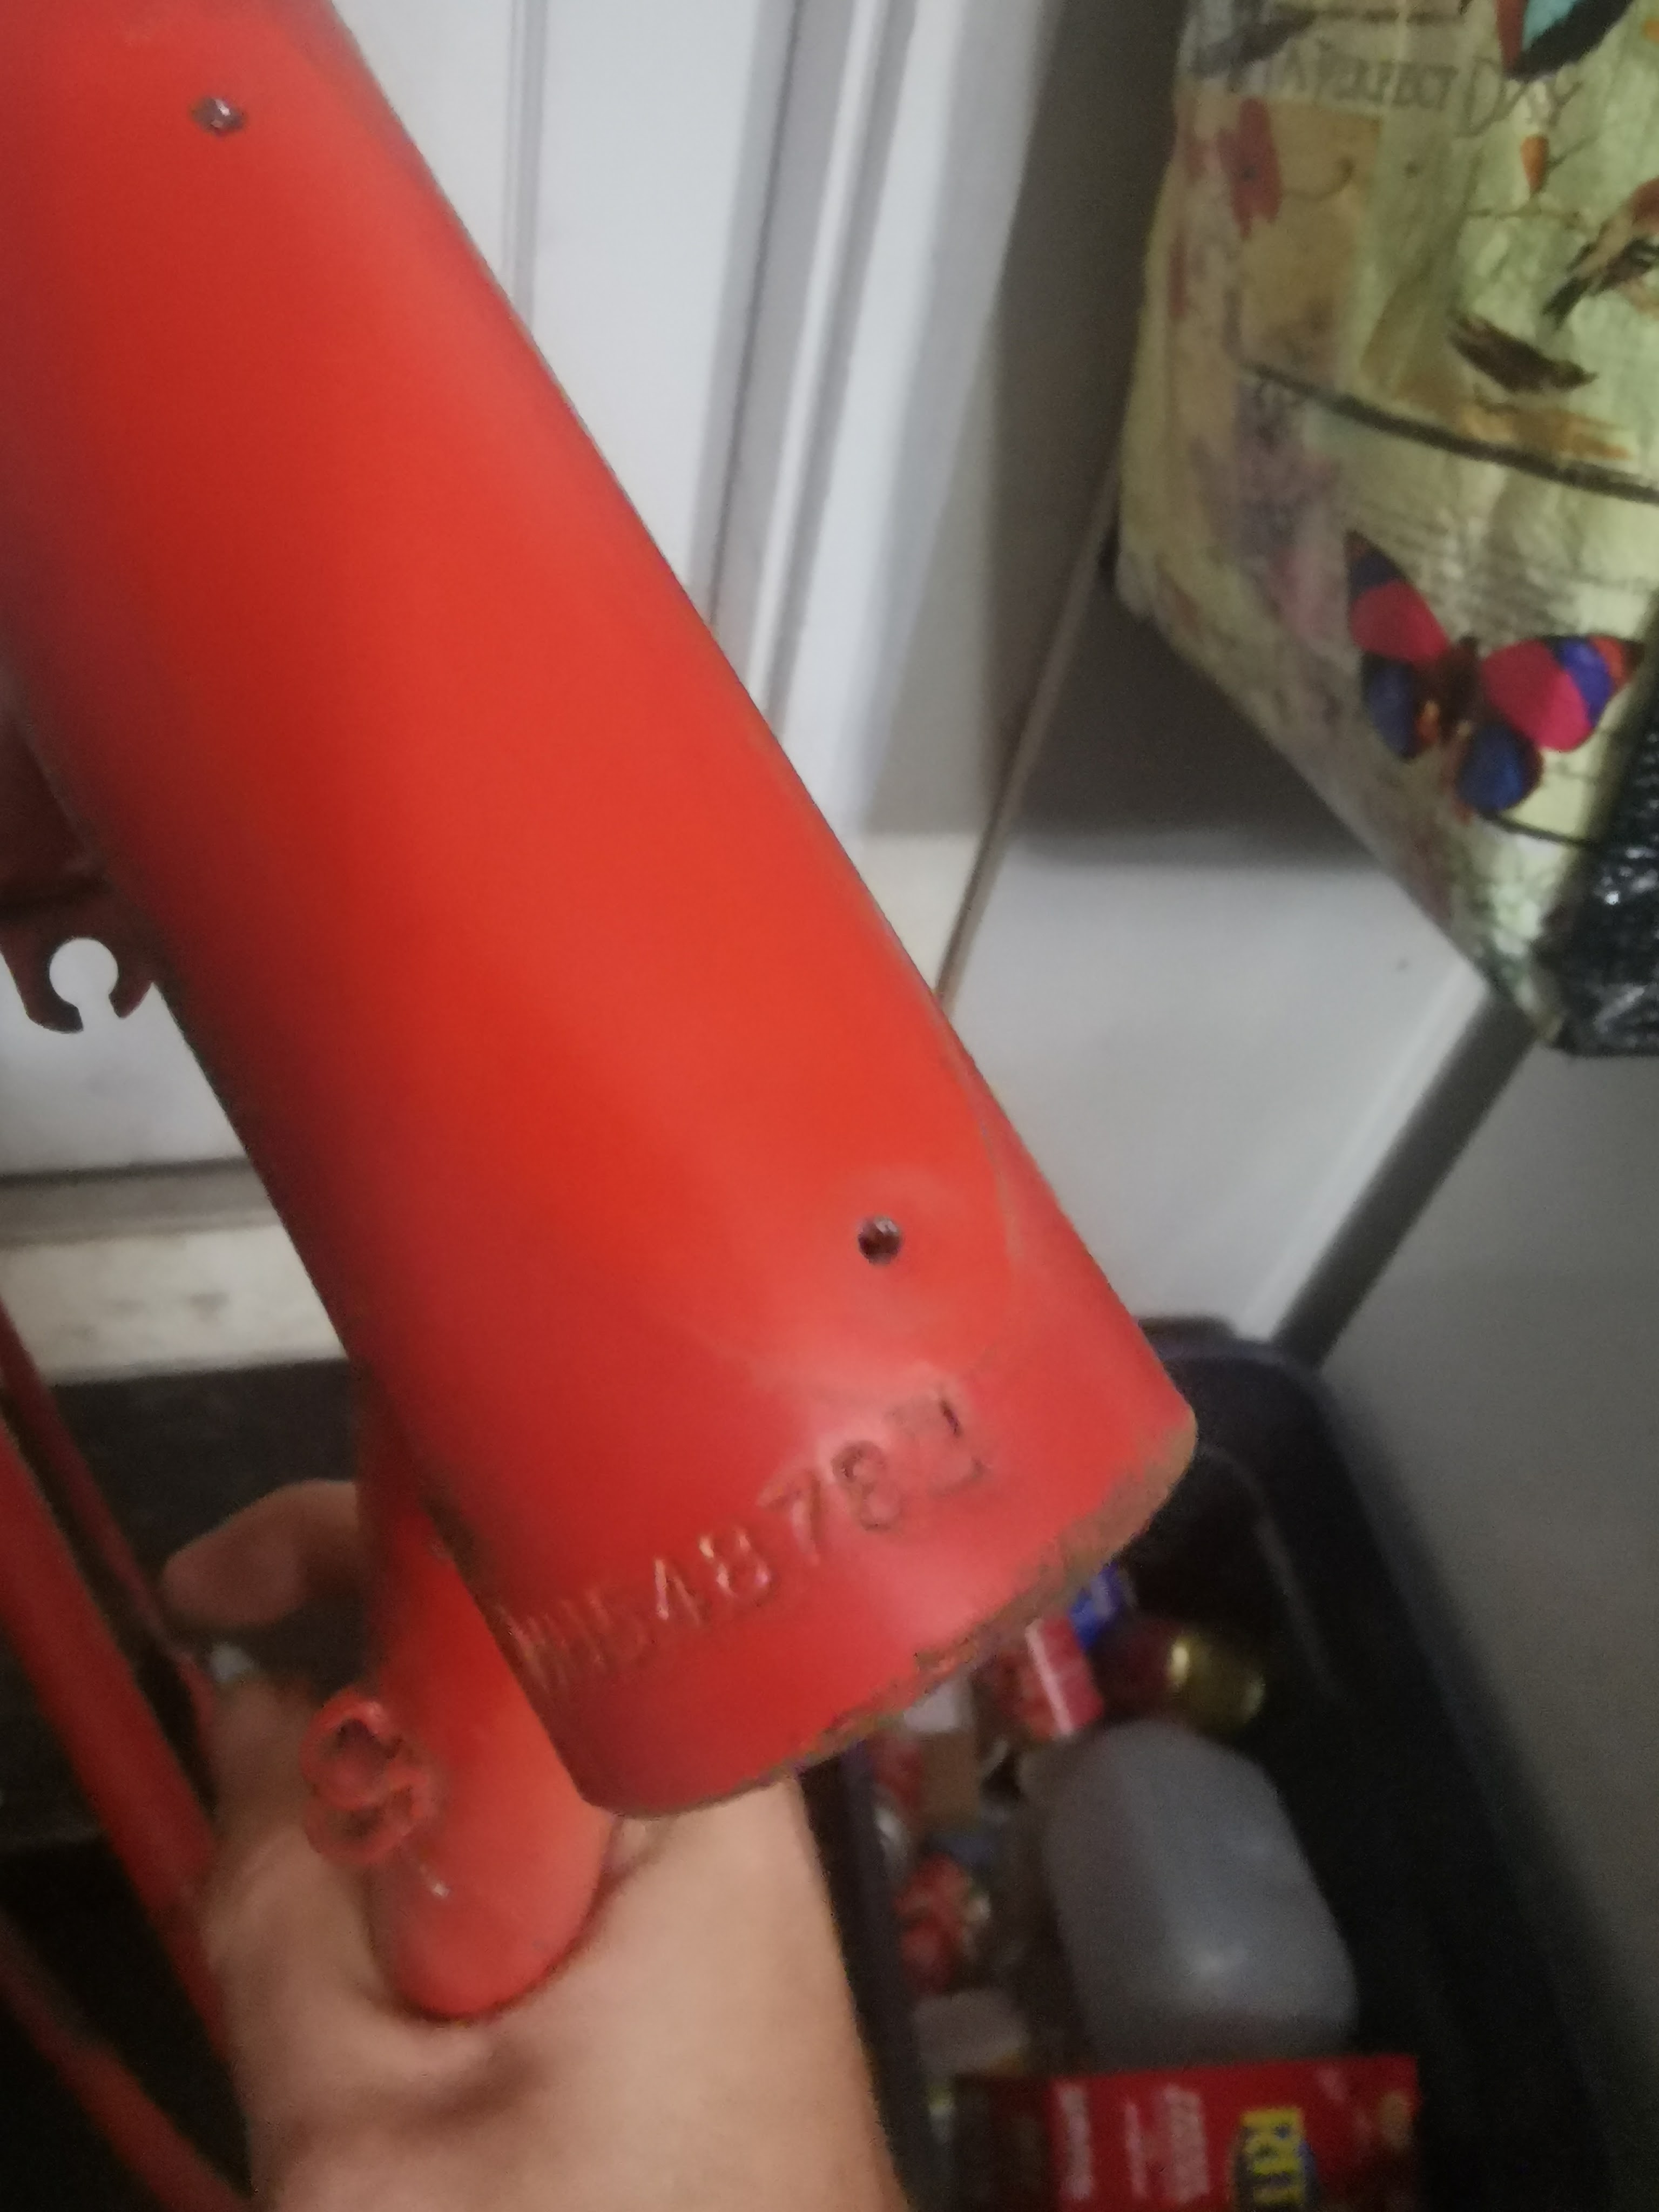
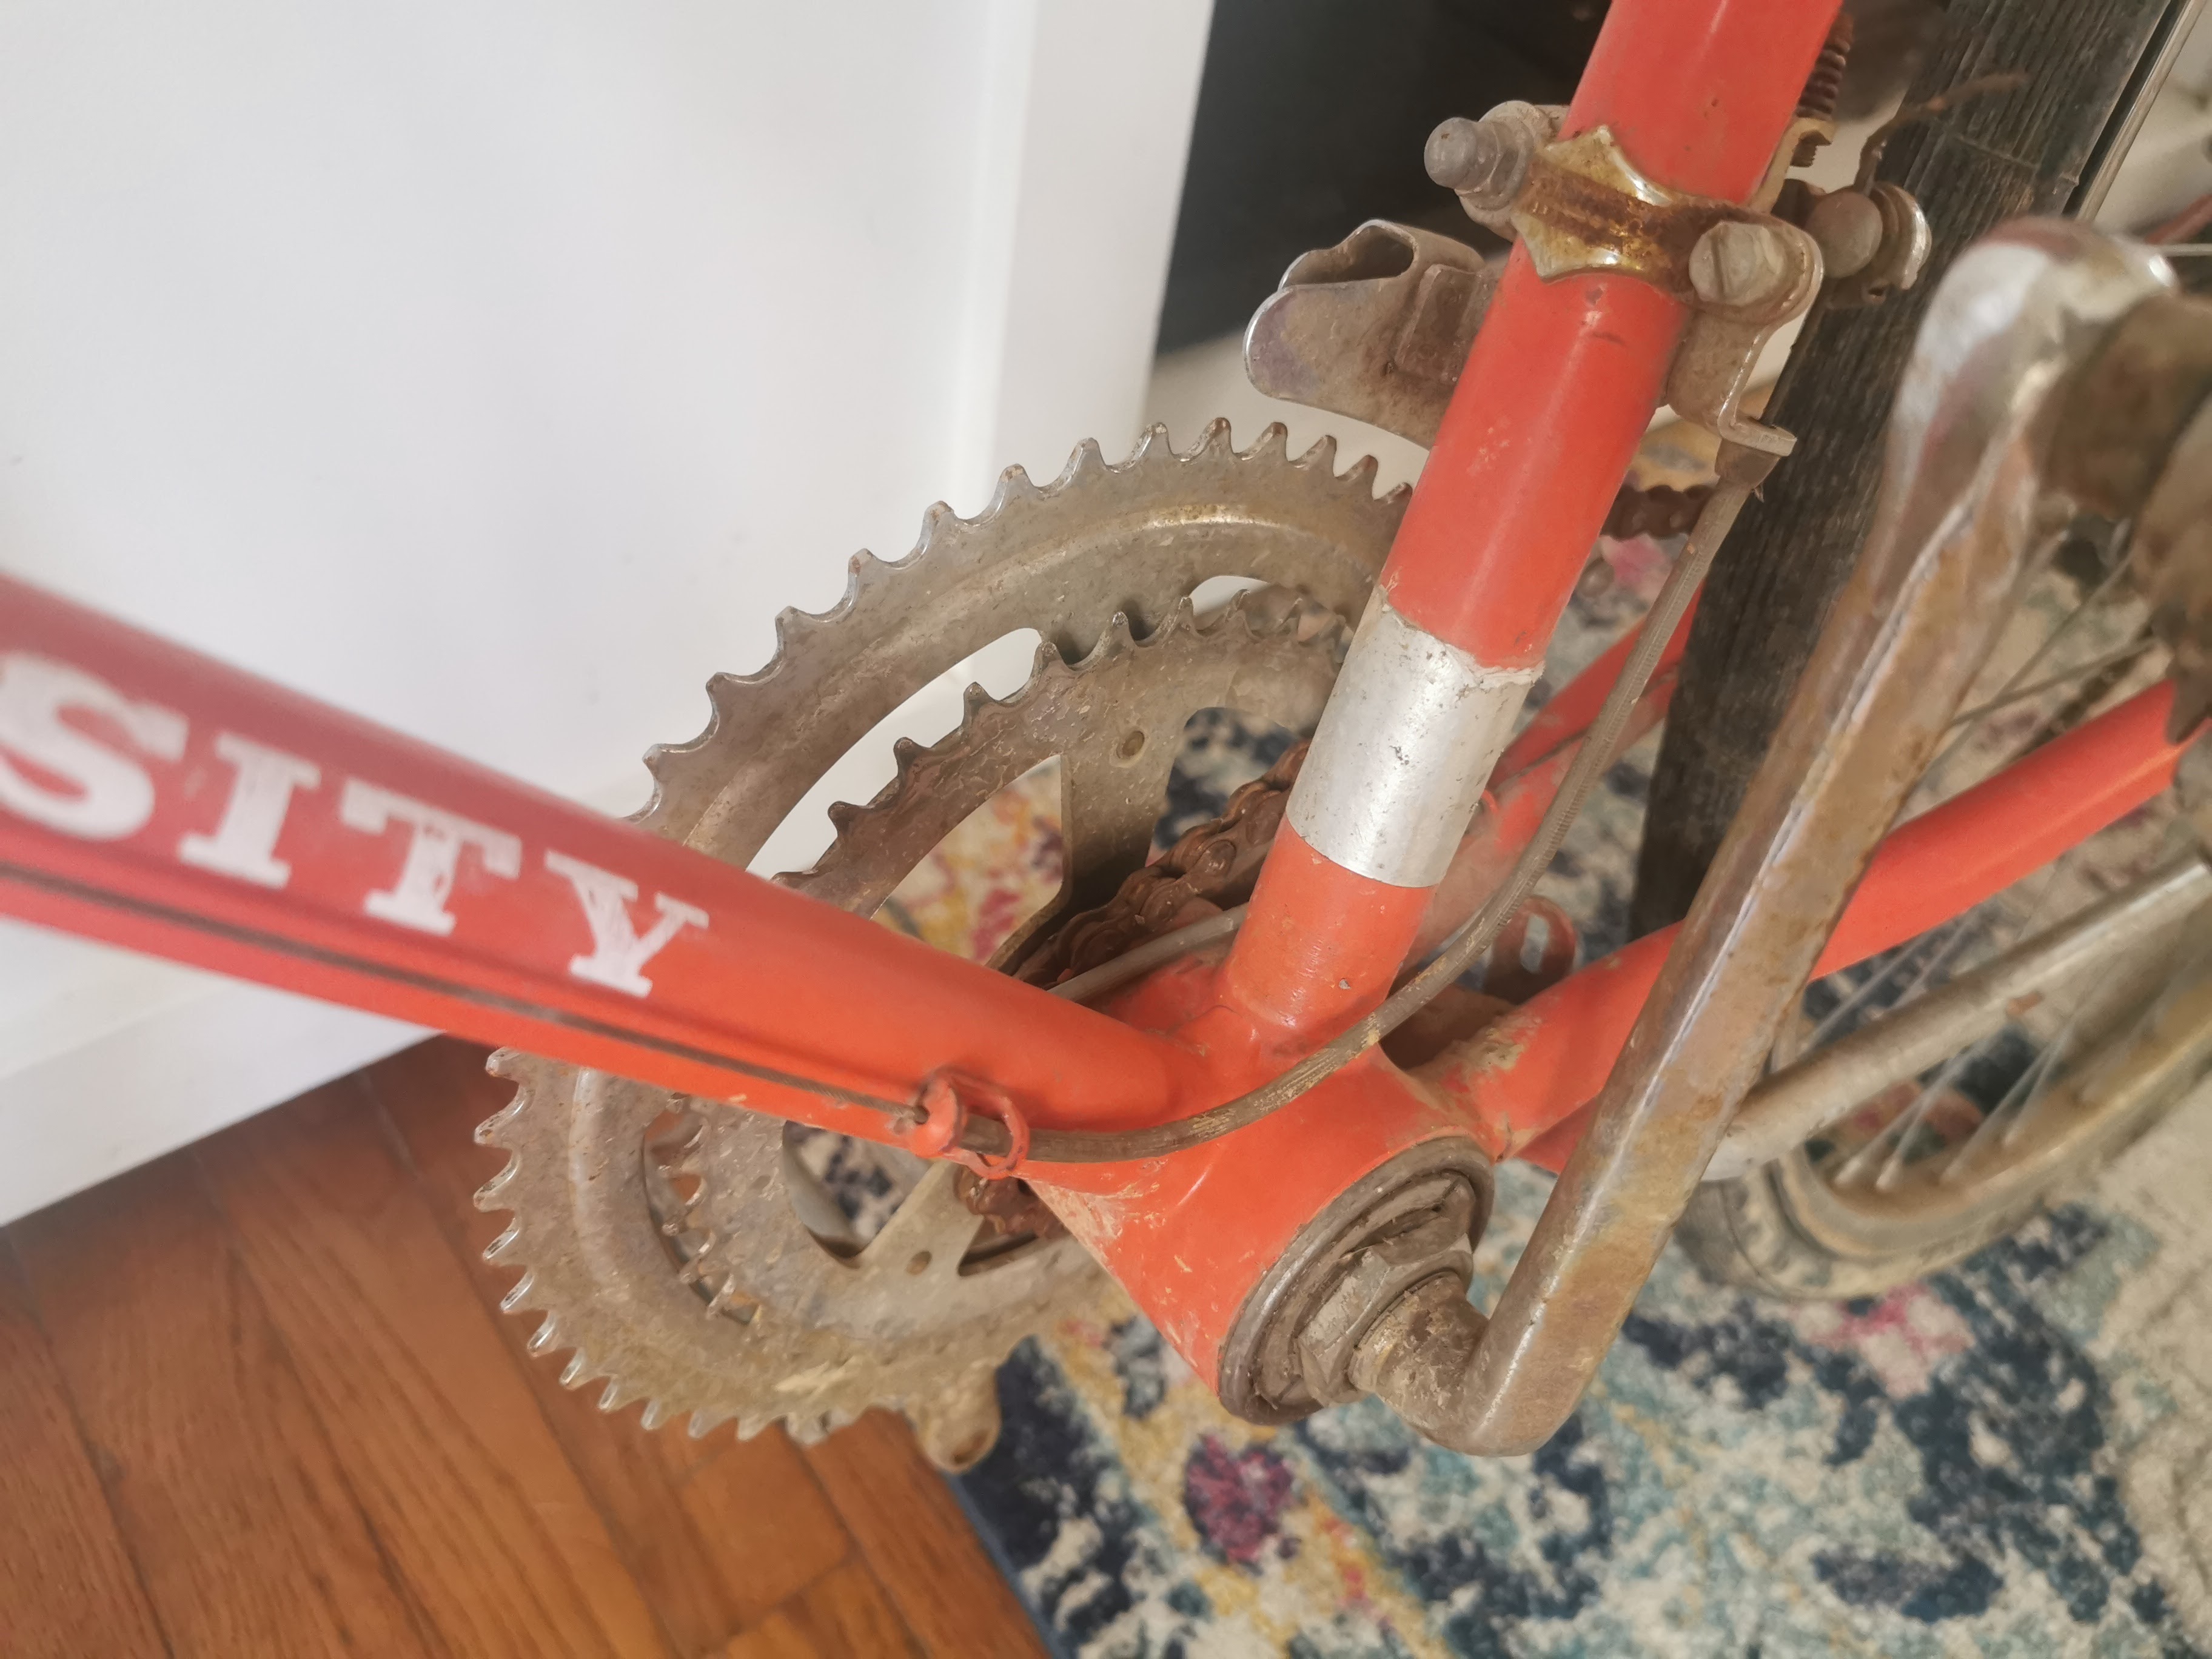
So I drove up to White House, Tennessee in mid-January to pick up a junked old Schwinn Varsity. Found it on Craigslist and the price was $25. Exactly the sort of deal I was looking for. I hopped in my car on Sunday morning with the wife and we drove the 2.5 hours up to get it from Chattanooga. It was not in great shape. Every bit of it would need to be cleaned. Thankfully, almost everything was salvageable, except for the consumables: brake pads, tires, tubes, and cables. When we got home I looked up the serial number. Turns out this bike was made in December 1972, but is a 1973 model.
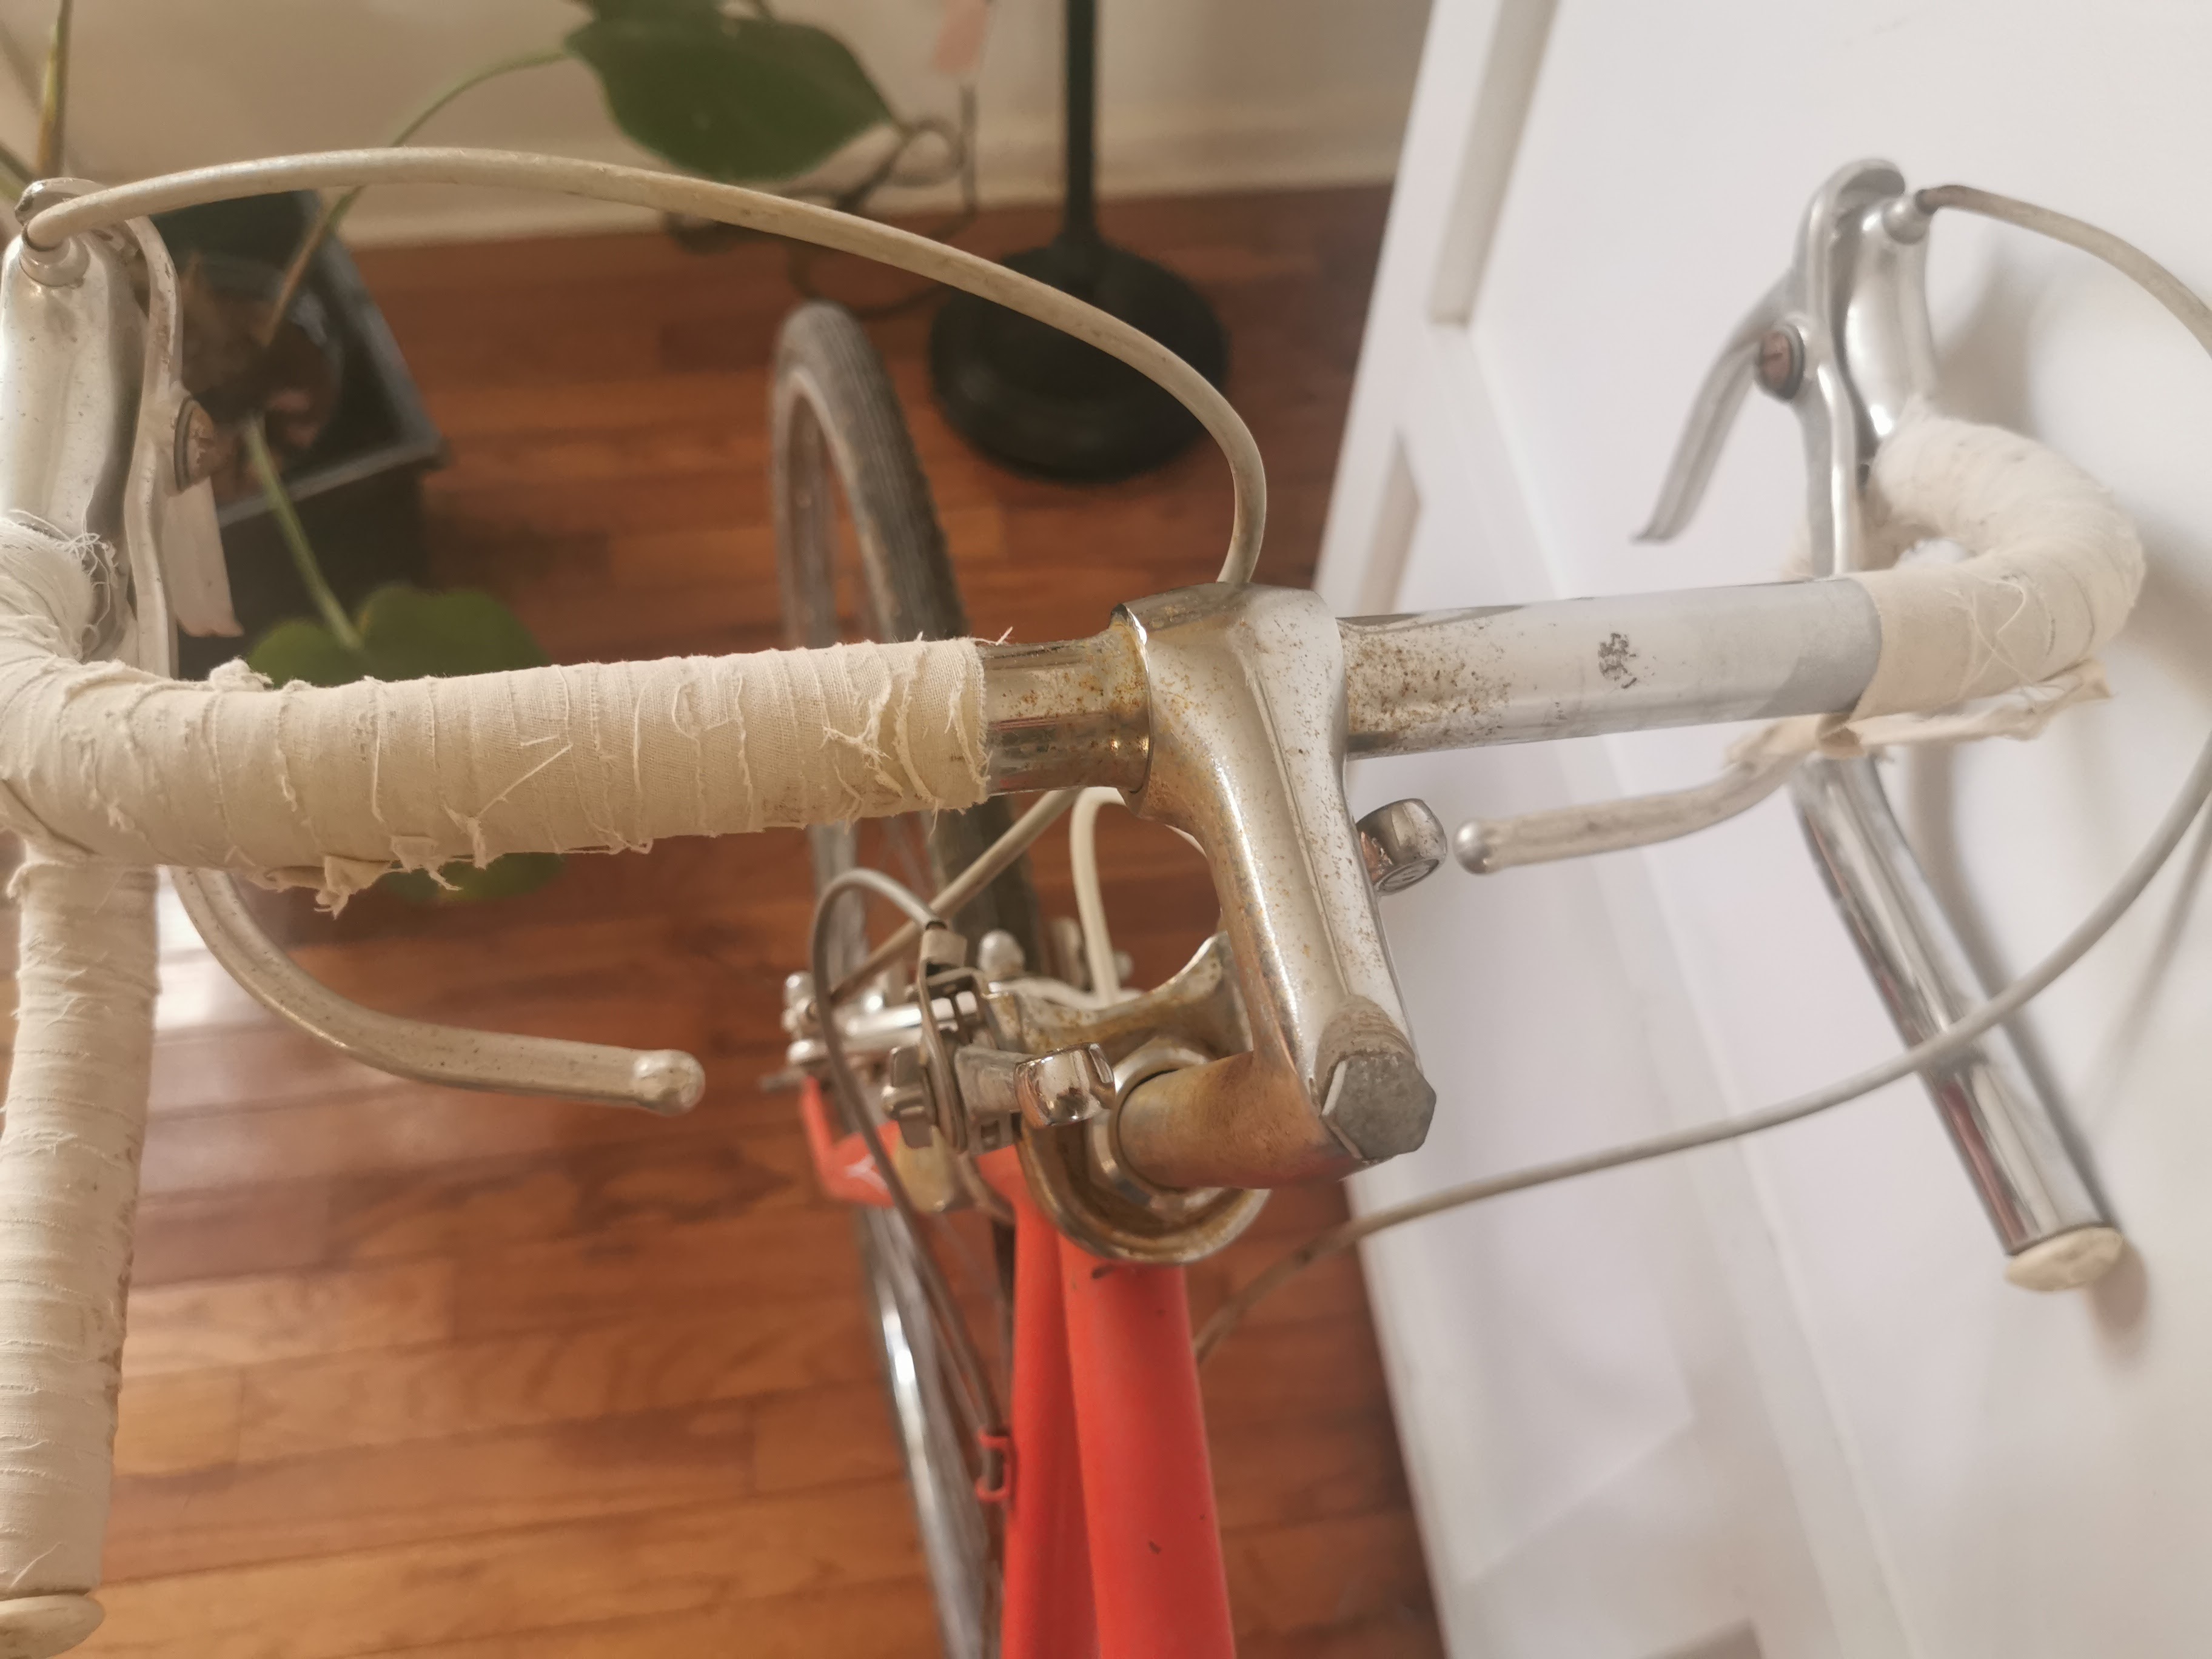
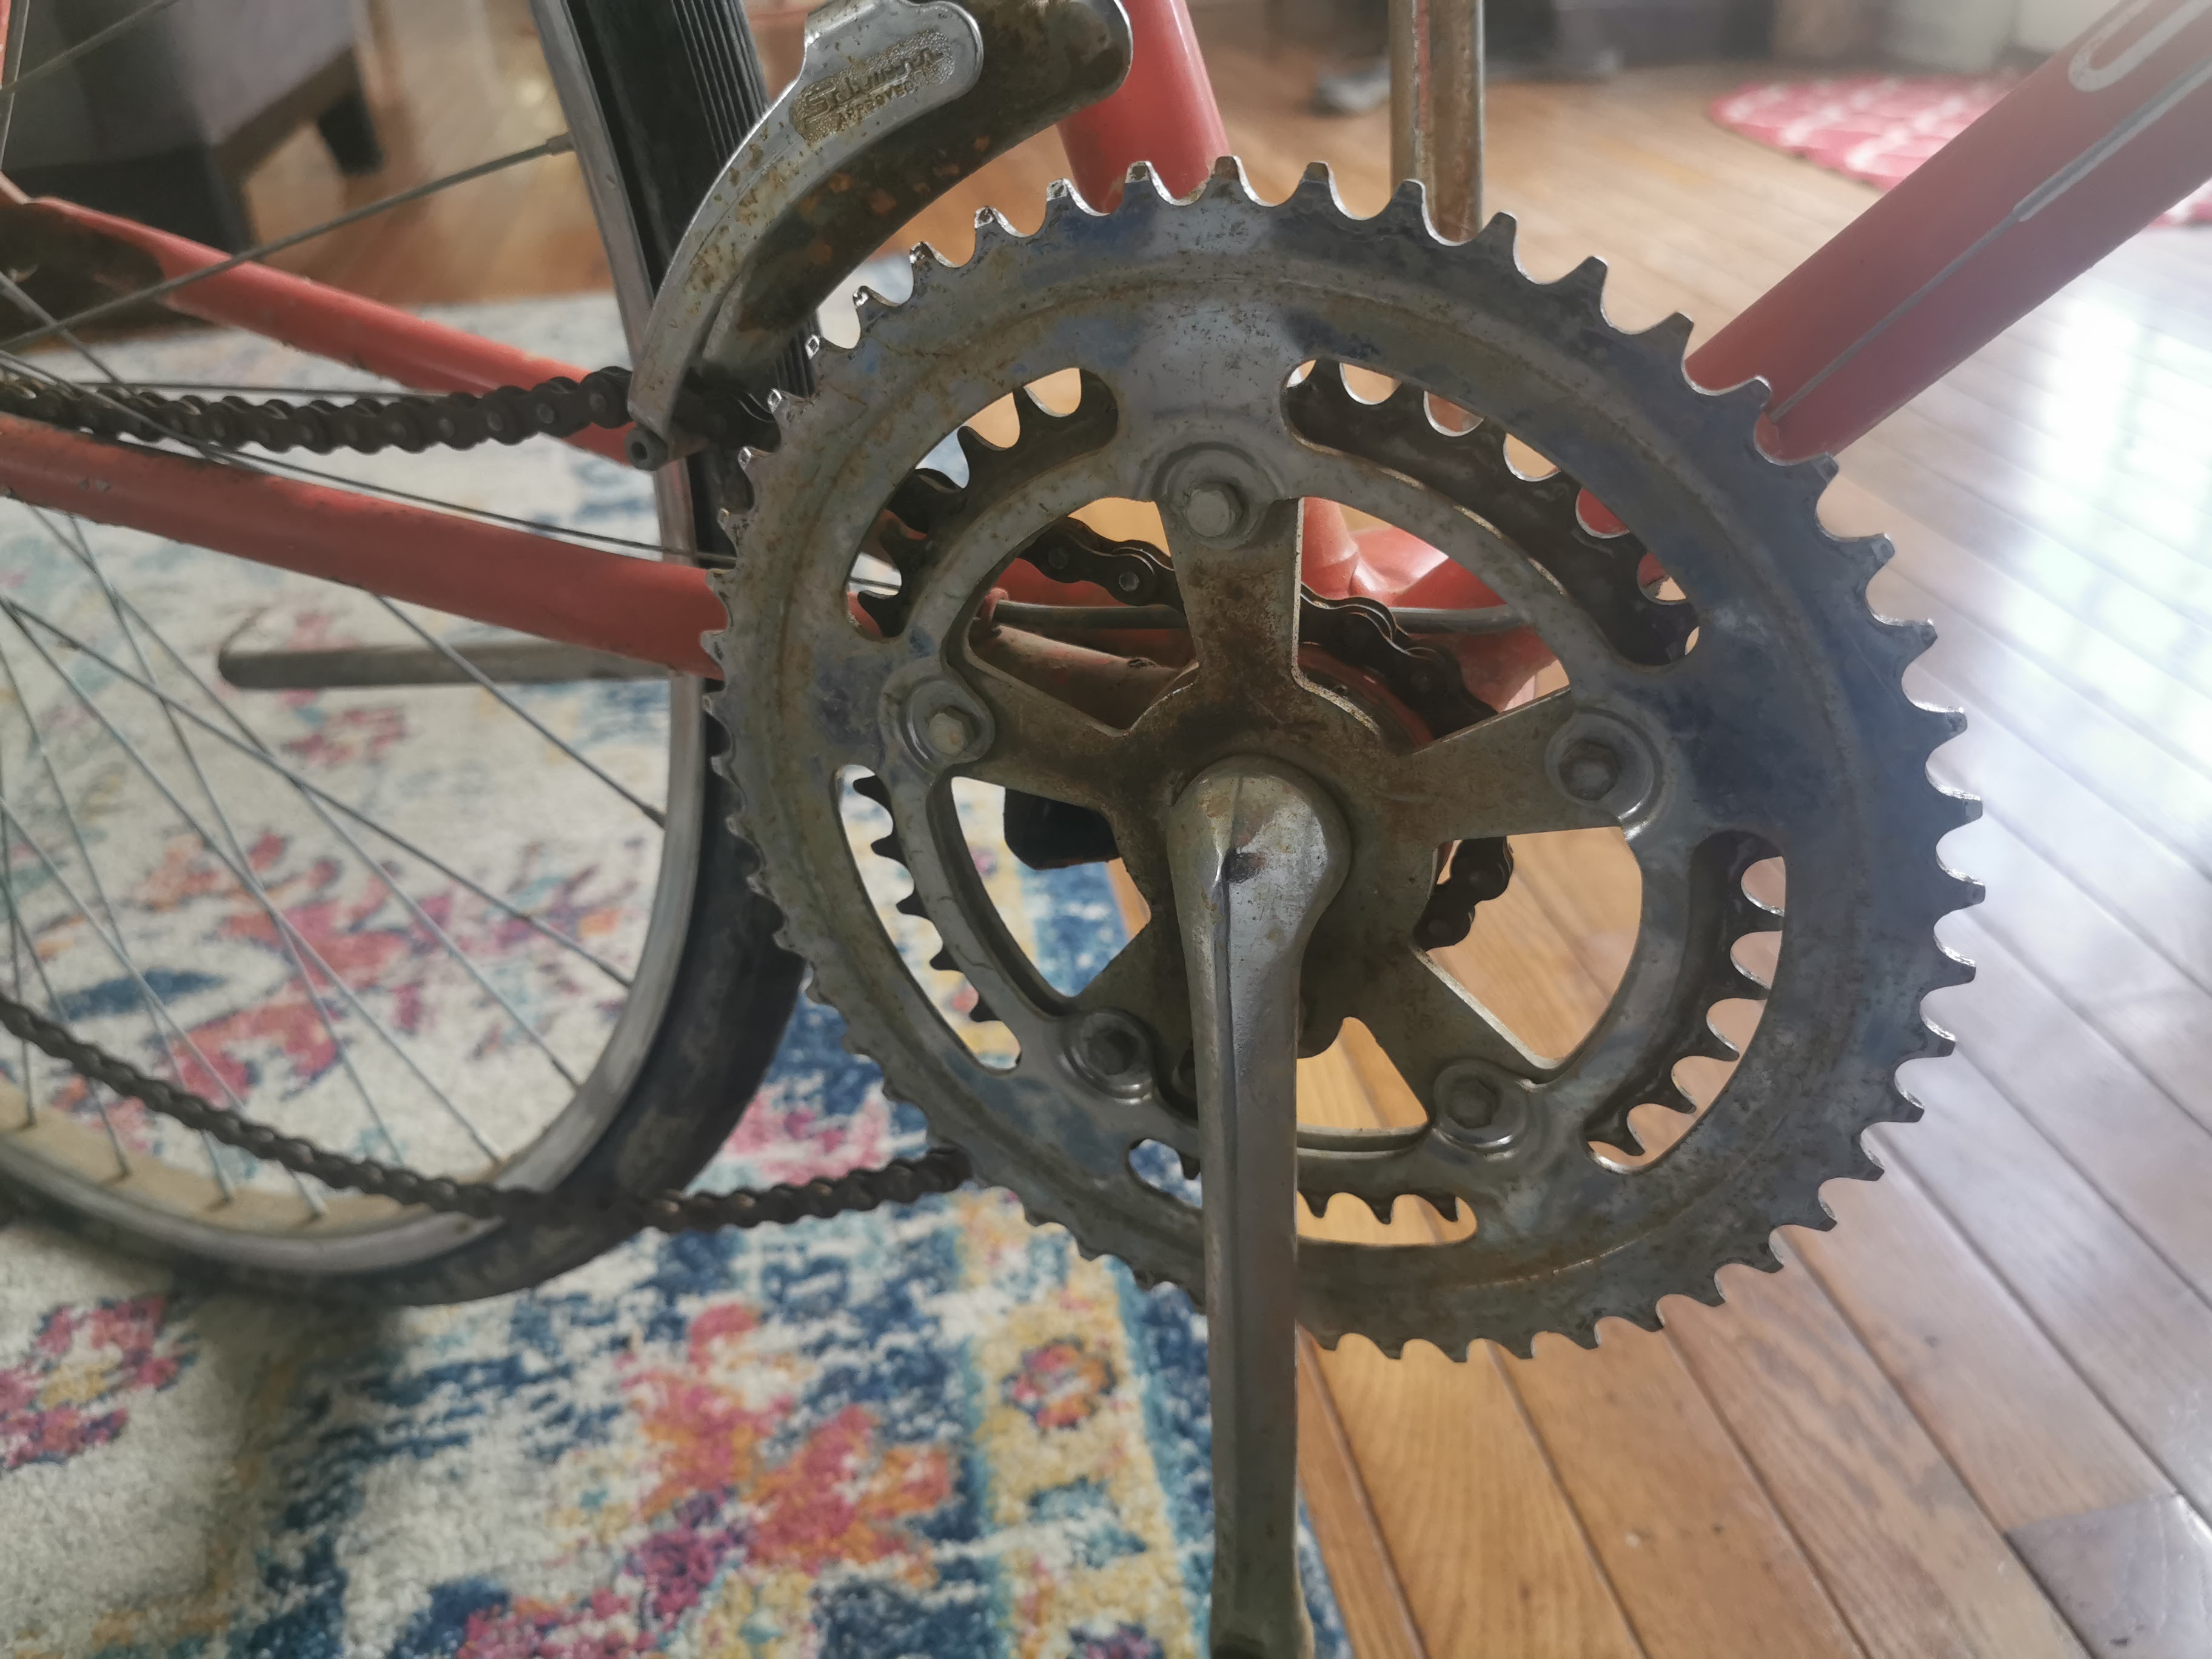
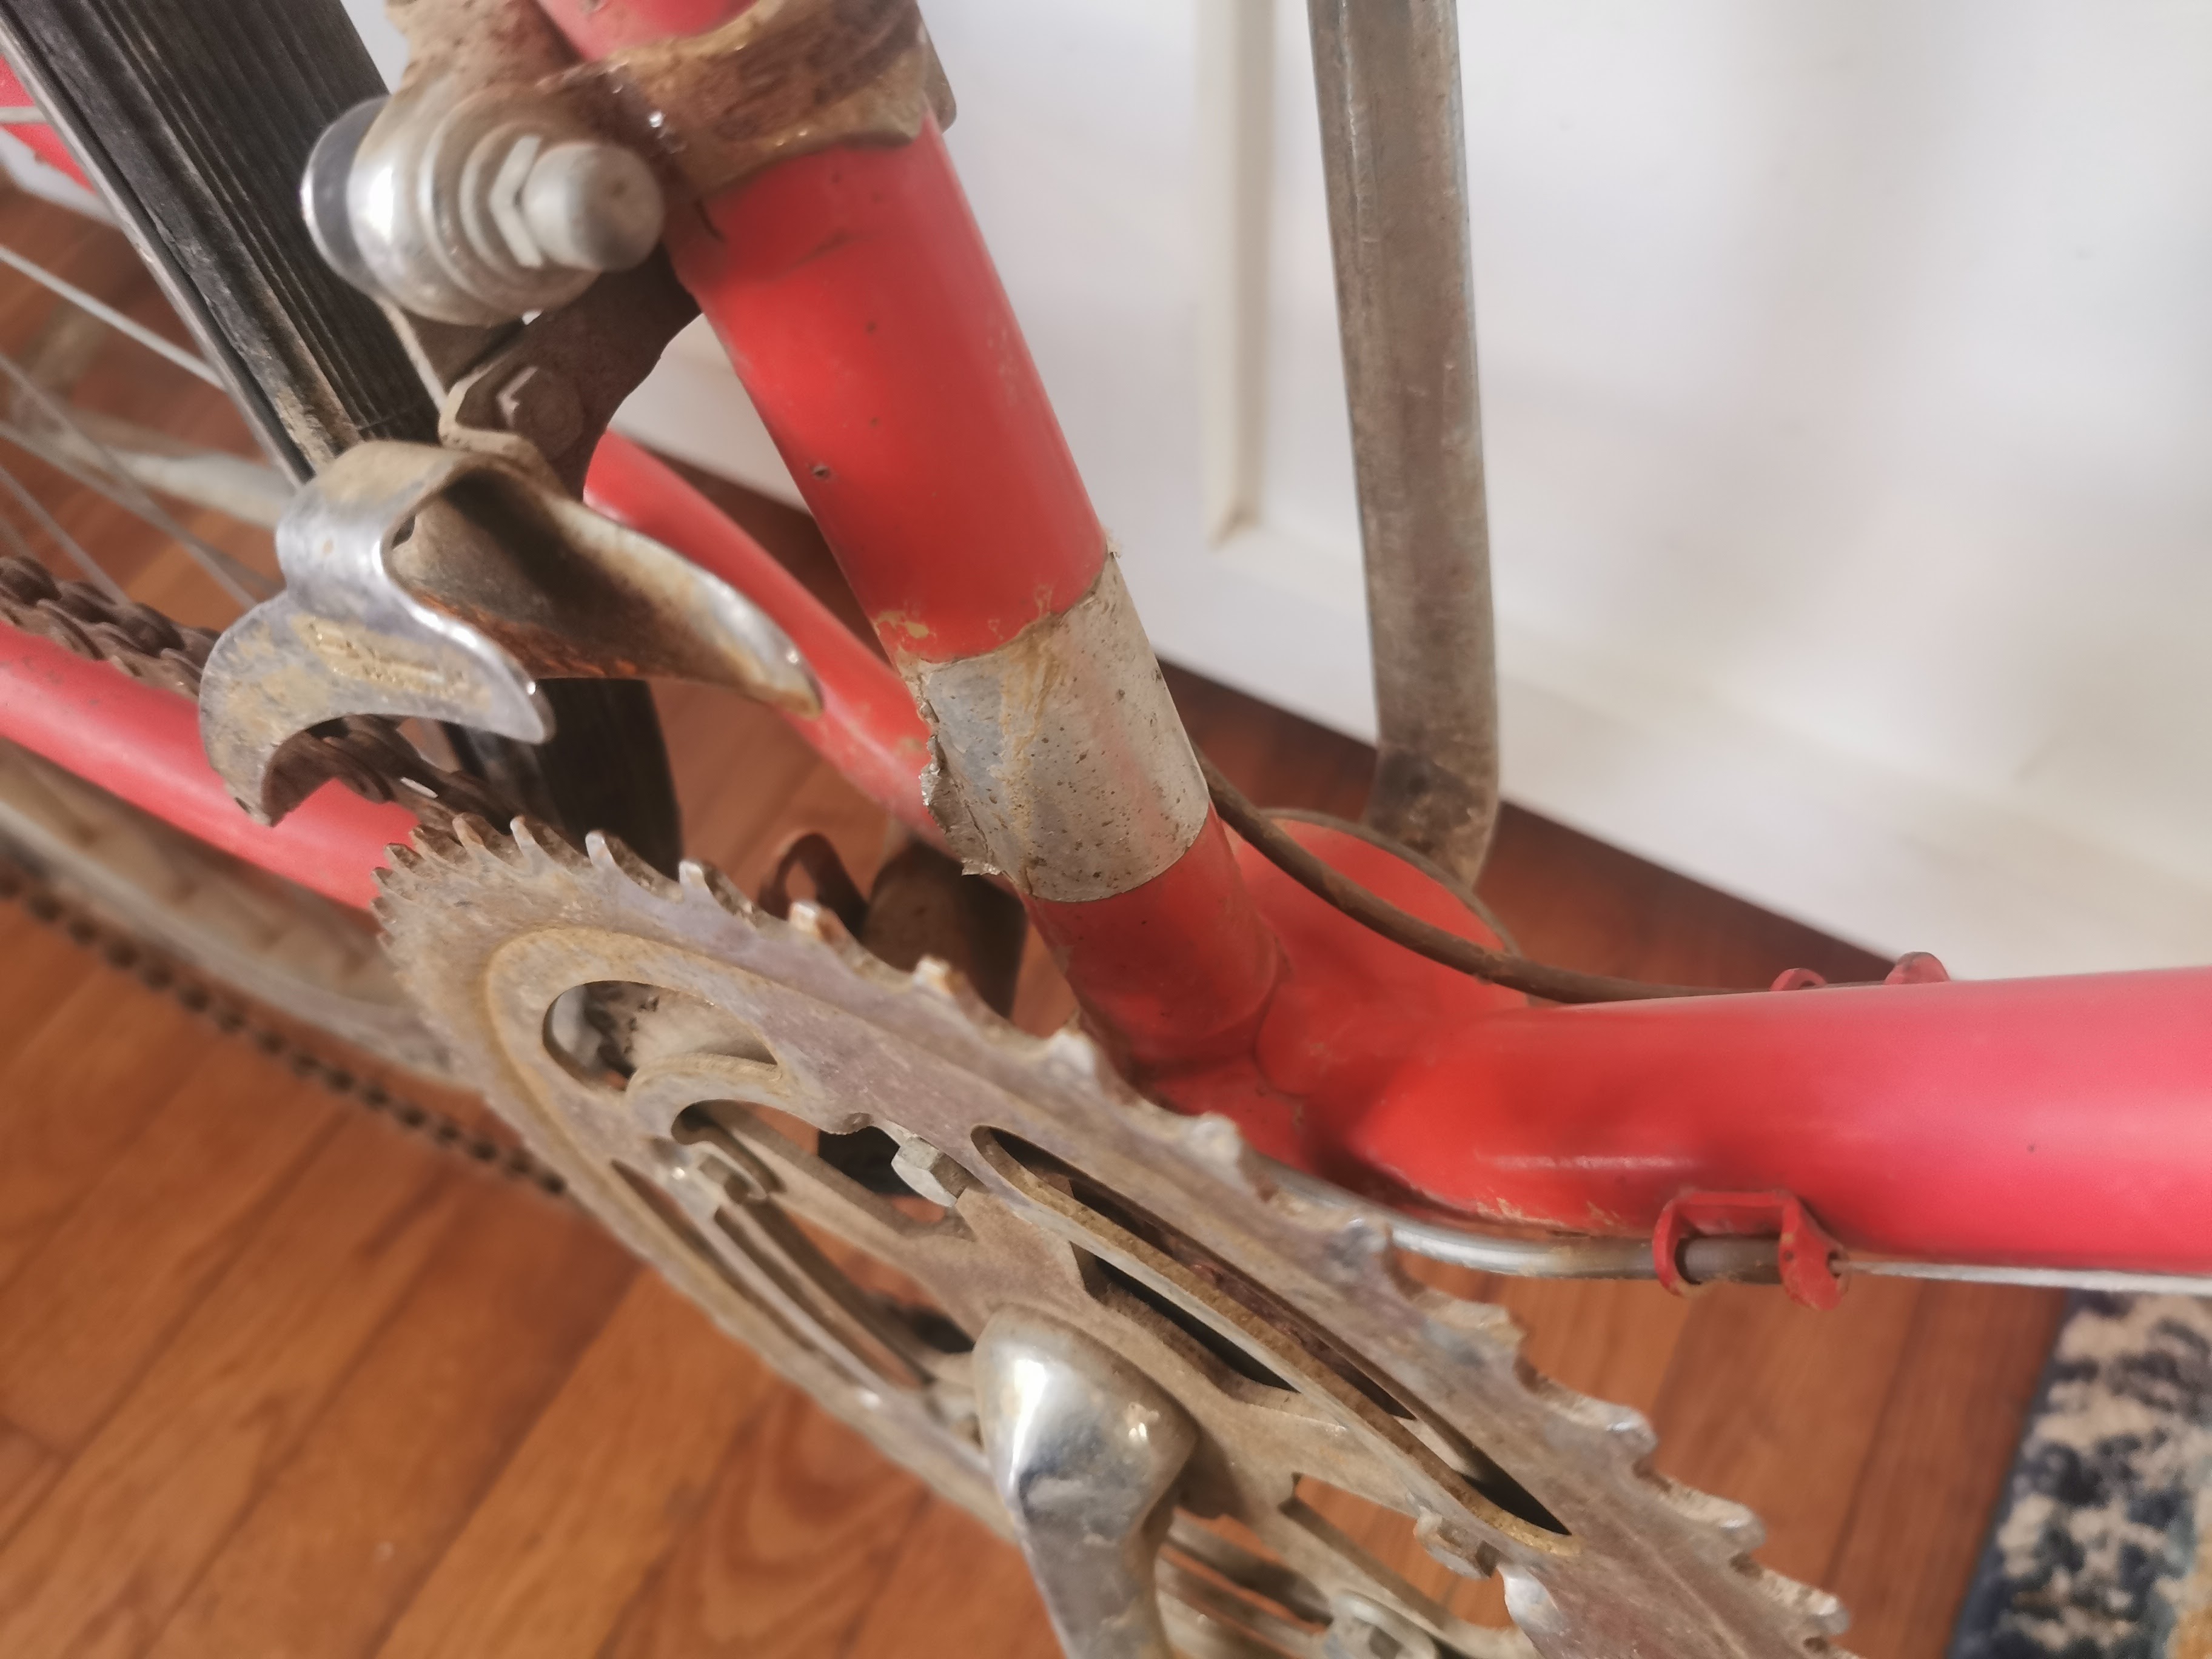
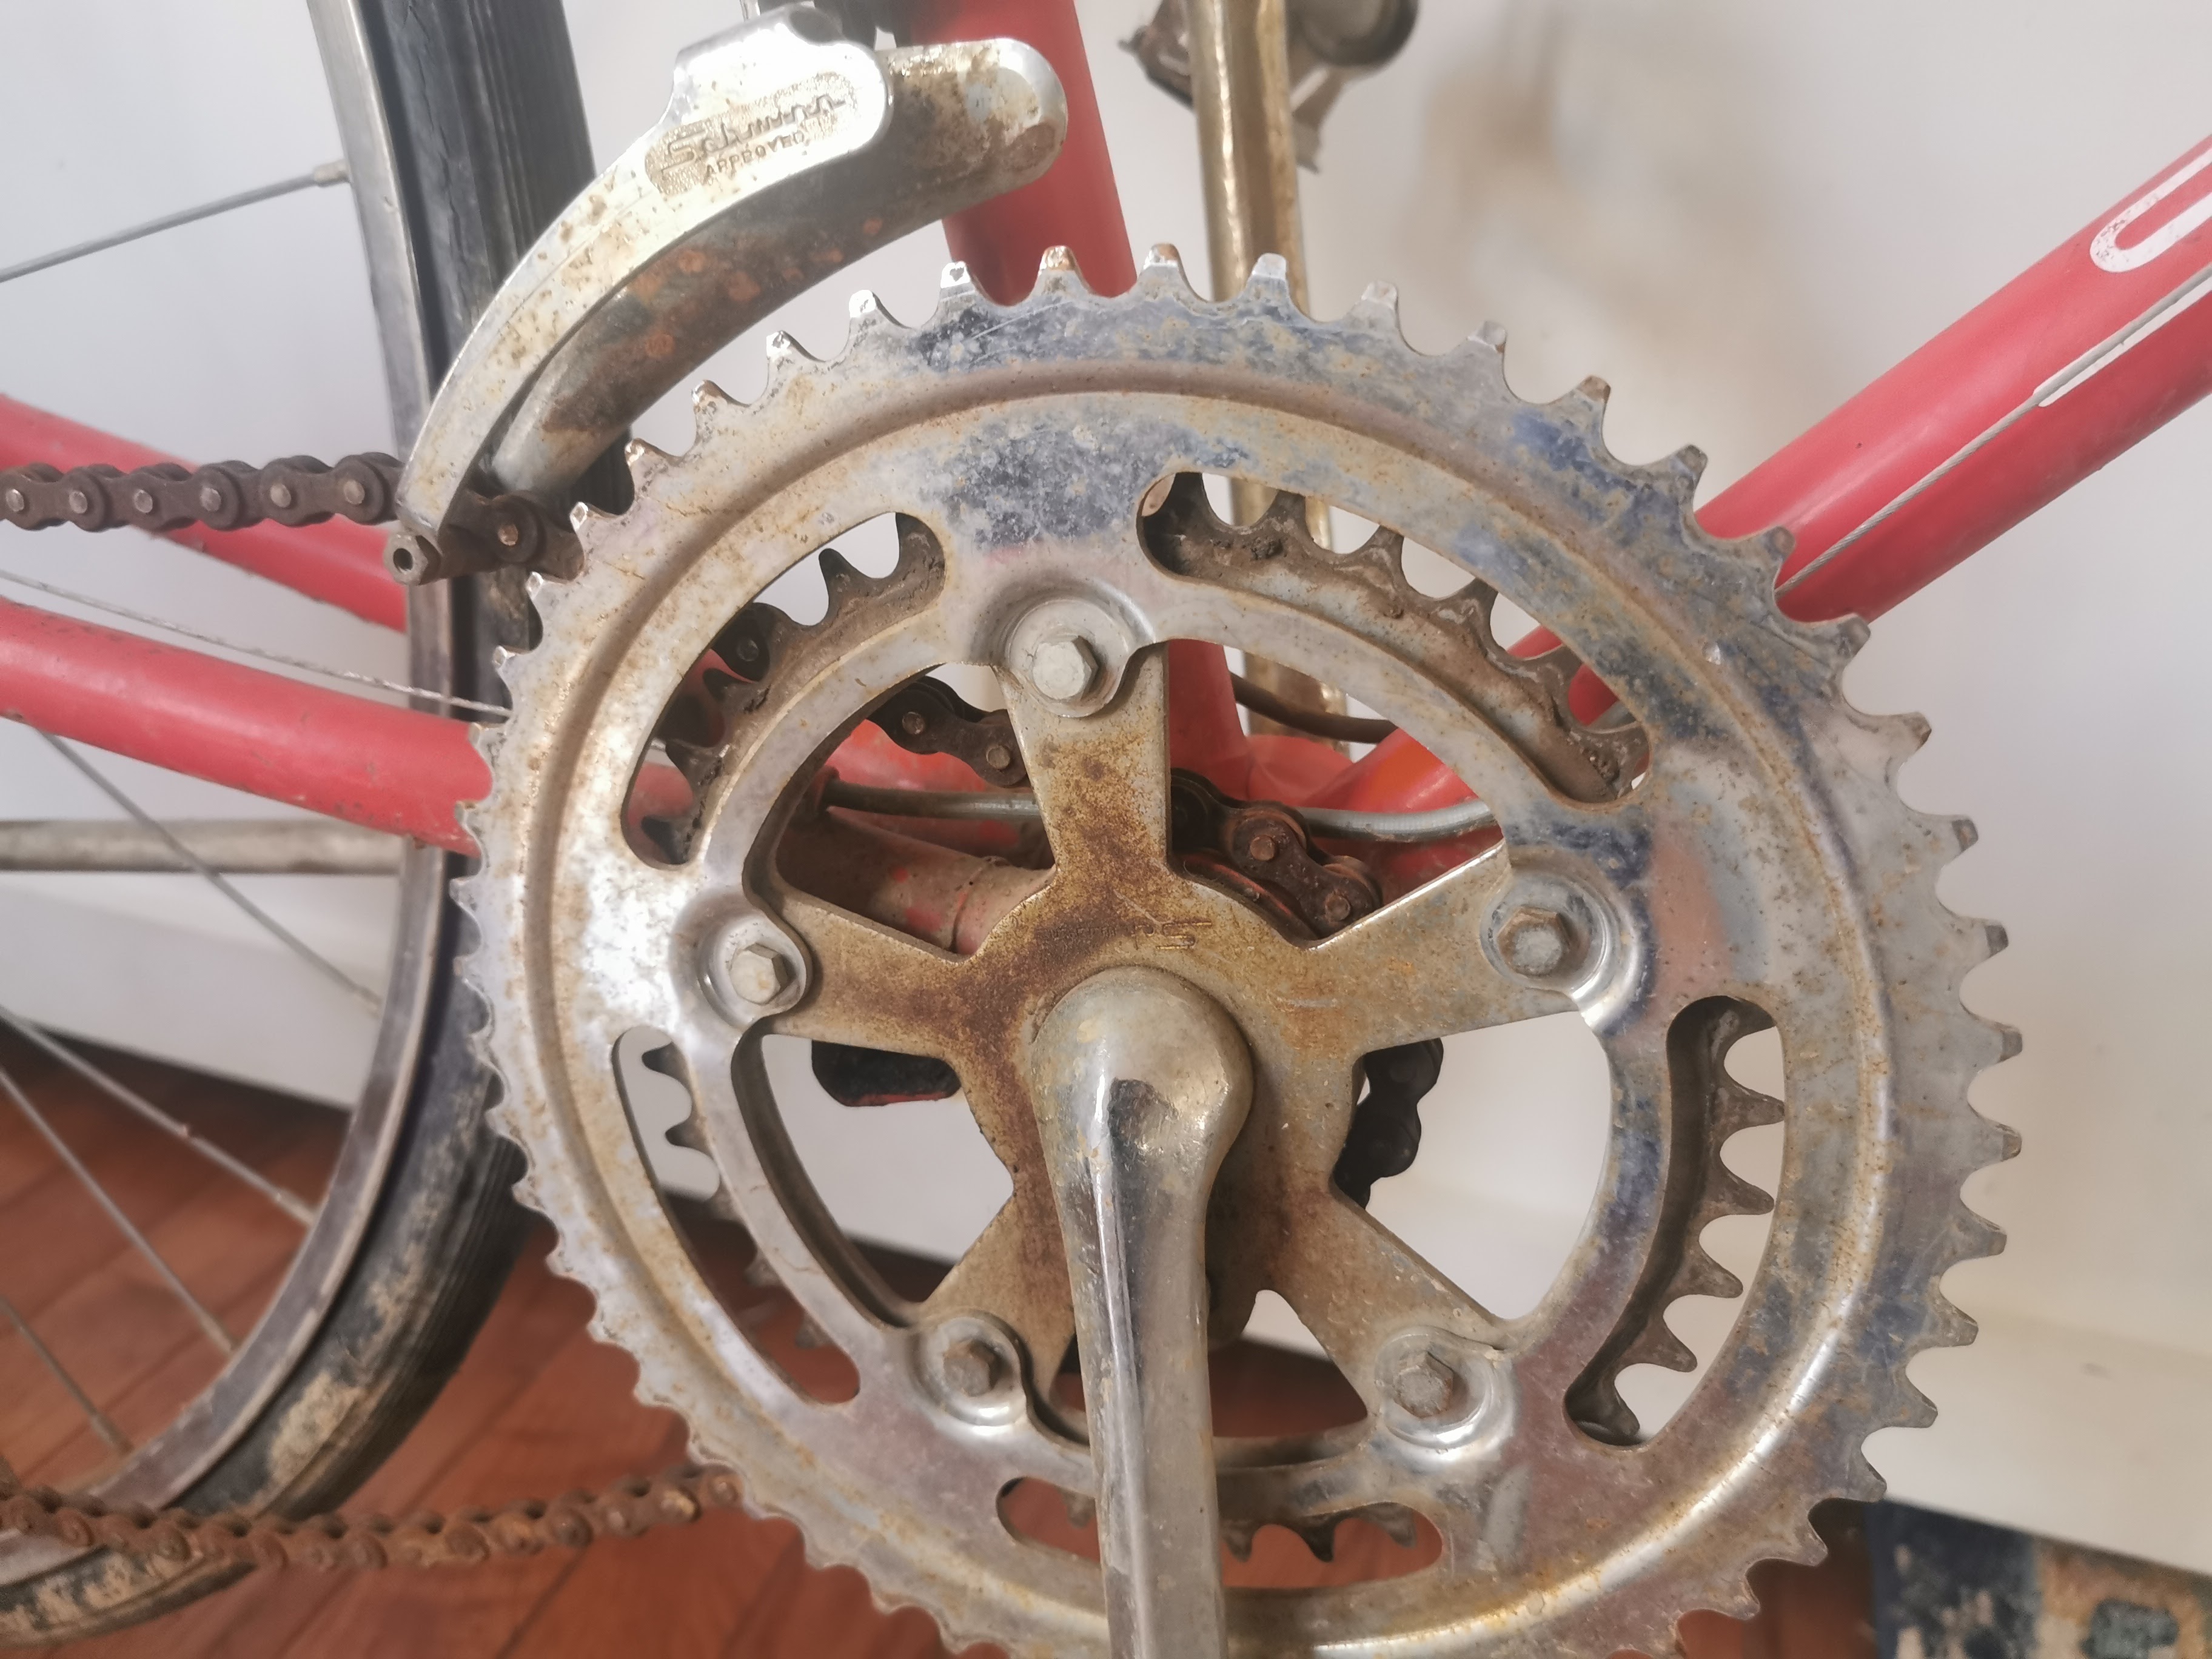
The pictures immediately below are from the day I brought it home and started to take it apart.


I decided pretty quickly to have it blasted and repainted. The question was whether I would go with the original color or something that I actually liked. I found a guy in Trenton, GA who would blast and powder coat it for $100, with free powder if I used a color he had. He had an almost exact match to the original Schwinn color – Sunset Orange. Looks more coral pink/orange to me, than red. I contemplated going with Coral Red or some other shade of red.
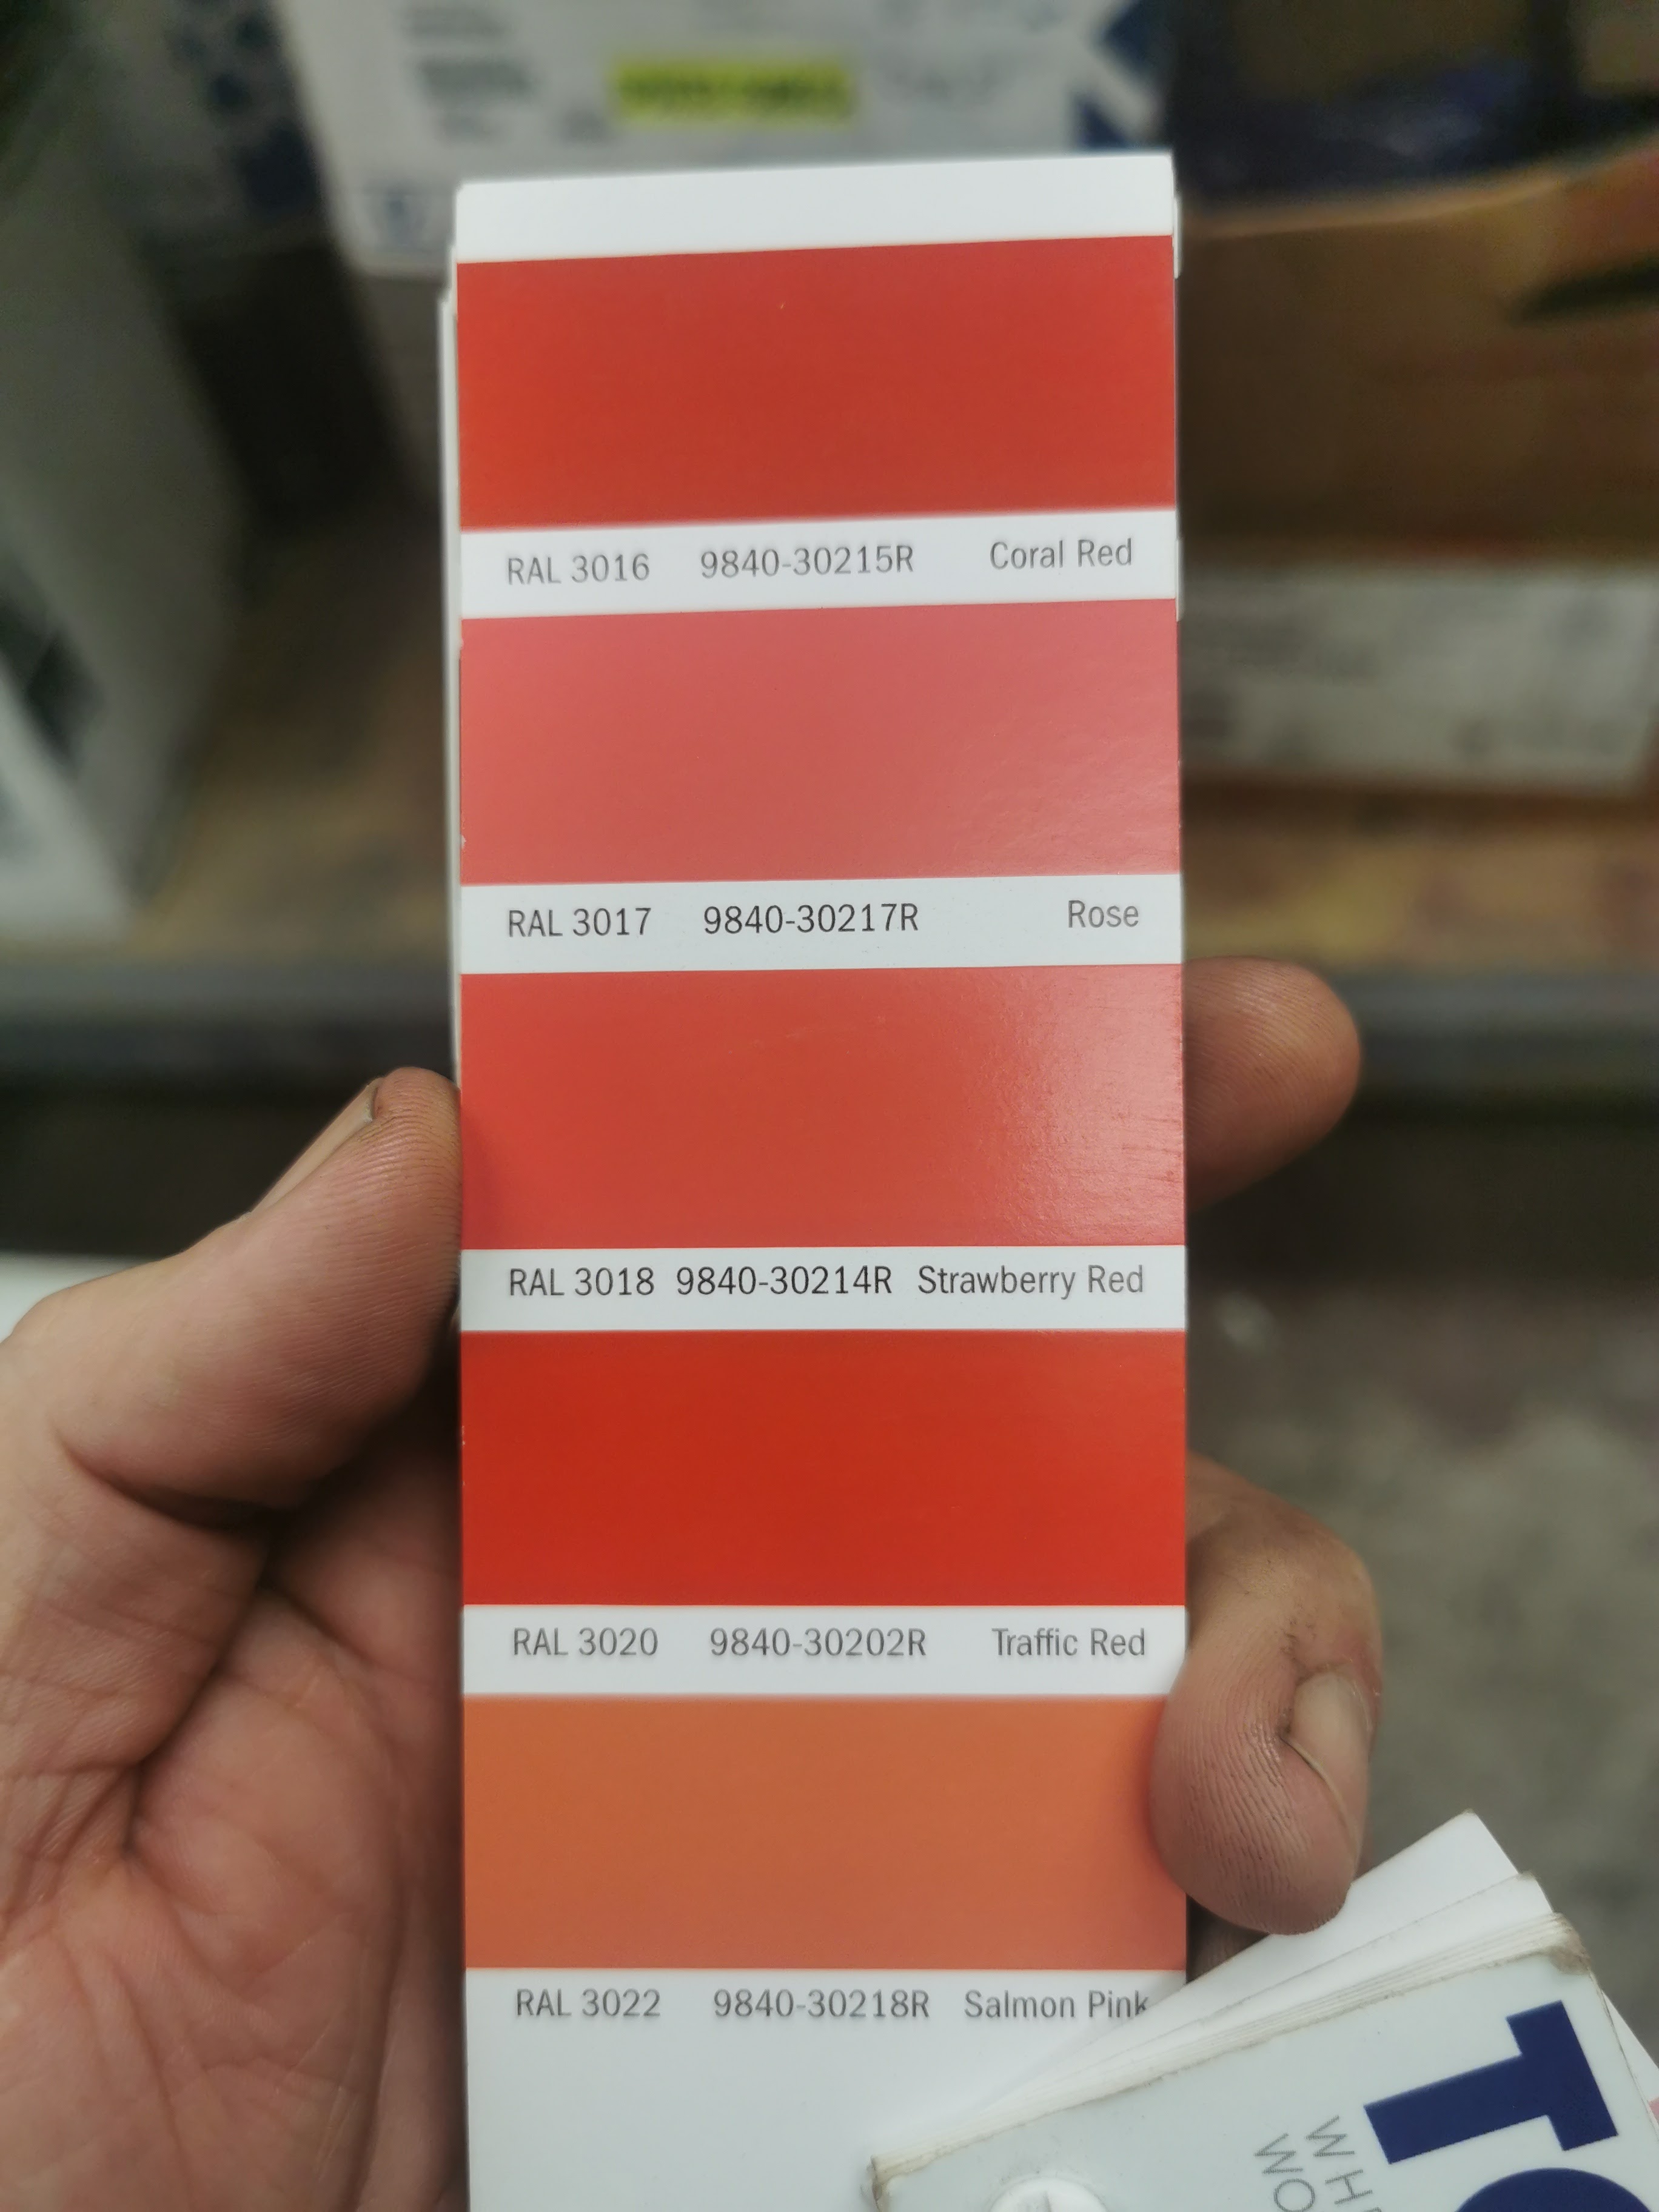


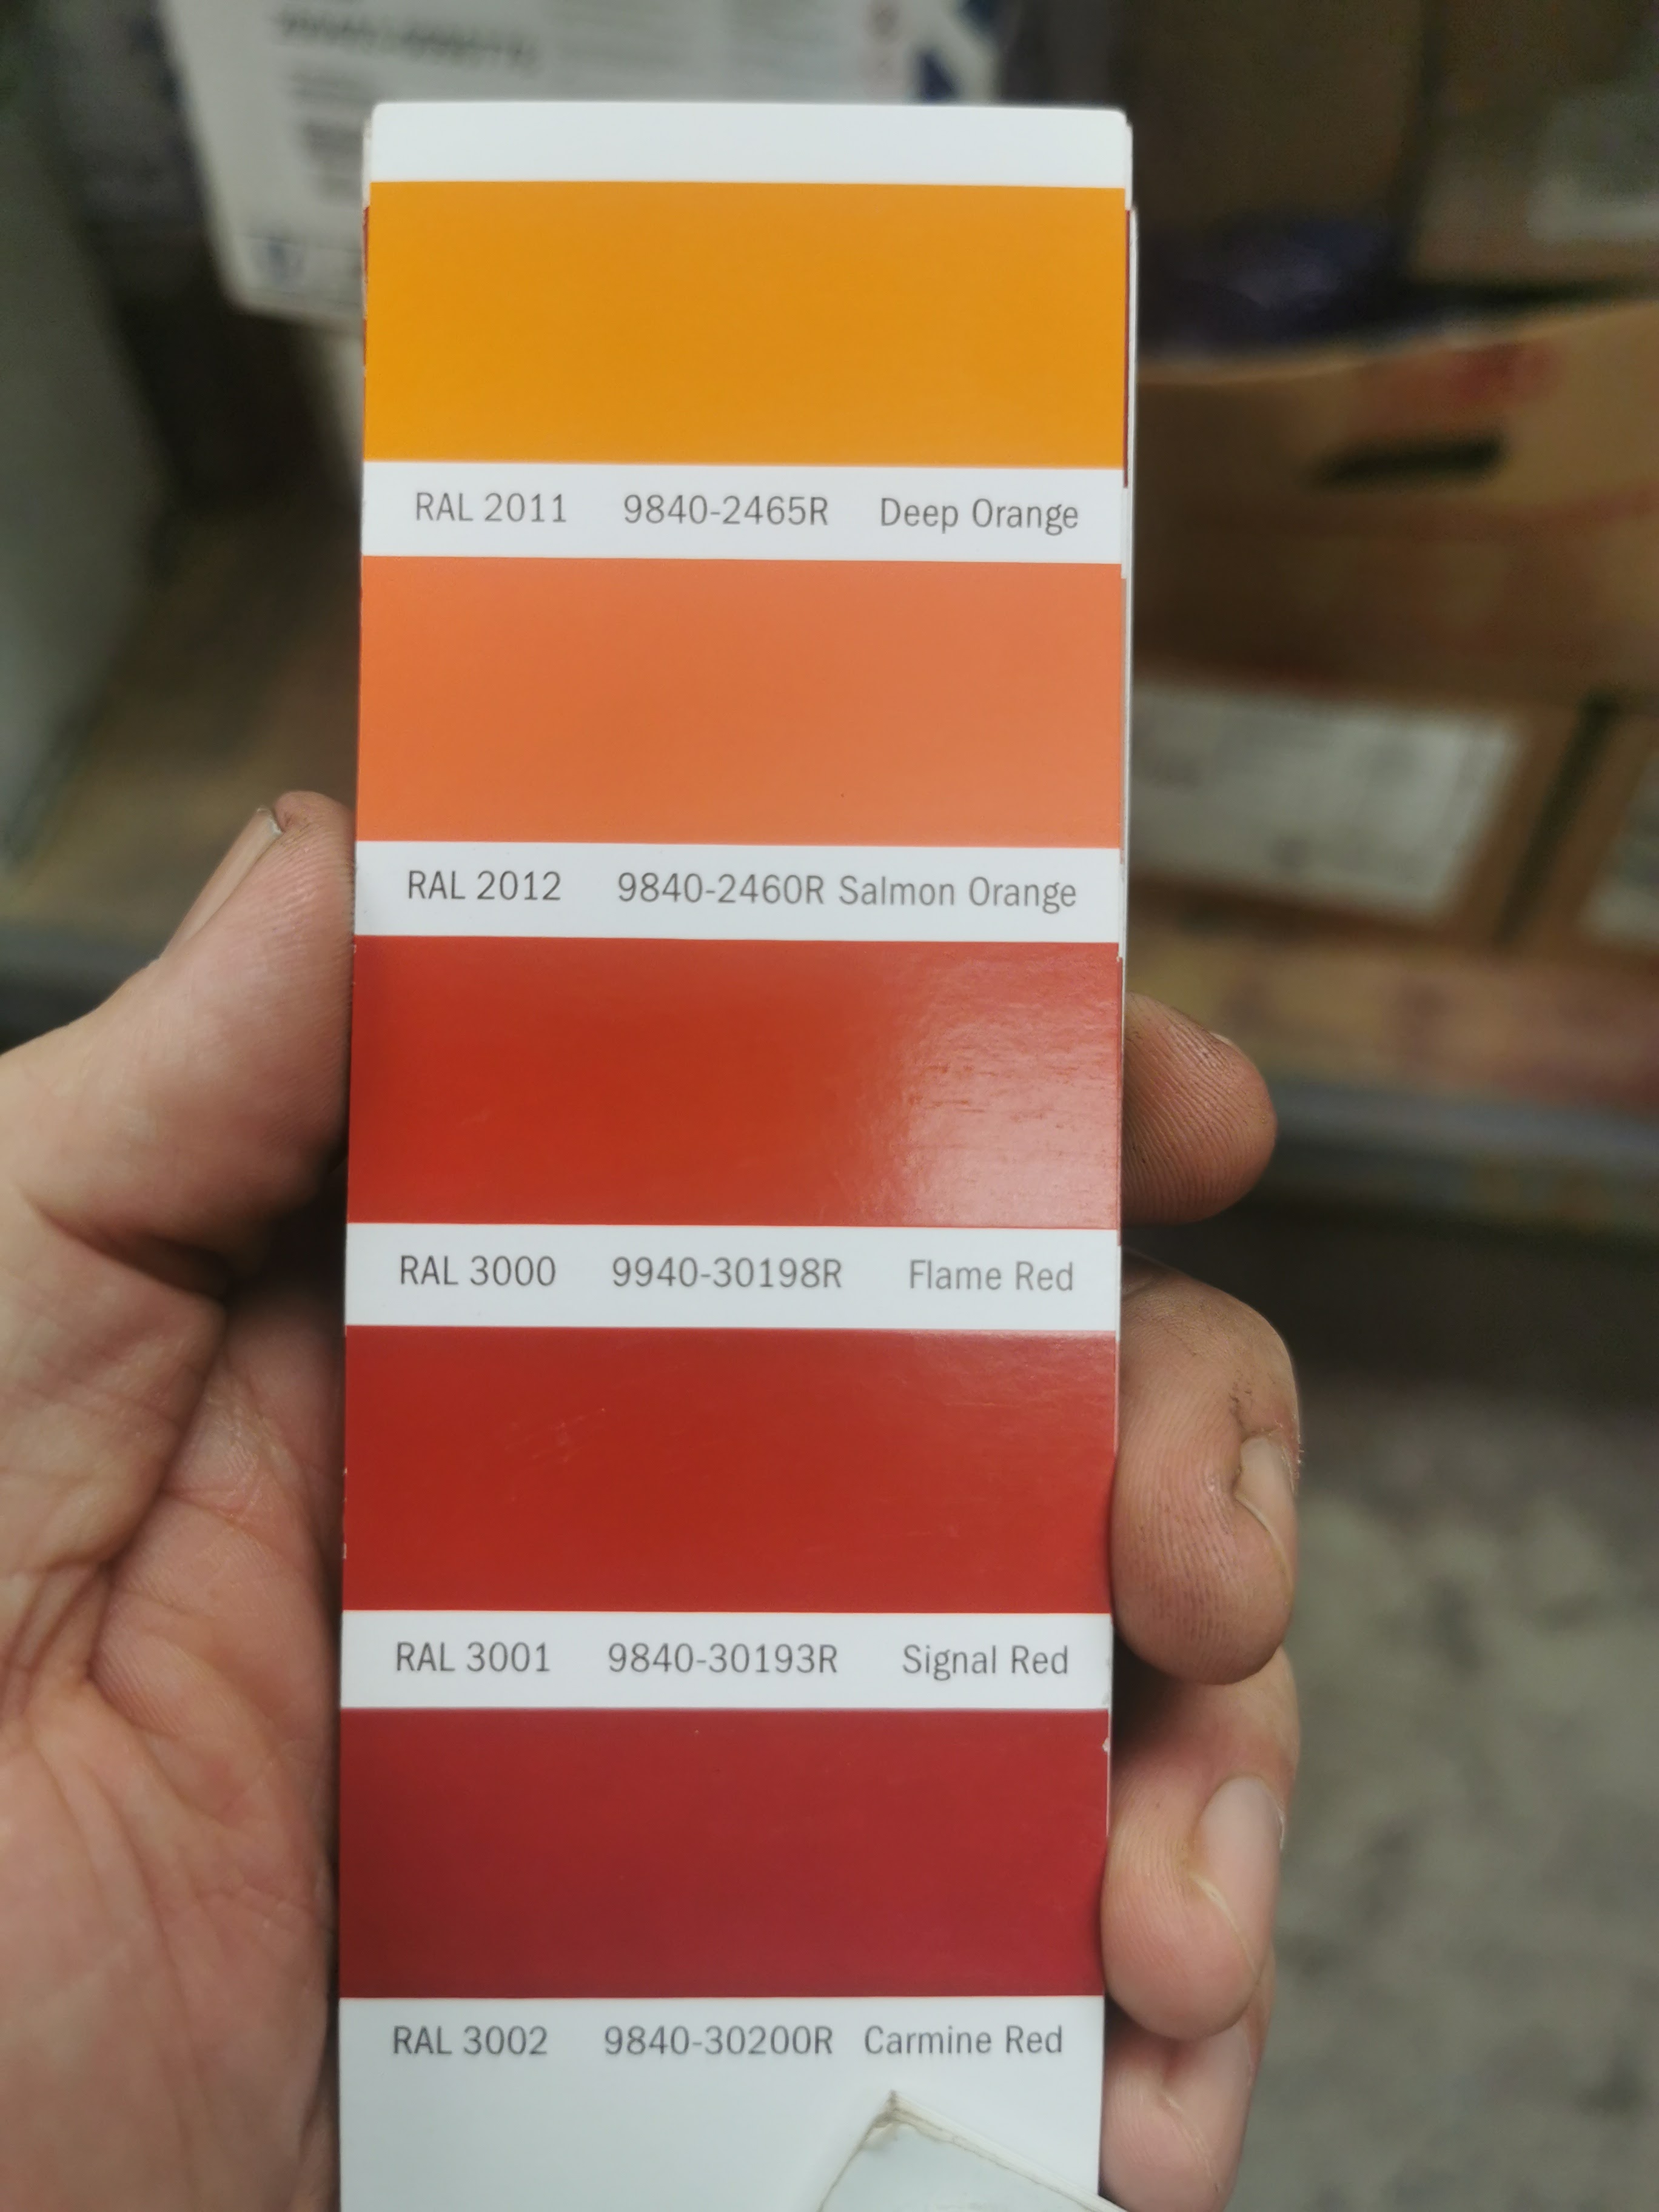


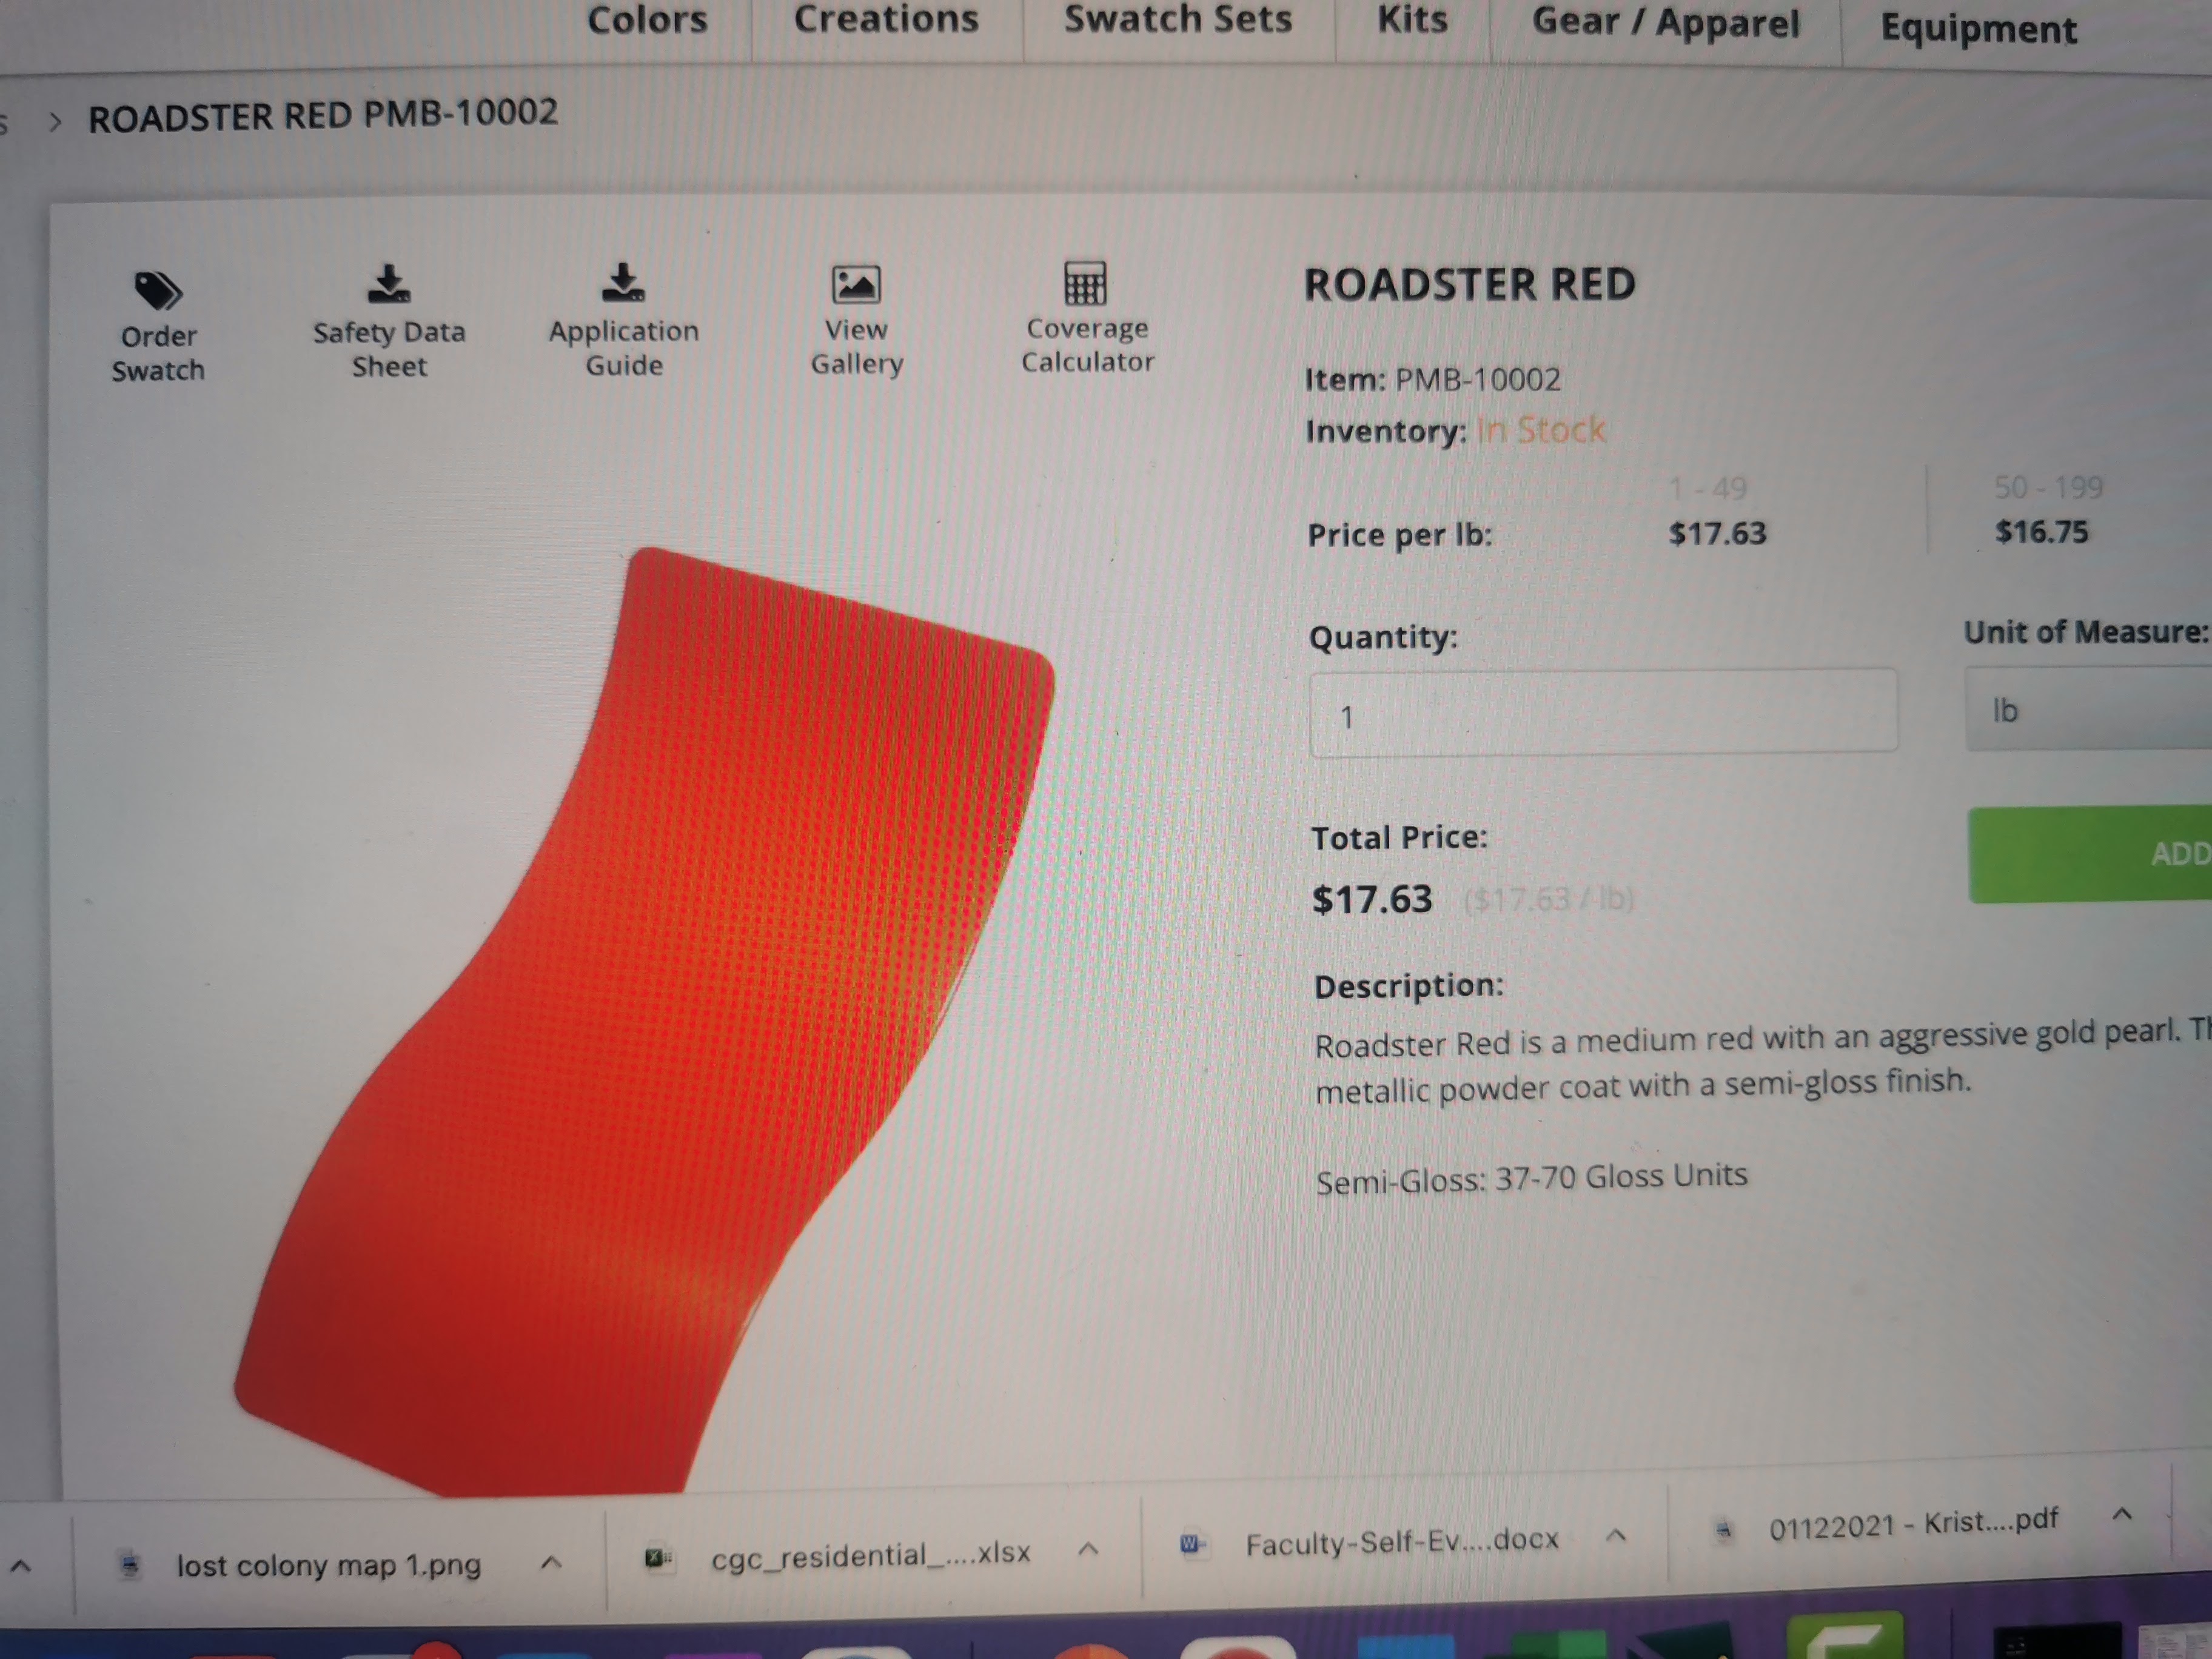
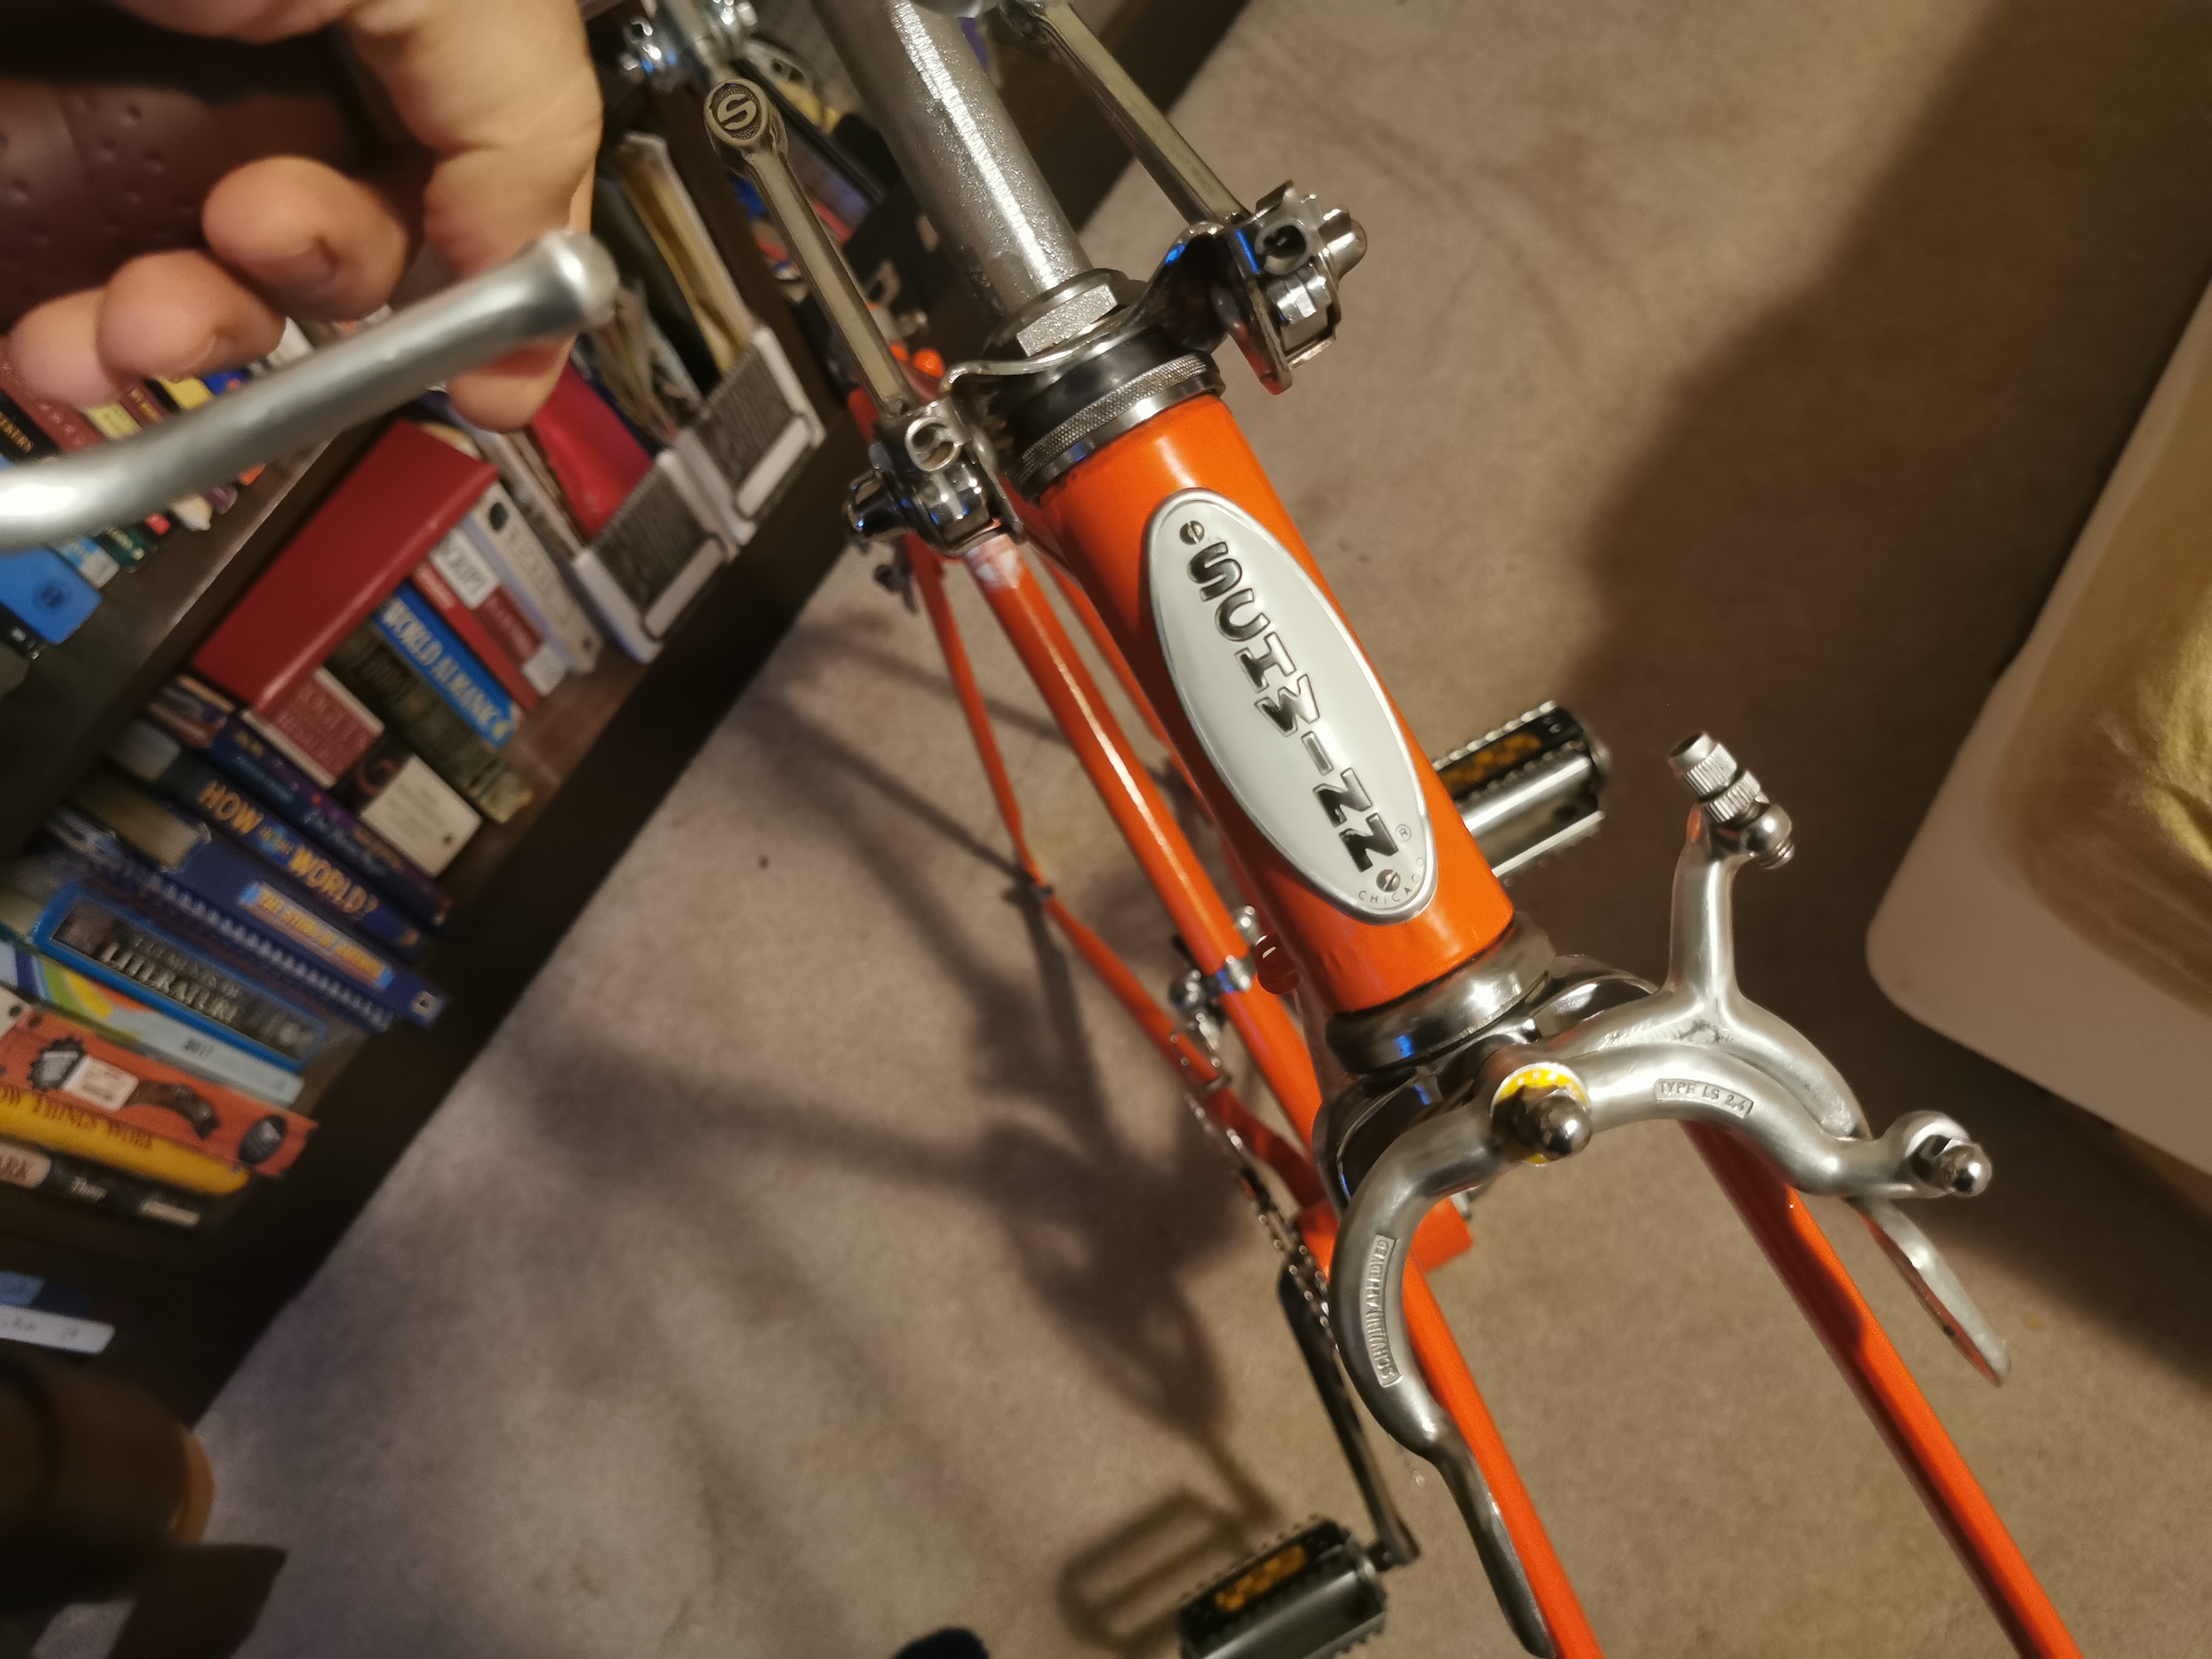
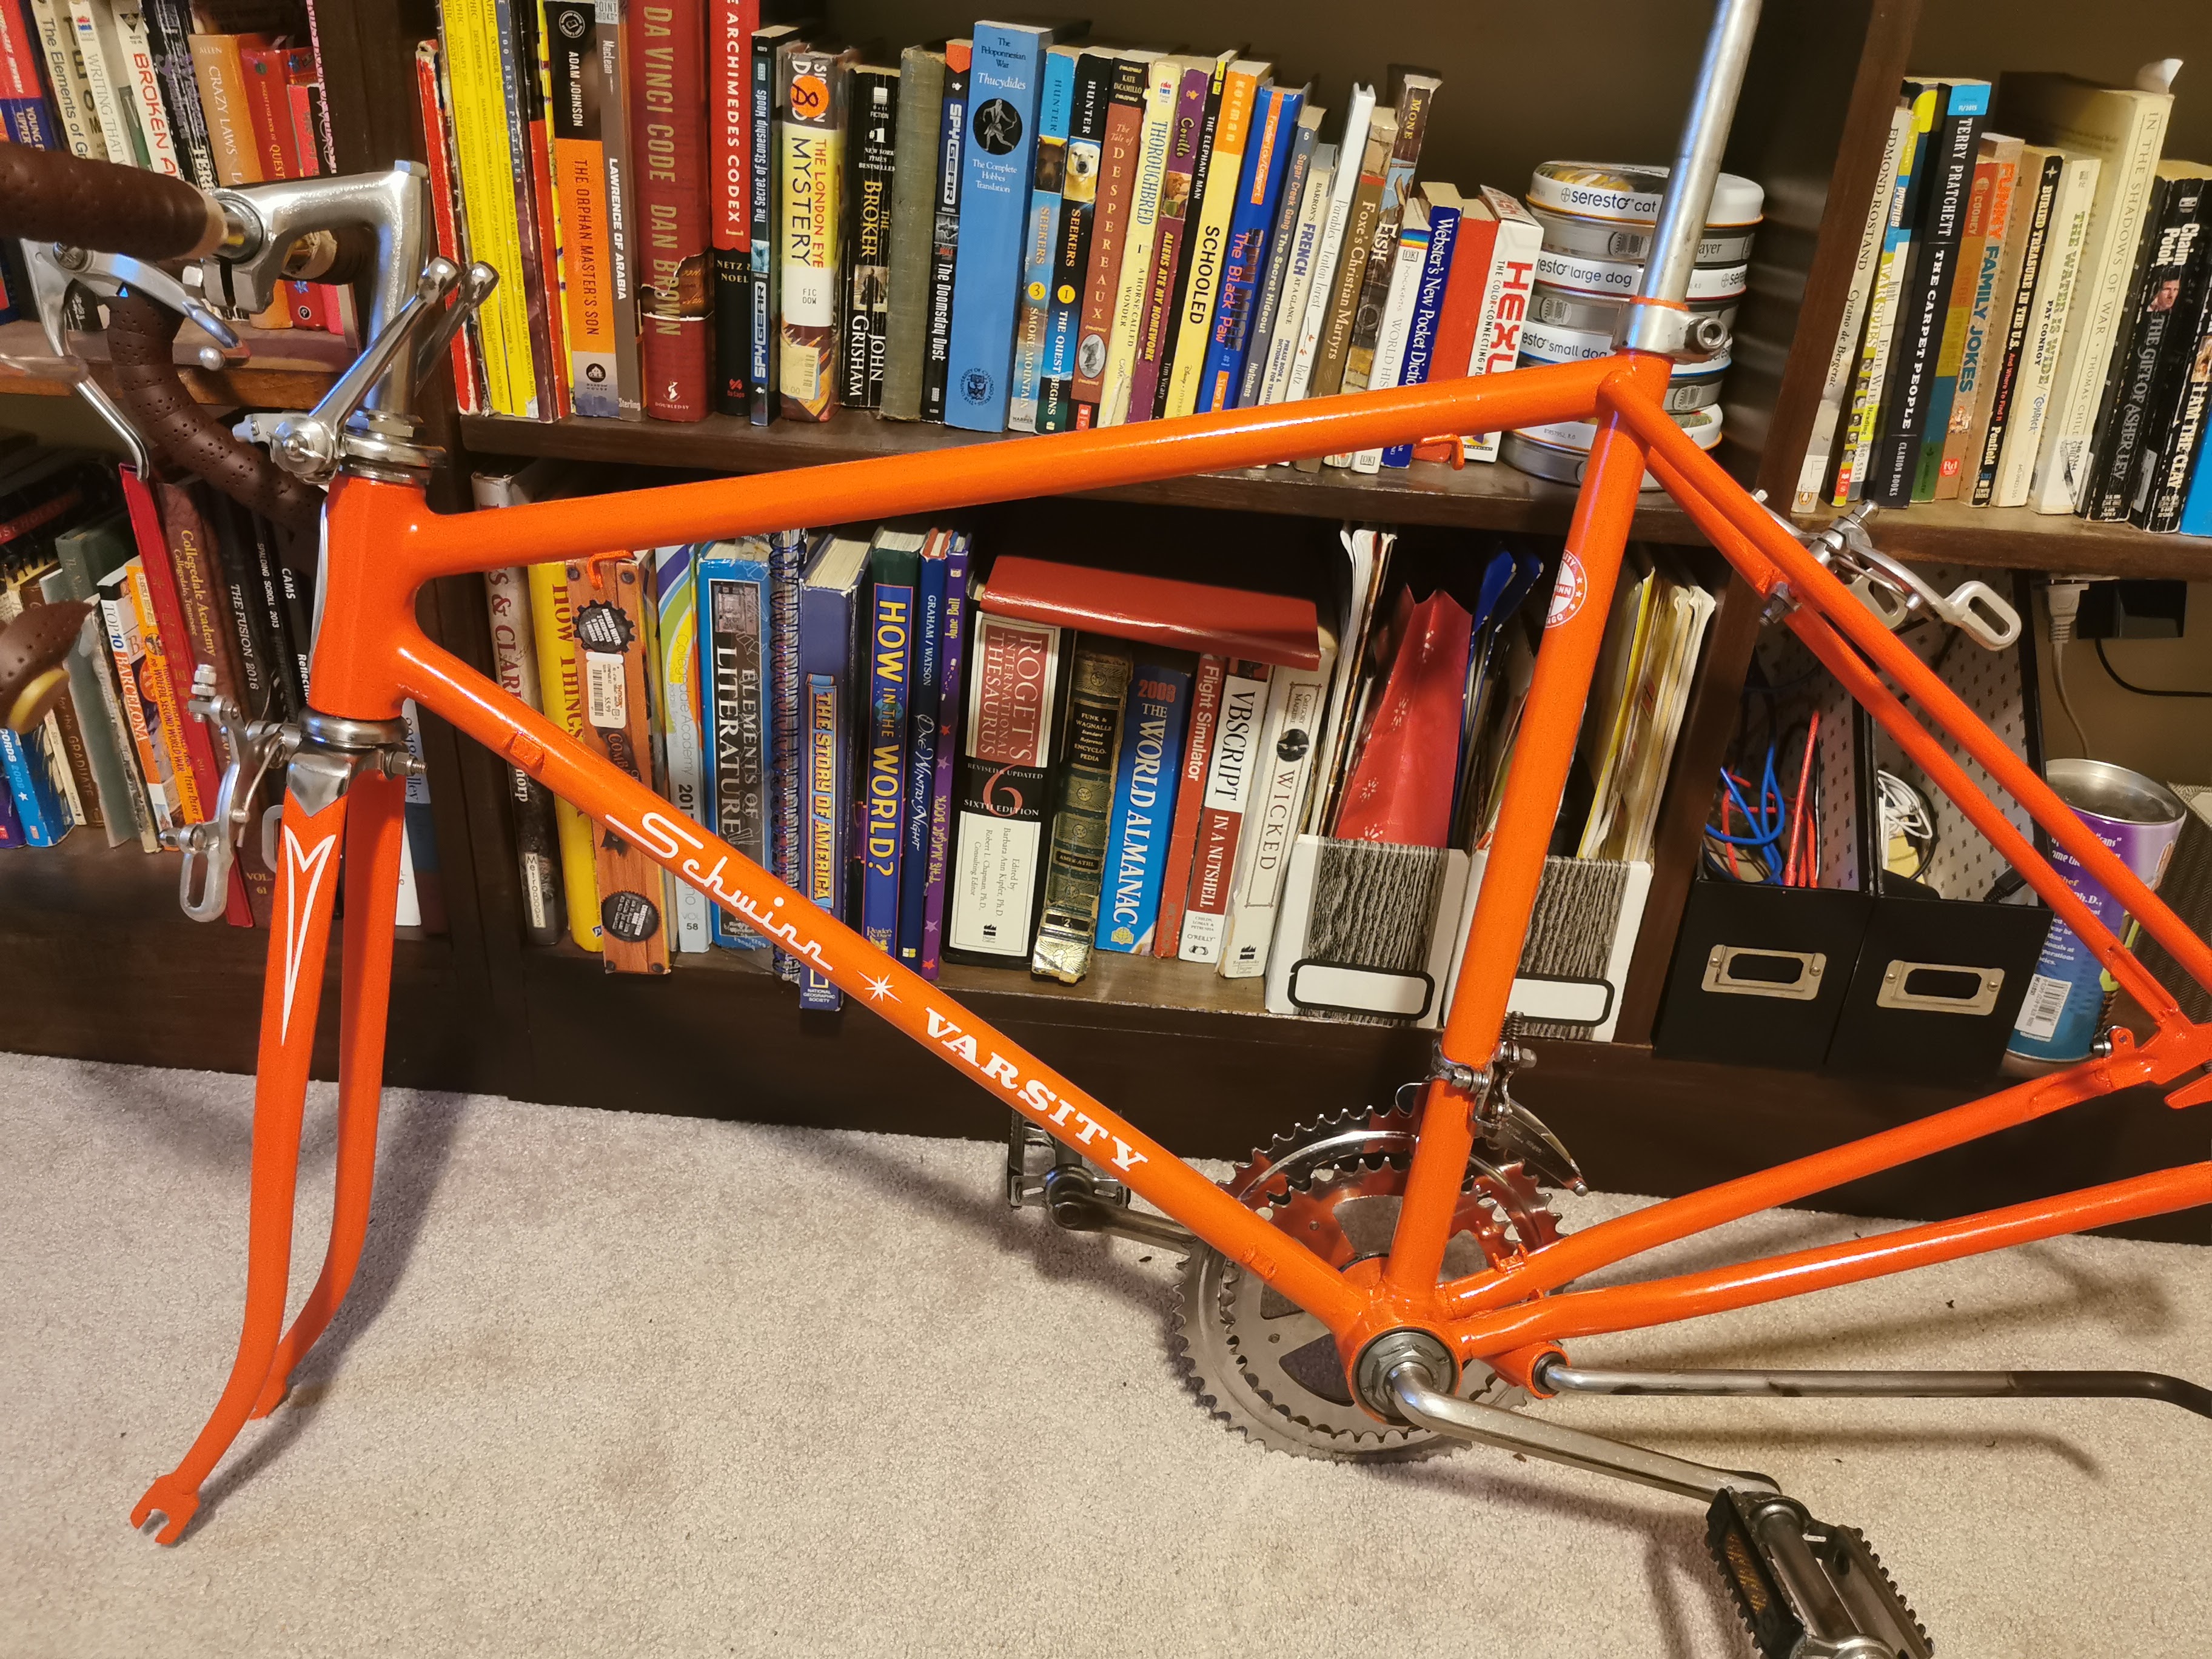
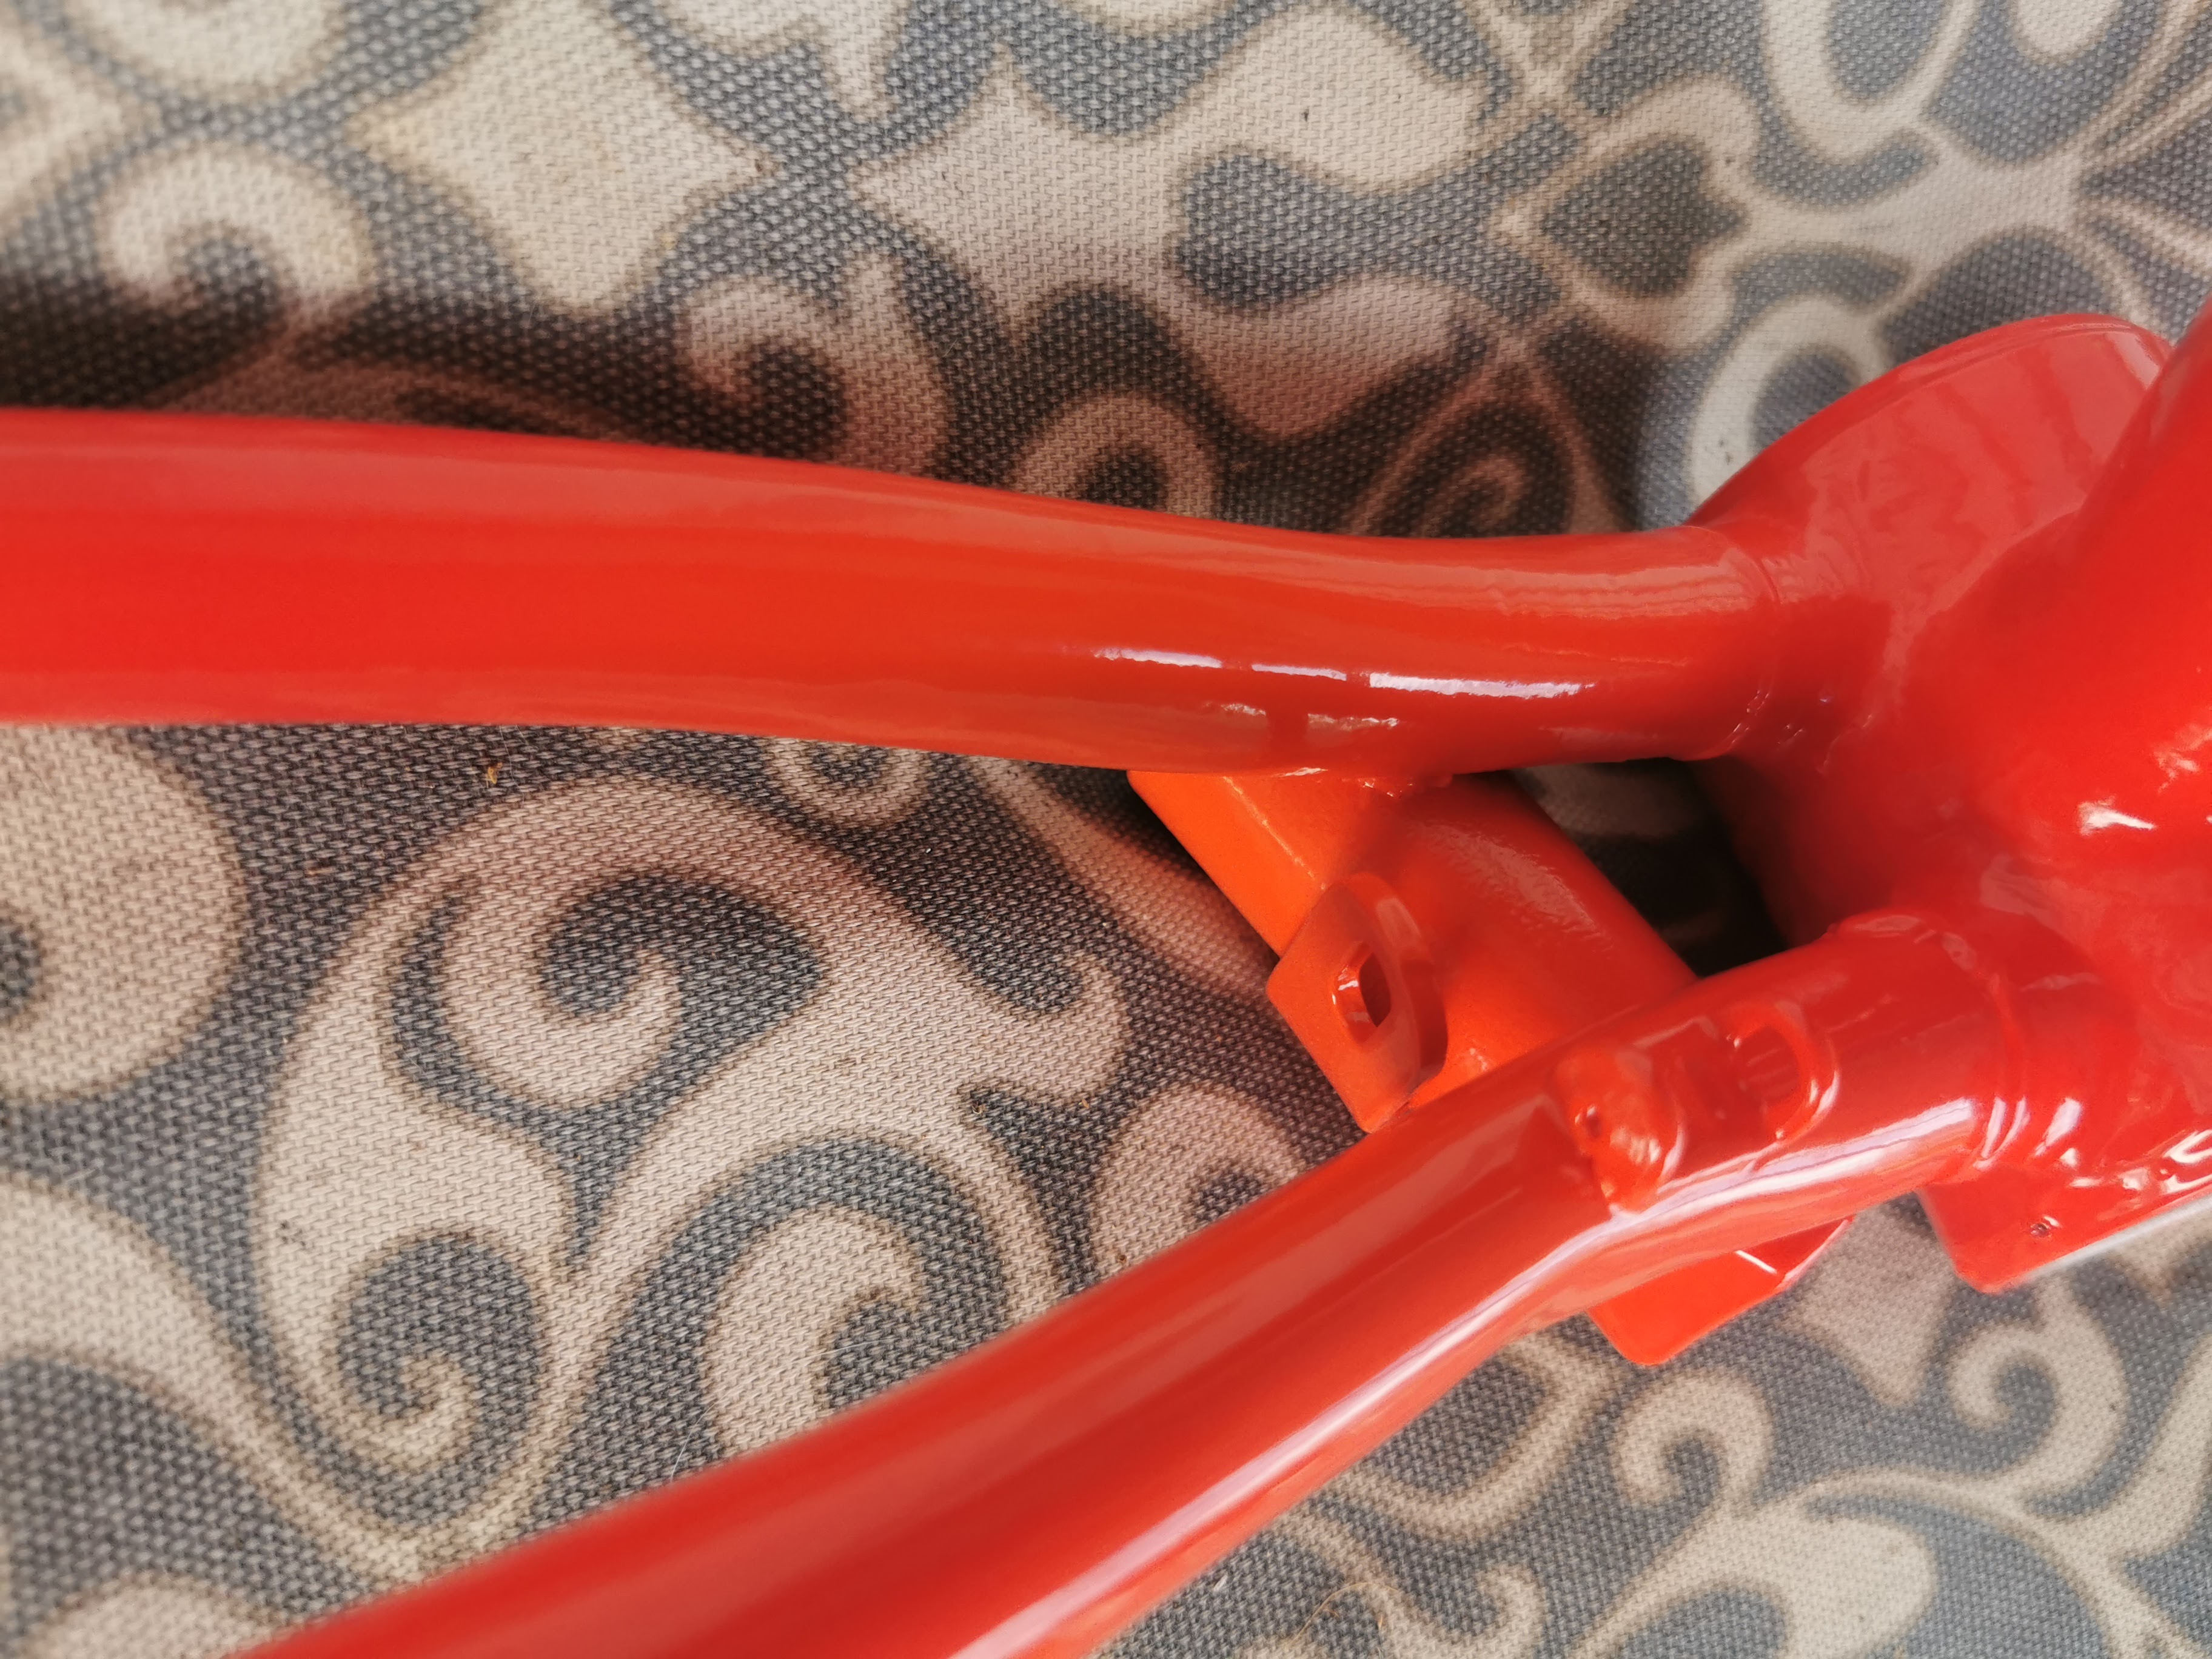
Holding the swatch up against the frame at the paint shop I went with Vermillion, one of the TCI Powder Coating colors. The guy at D&B Custom Powder Coating in Trenton had it back to me in a week. Nice paint job, but the color of the frame is decidedly more pink/orange than the original color, I think. It’s close, but I’d rather have had a shade more red than the original than a shade more on the coral side.


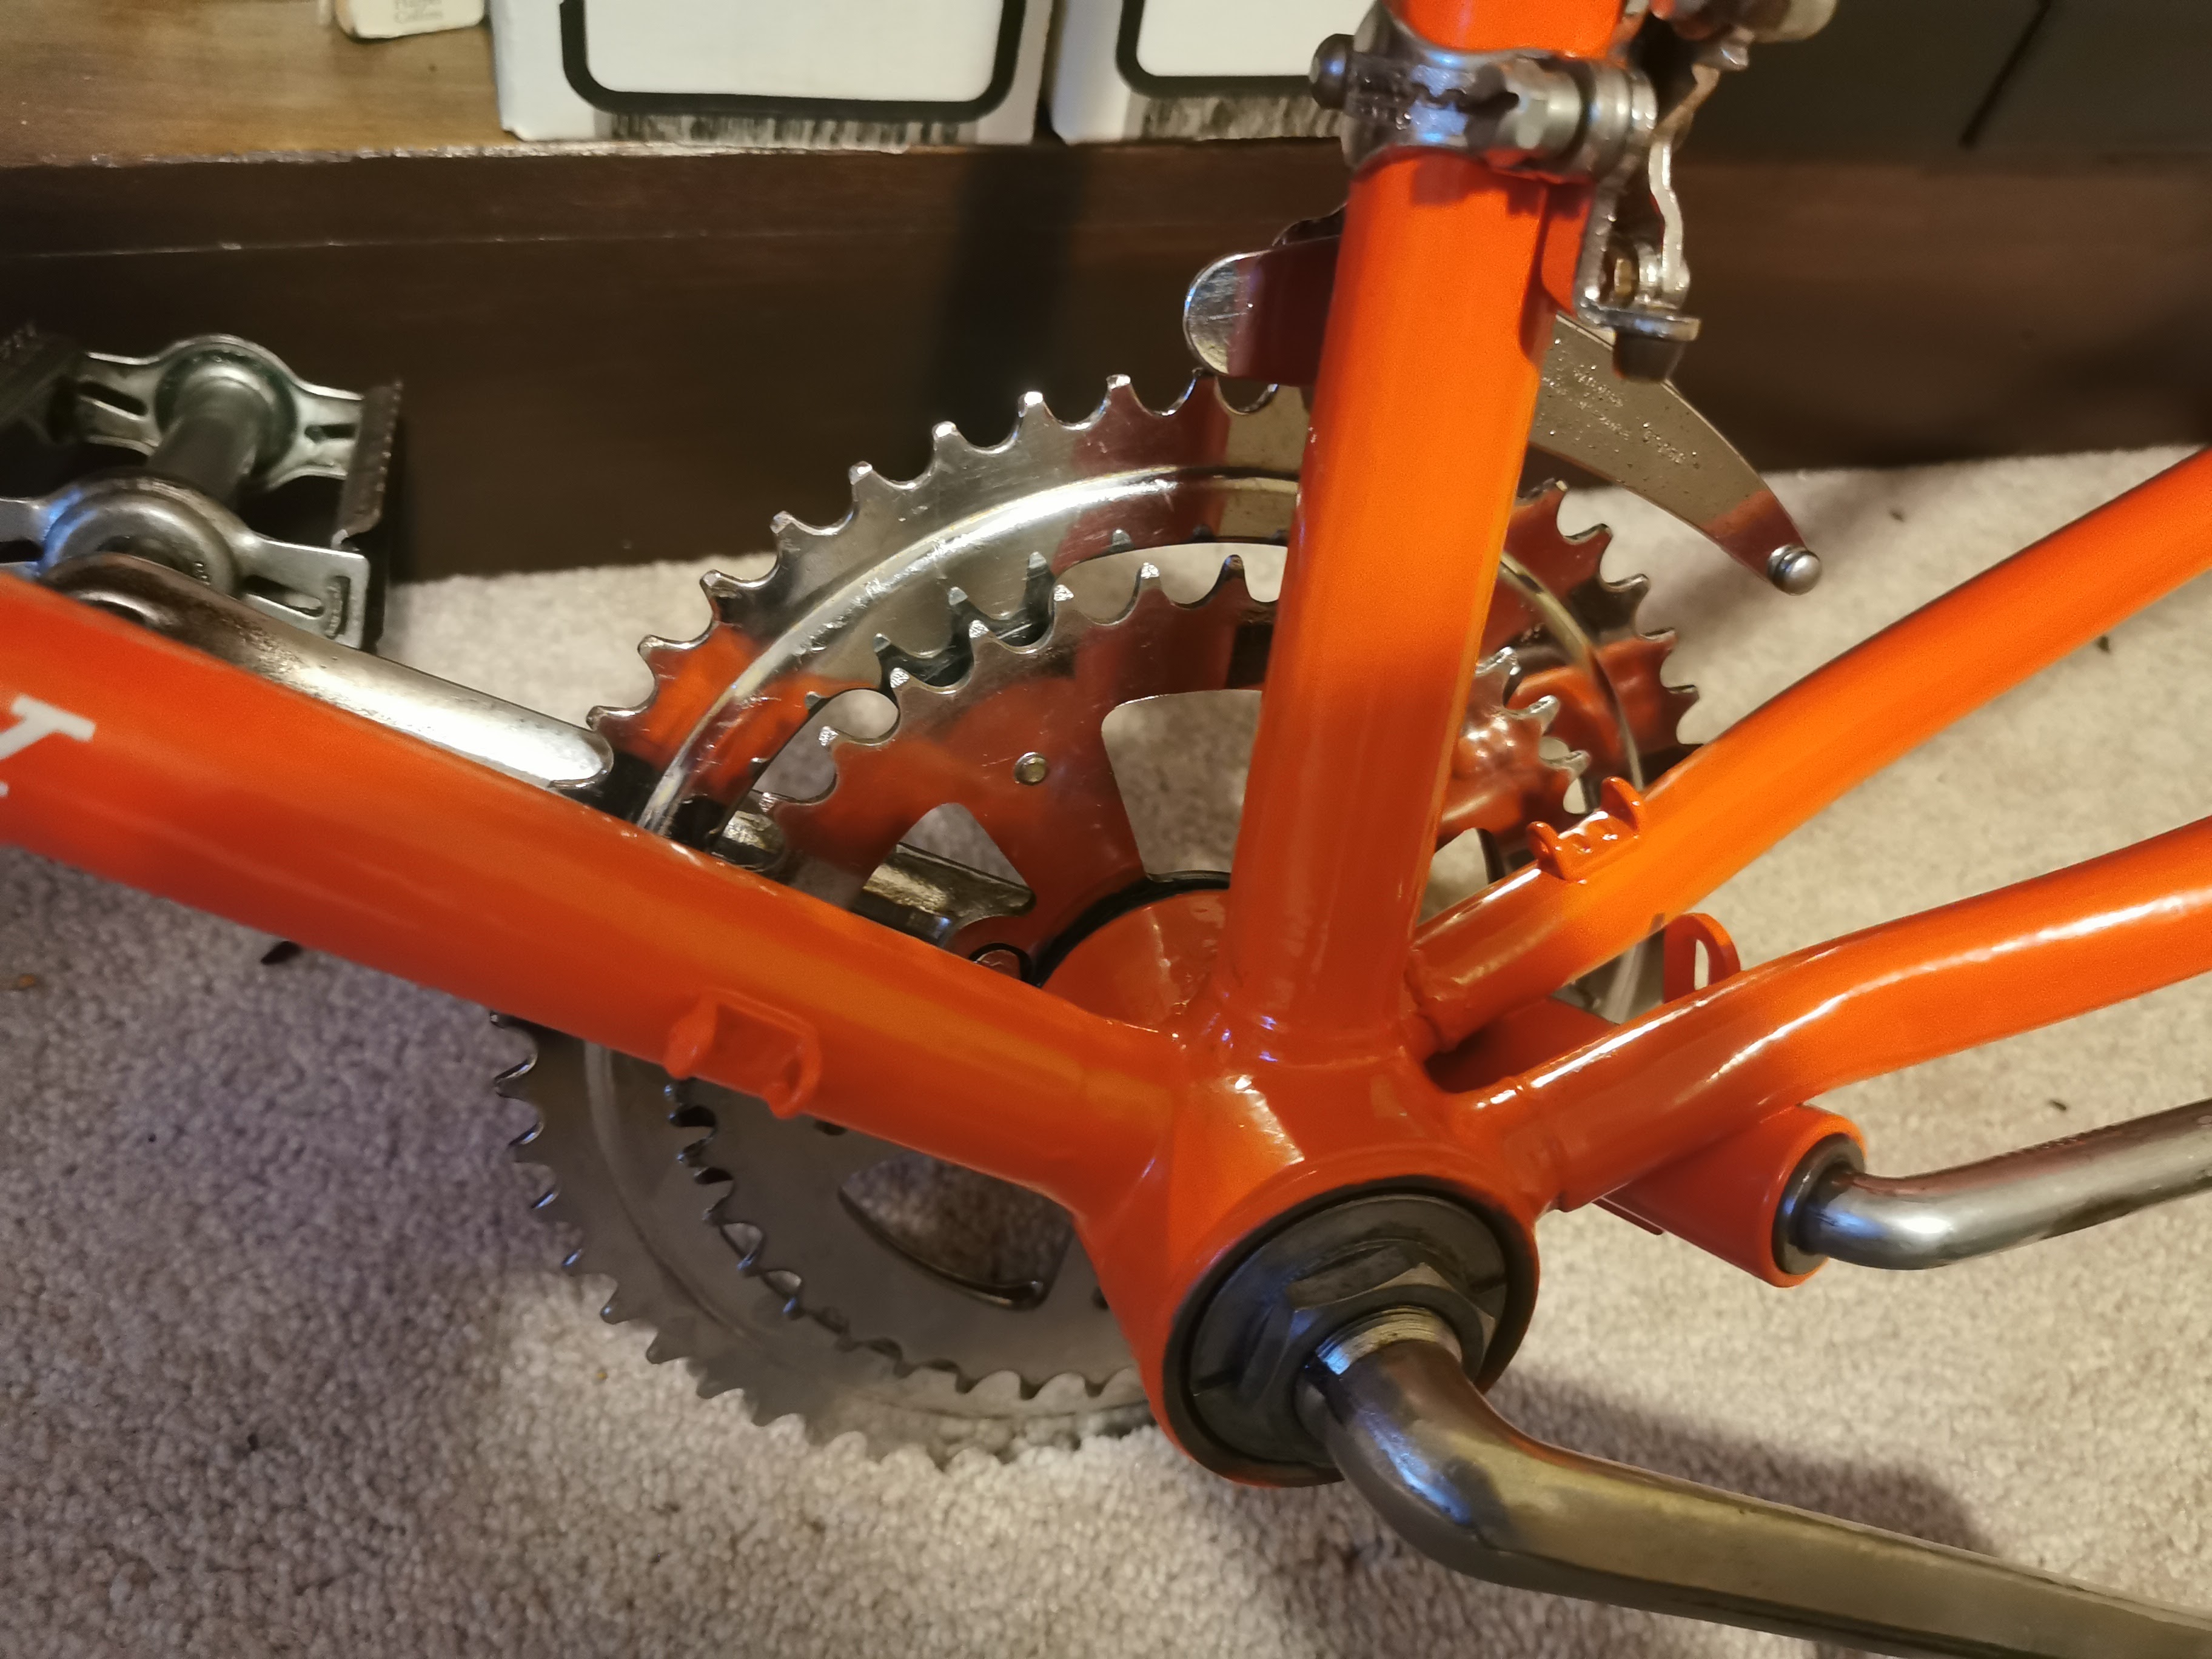
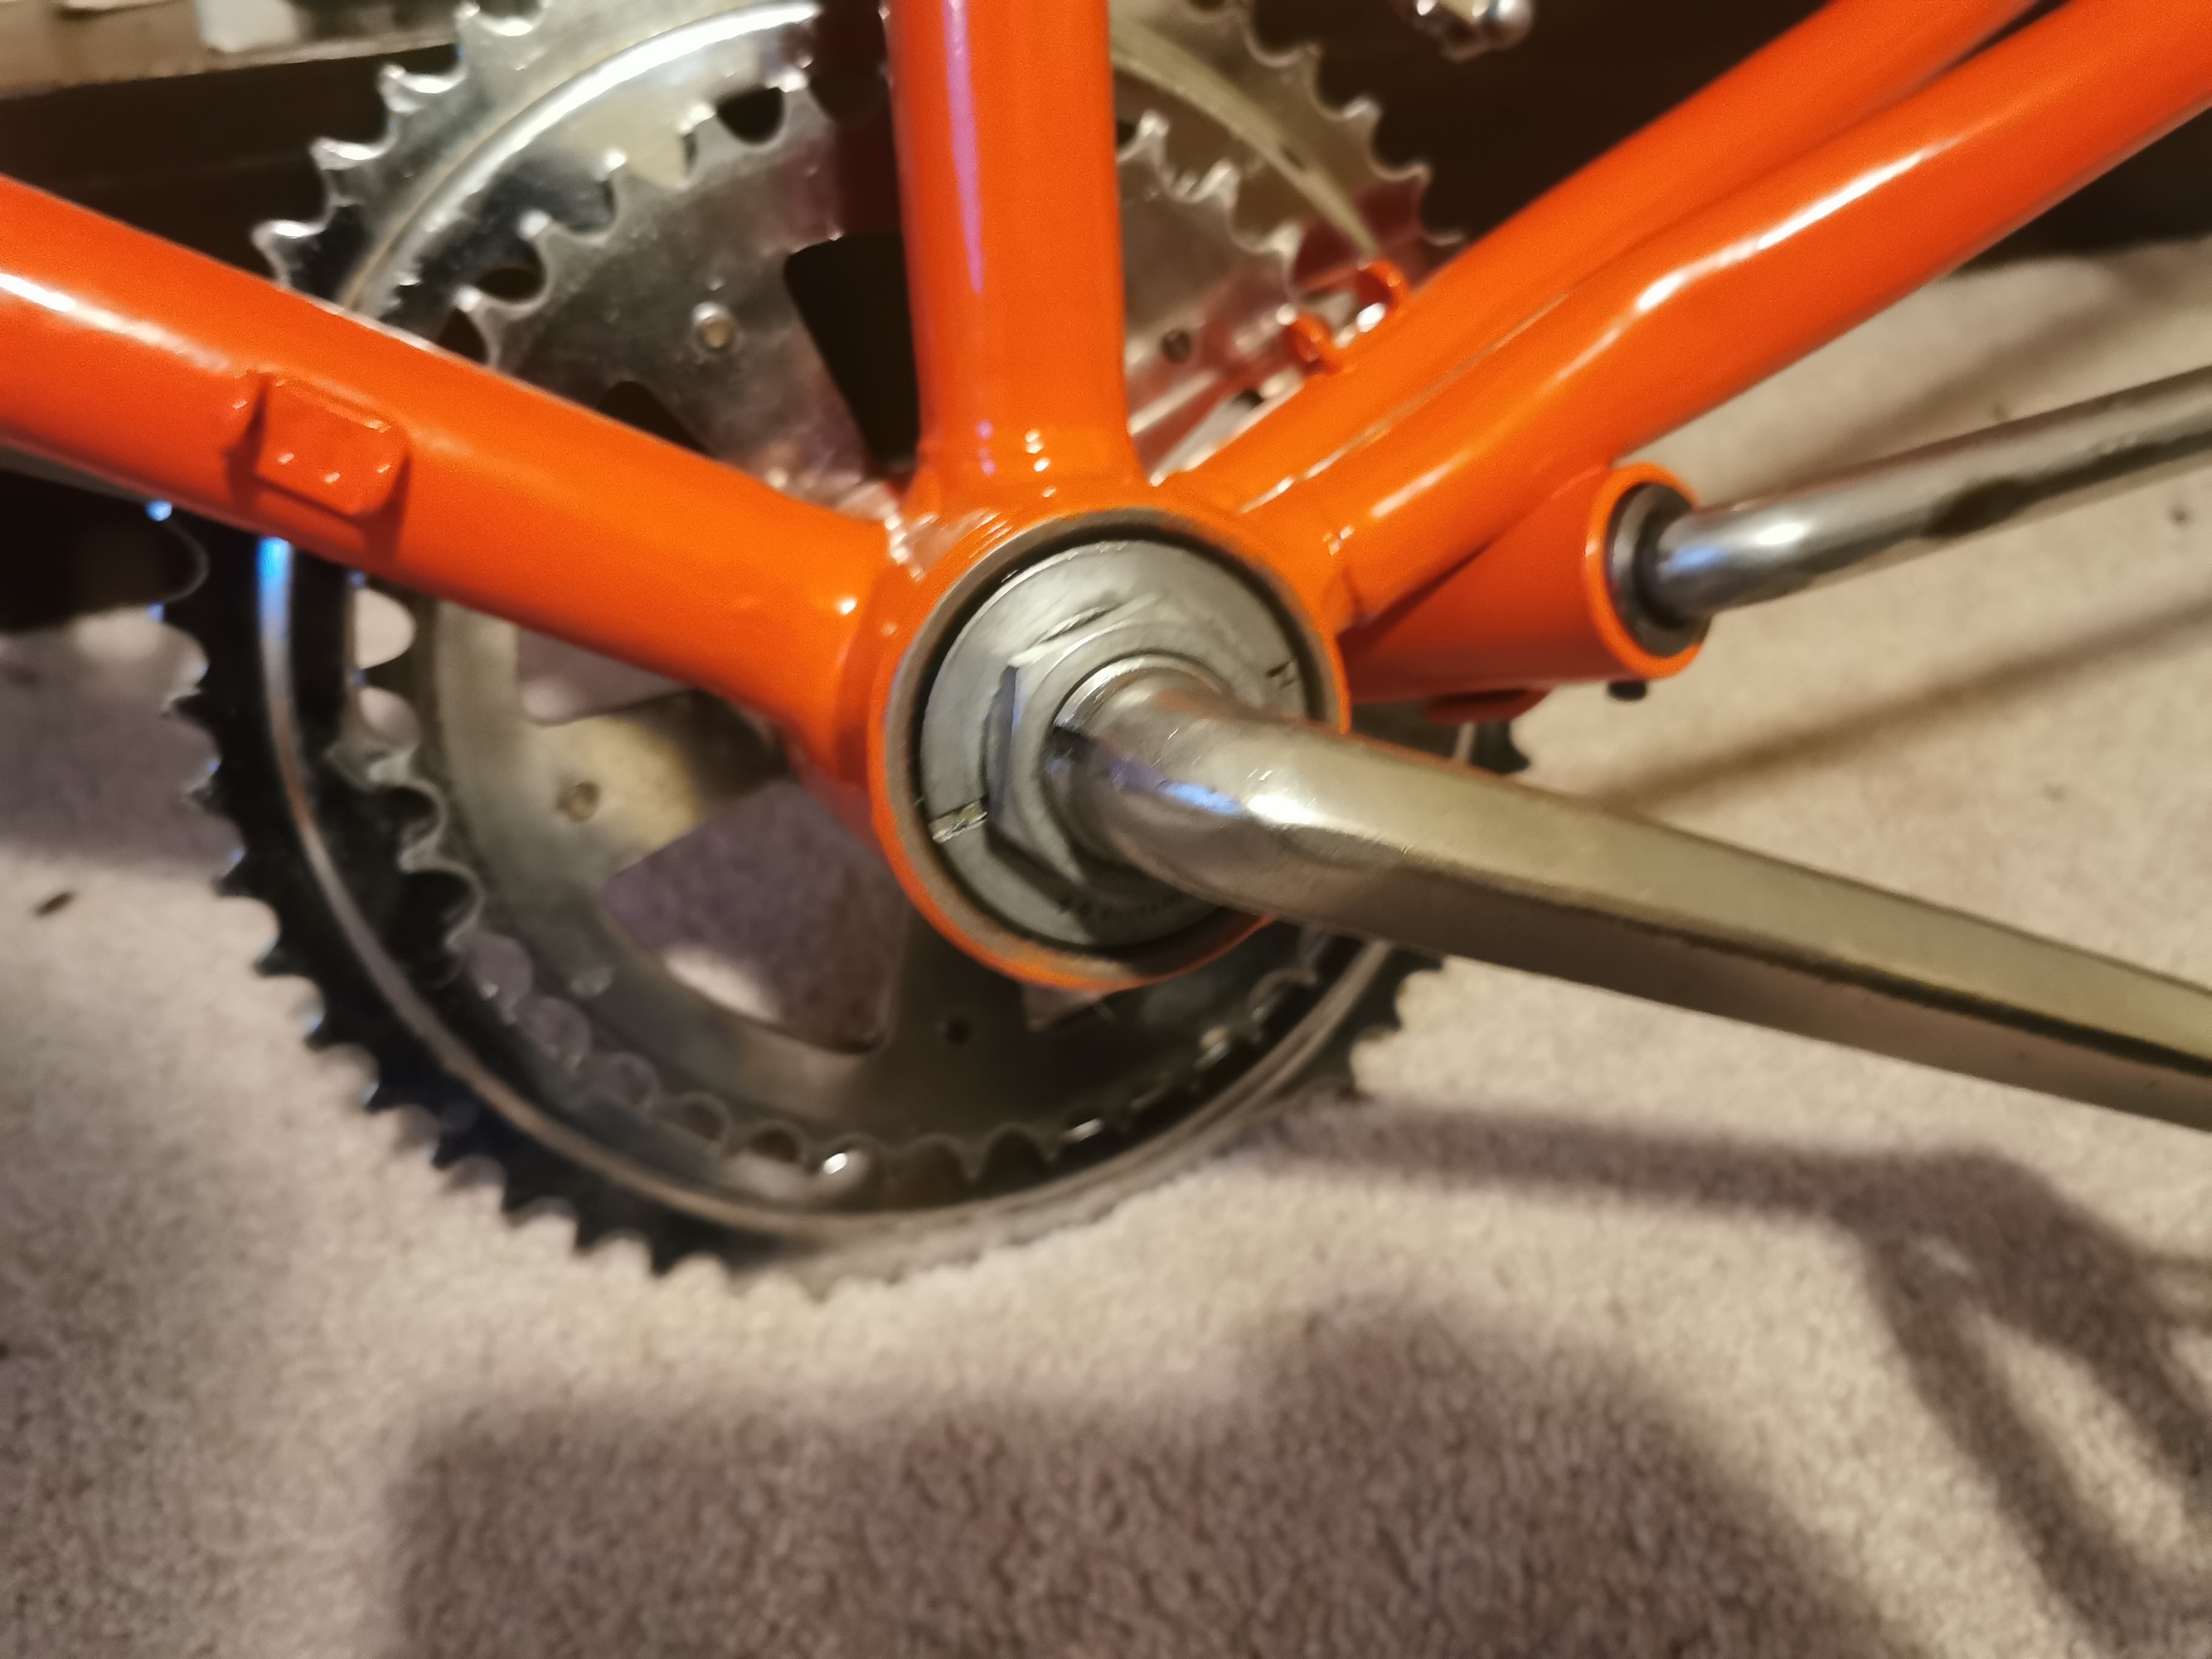
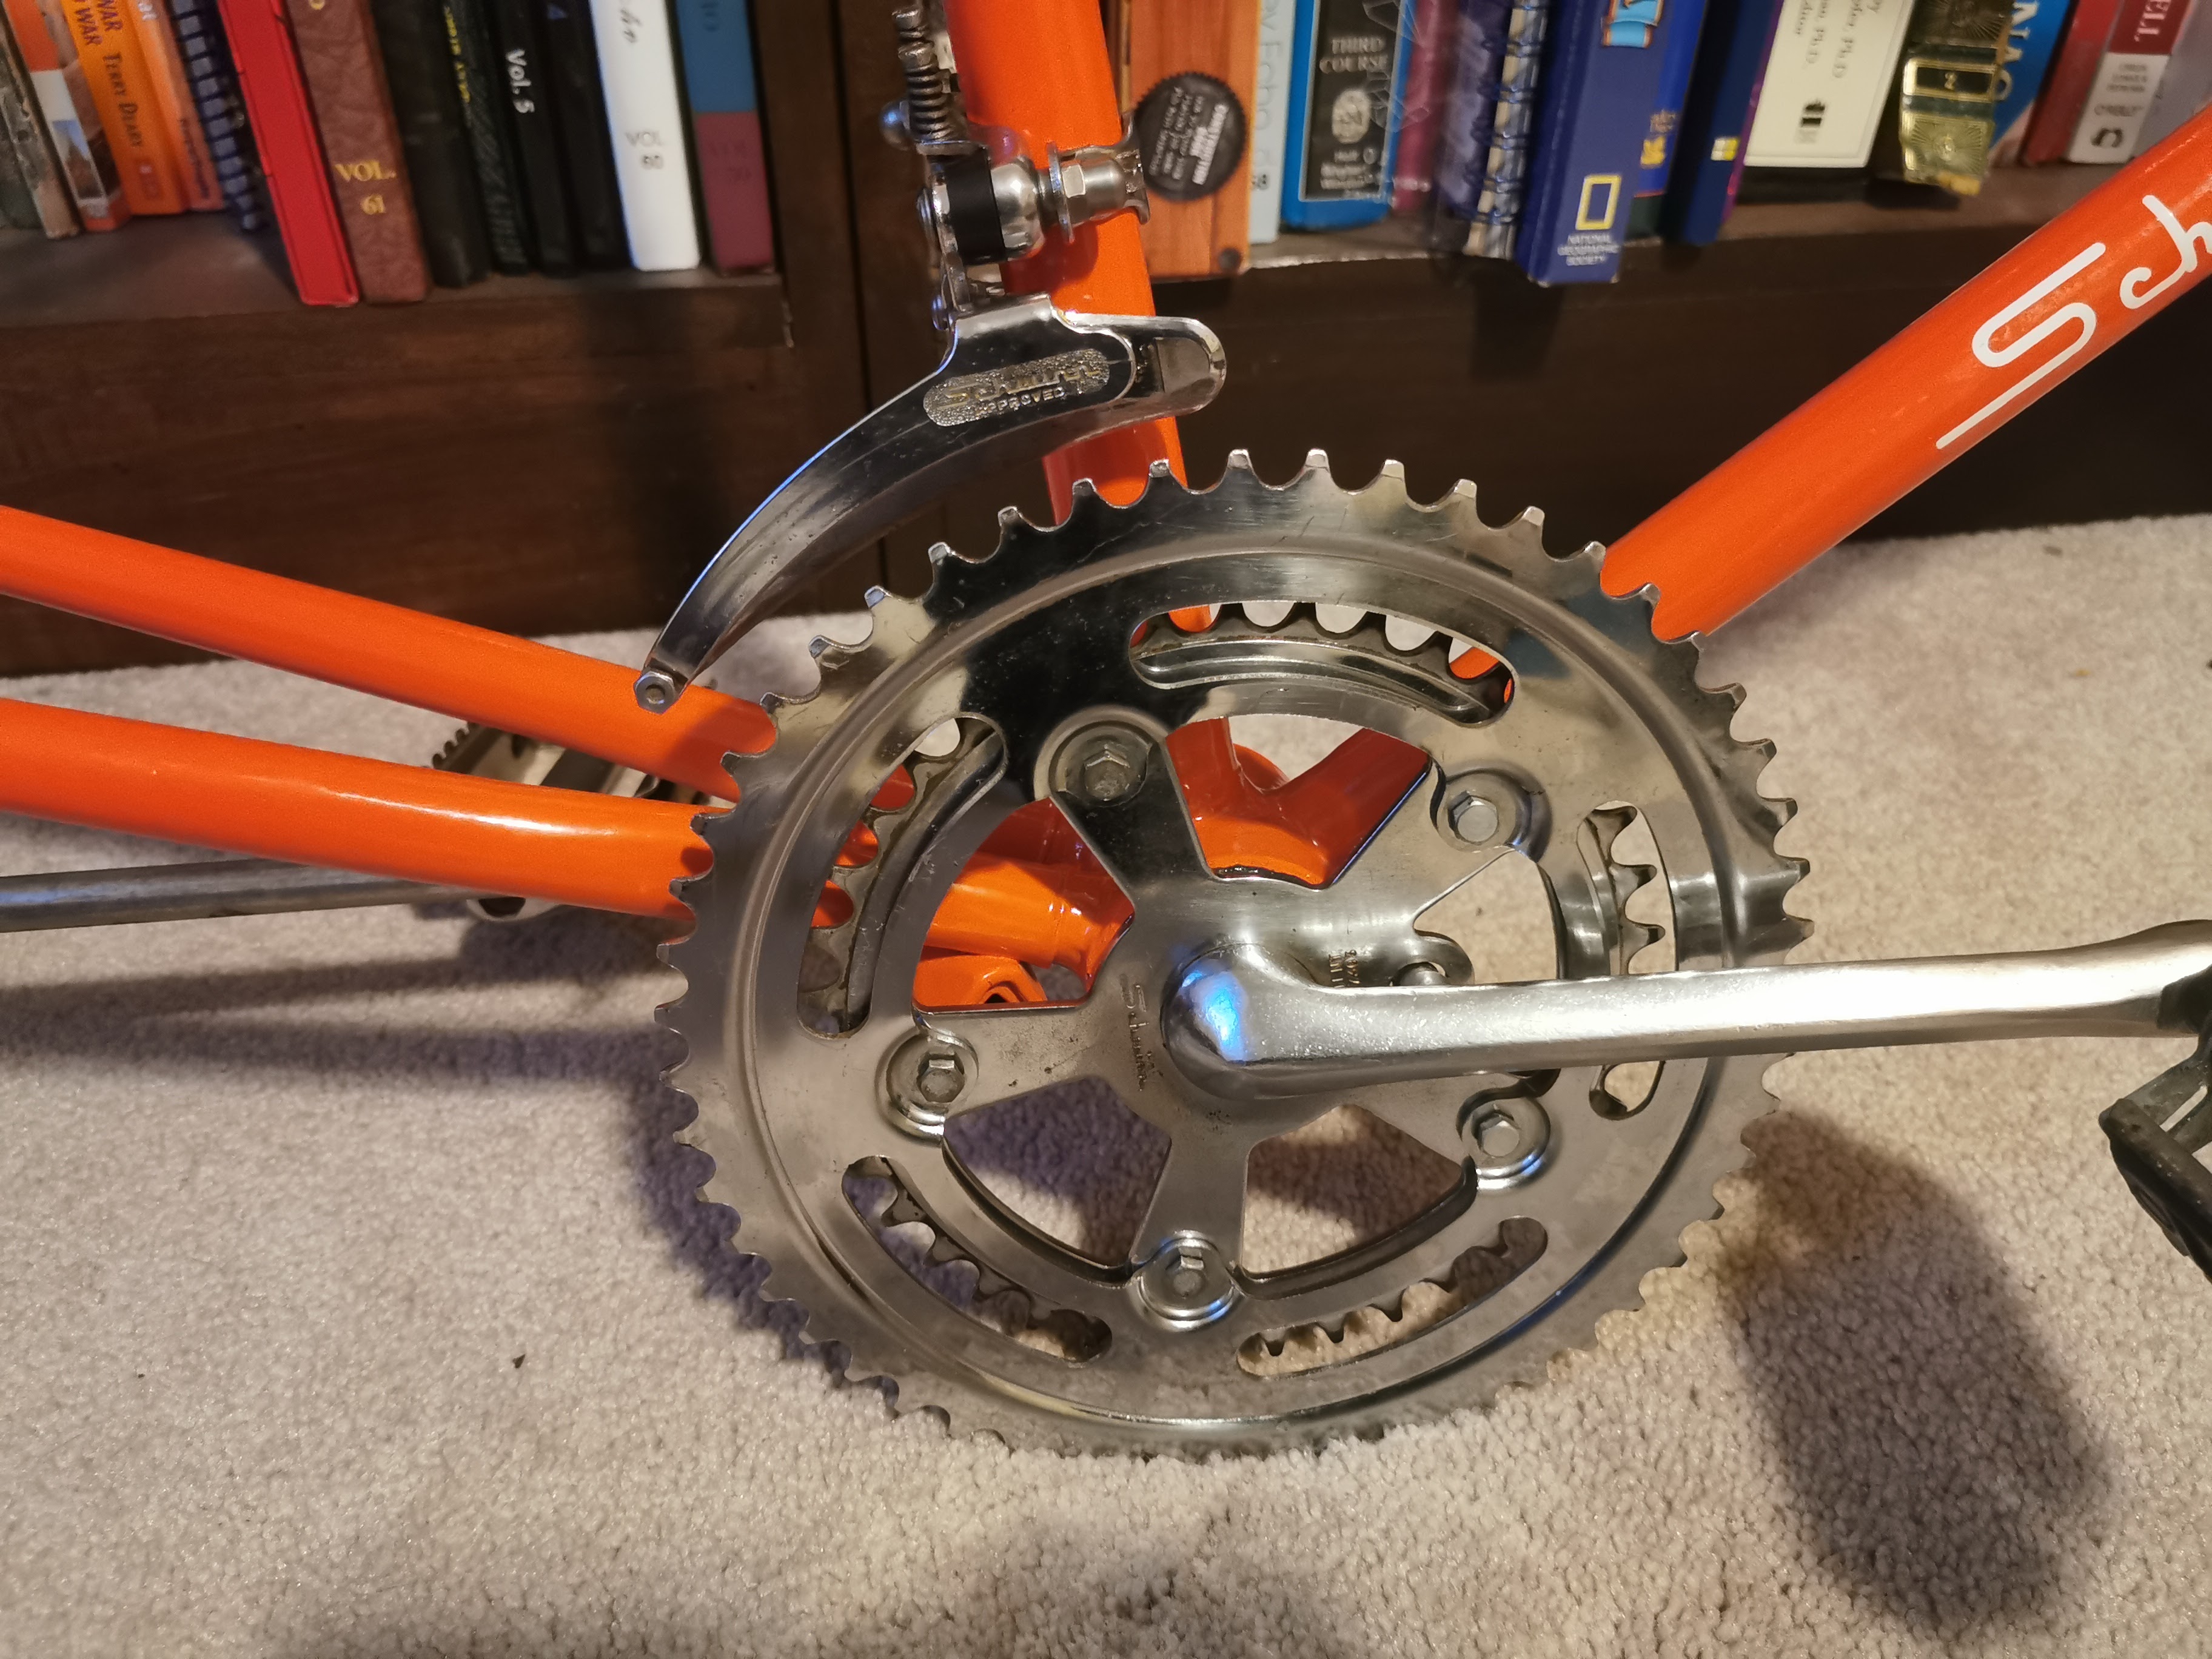
I’d cleaned many of the parts by the time I got the frame back, so I took it to the front porch and started putting it back together. I really need a bike stand, the porch swing isn’t too stable. But it was here that I repacked the bottom bracket. Wasn’t nearly as complicated as I thought it would be. I restored my old Bianchi a few years back but I think I took it to the bike shop and had them either repack it for me or replace it with a sealed cartridge. Can’t remember. Anyway, it’s now super smooth. And clean.
Before and after pics of the backside of the crank and bottom bracket.

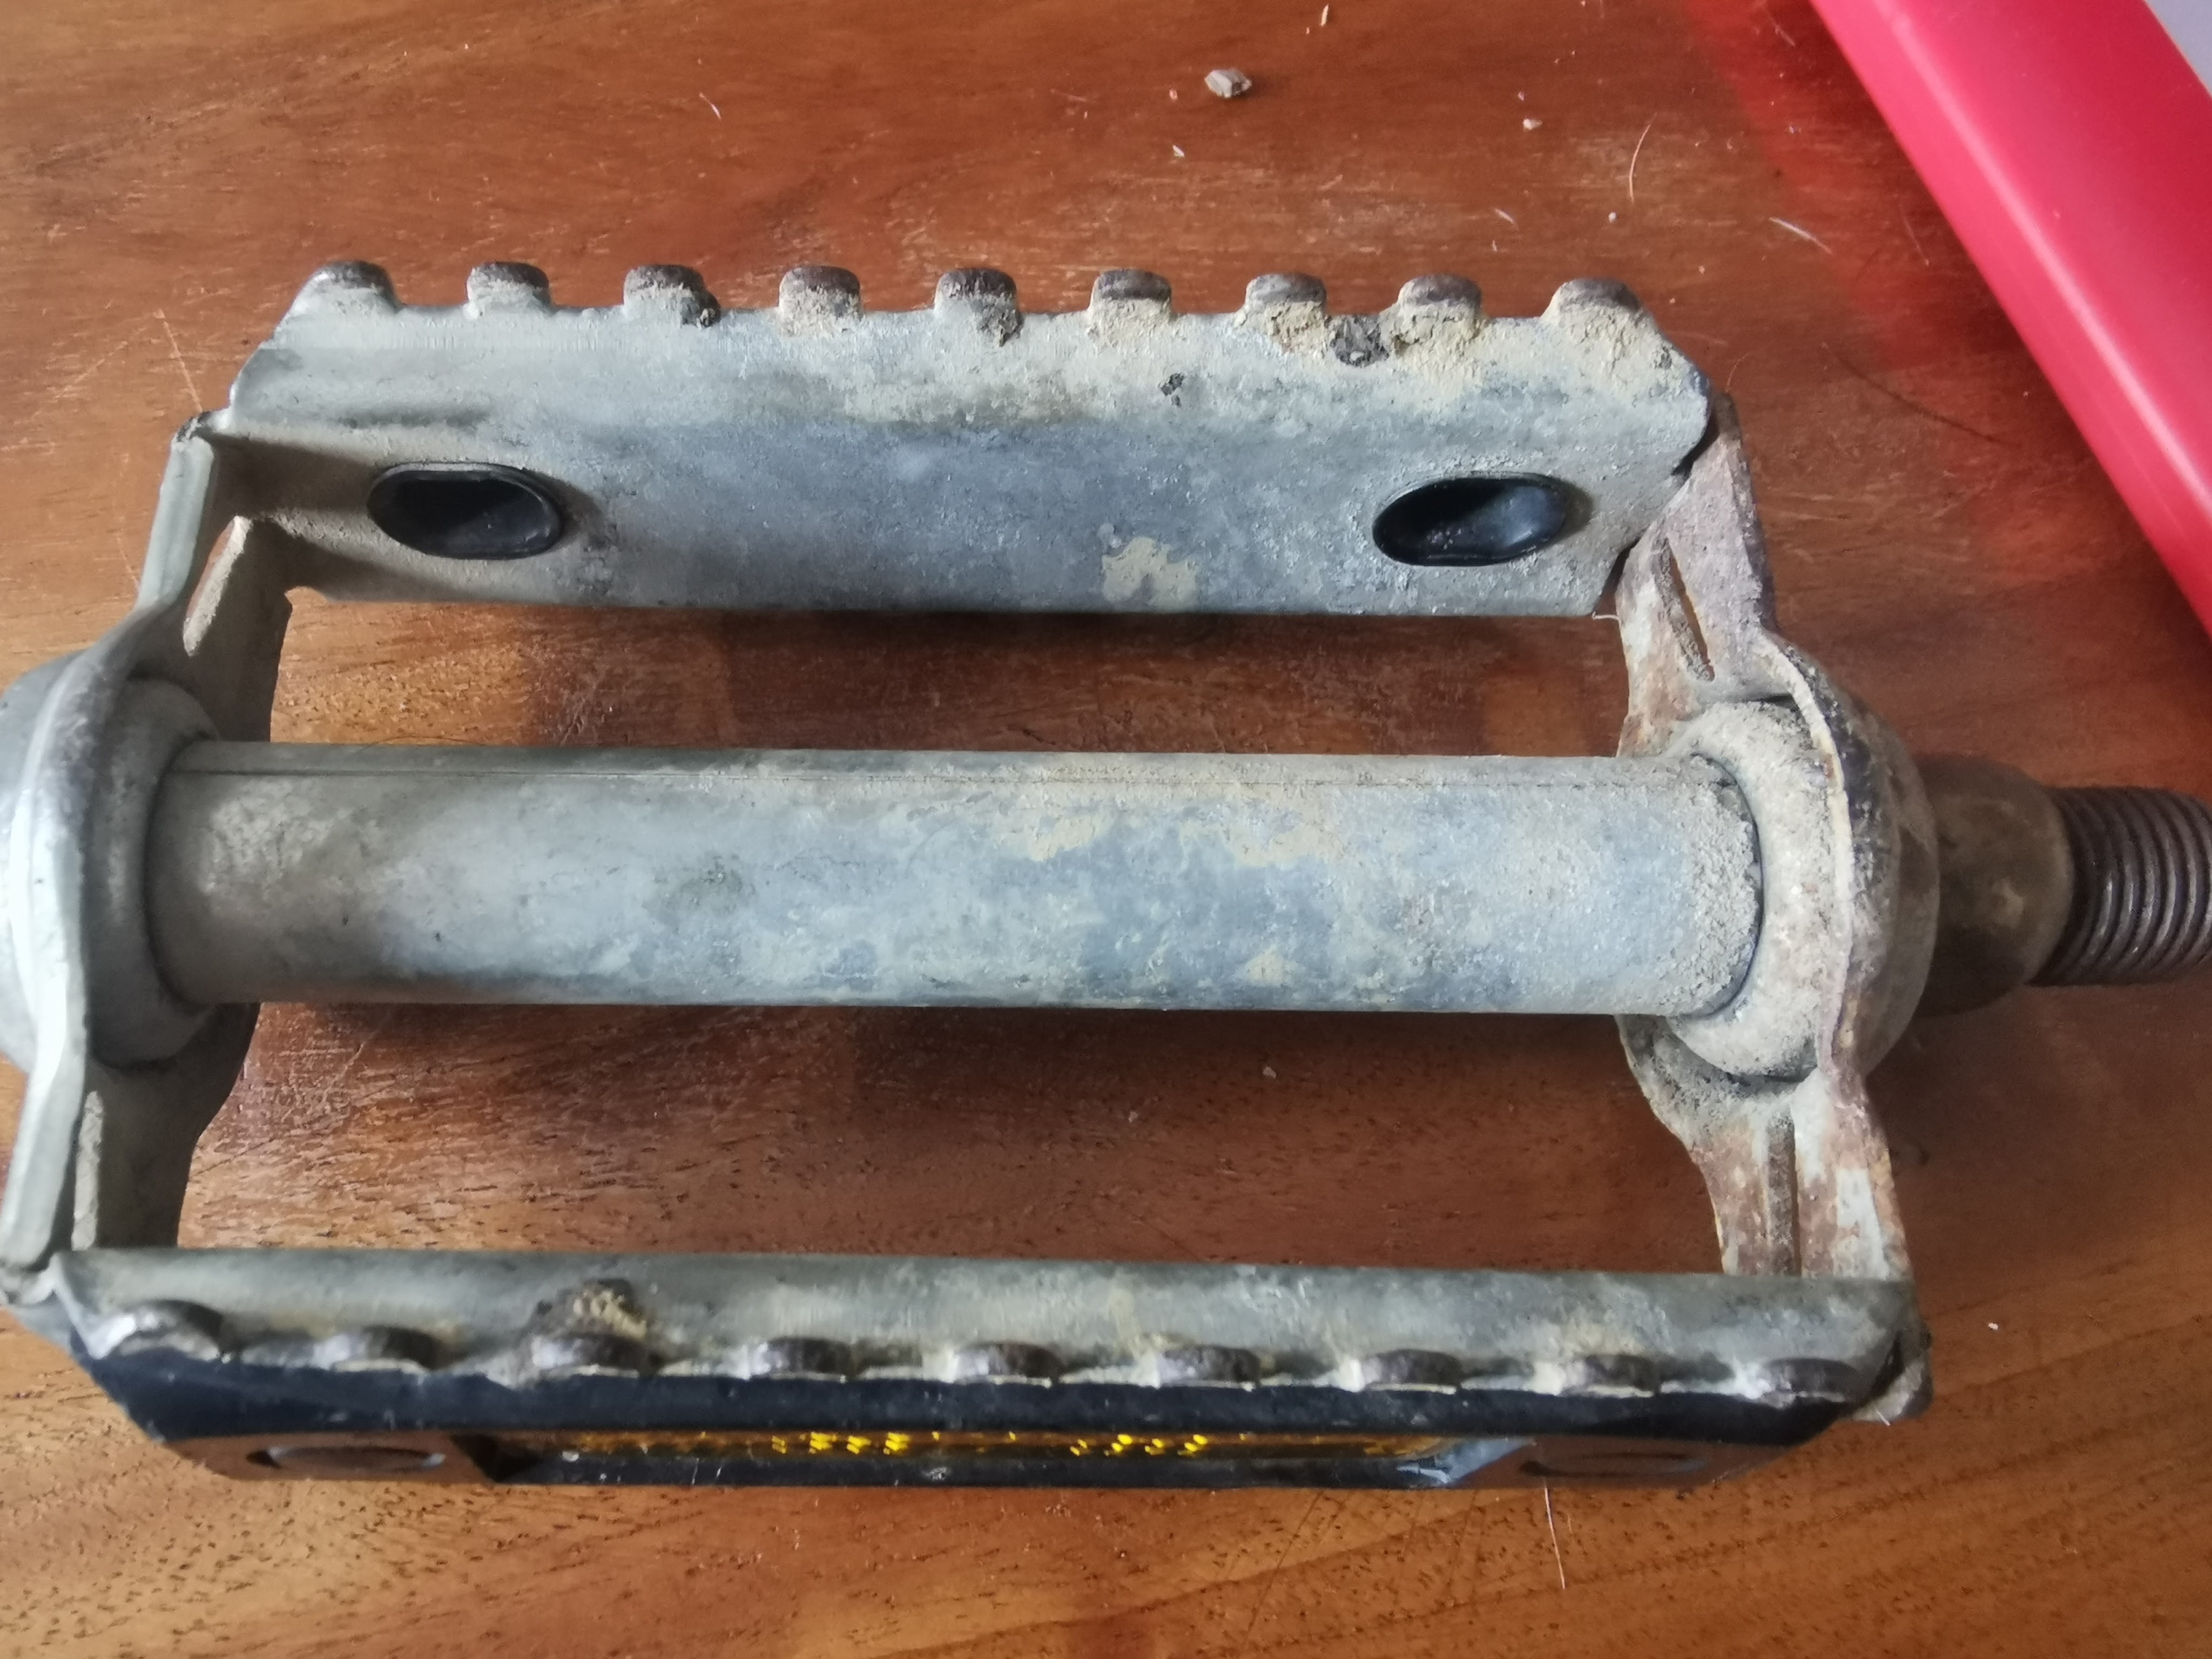
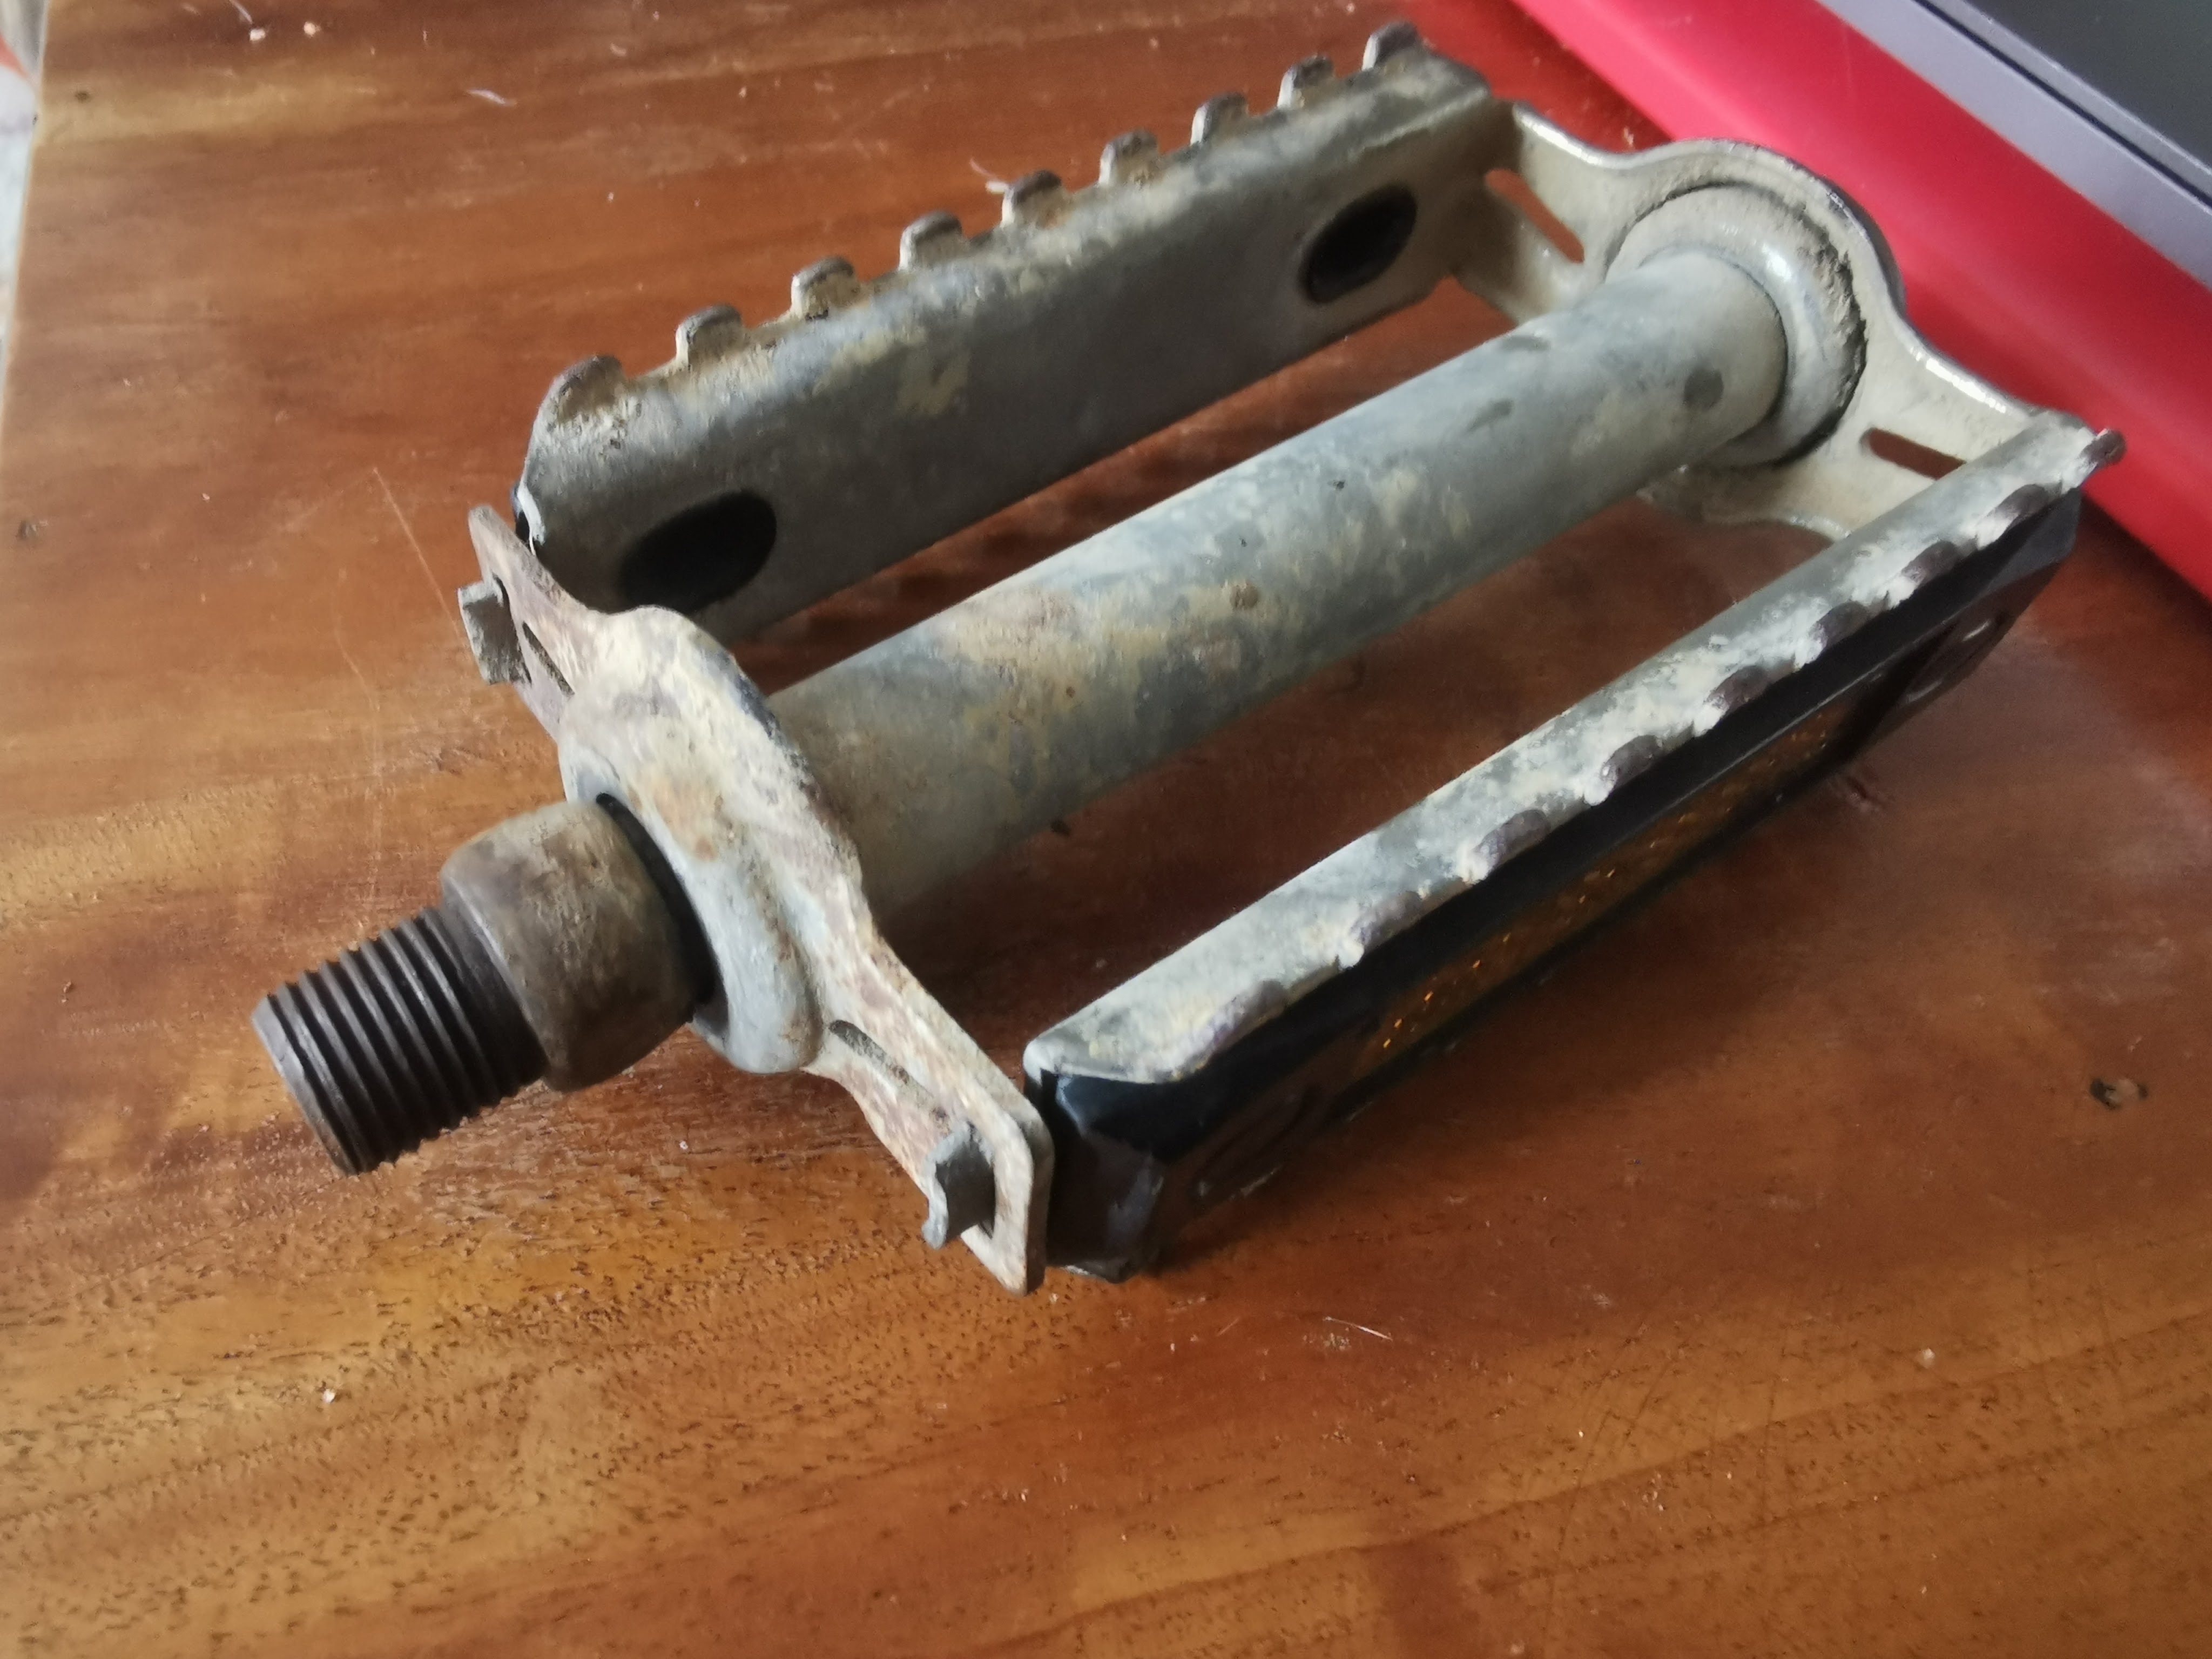
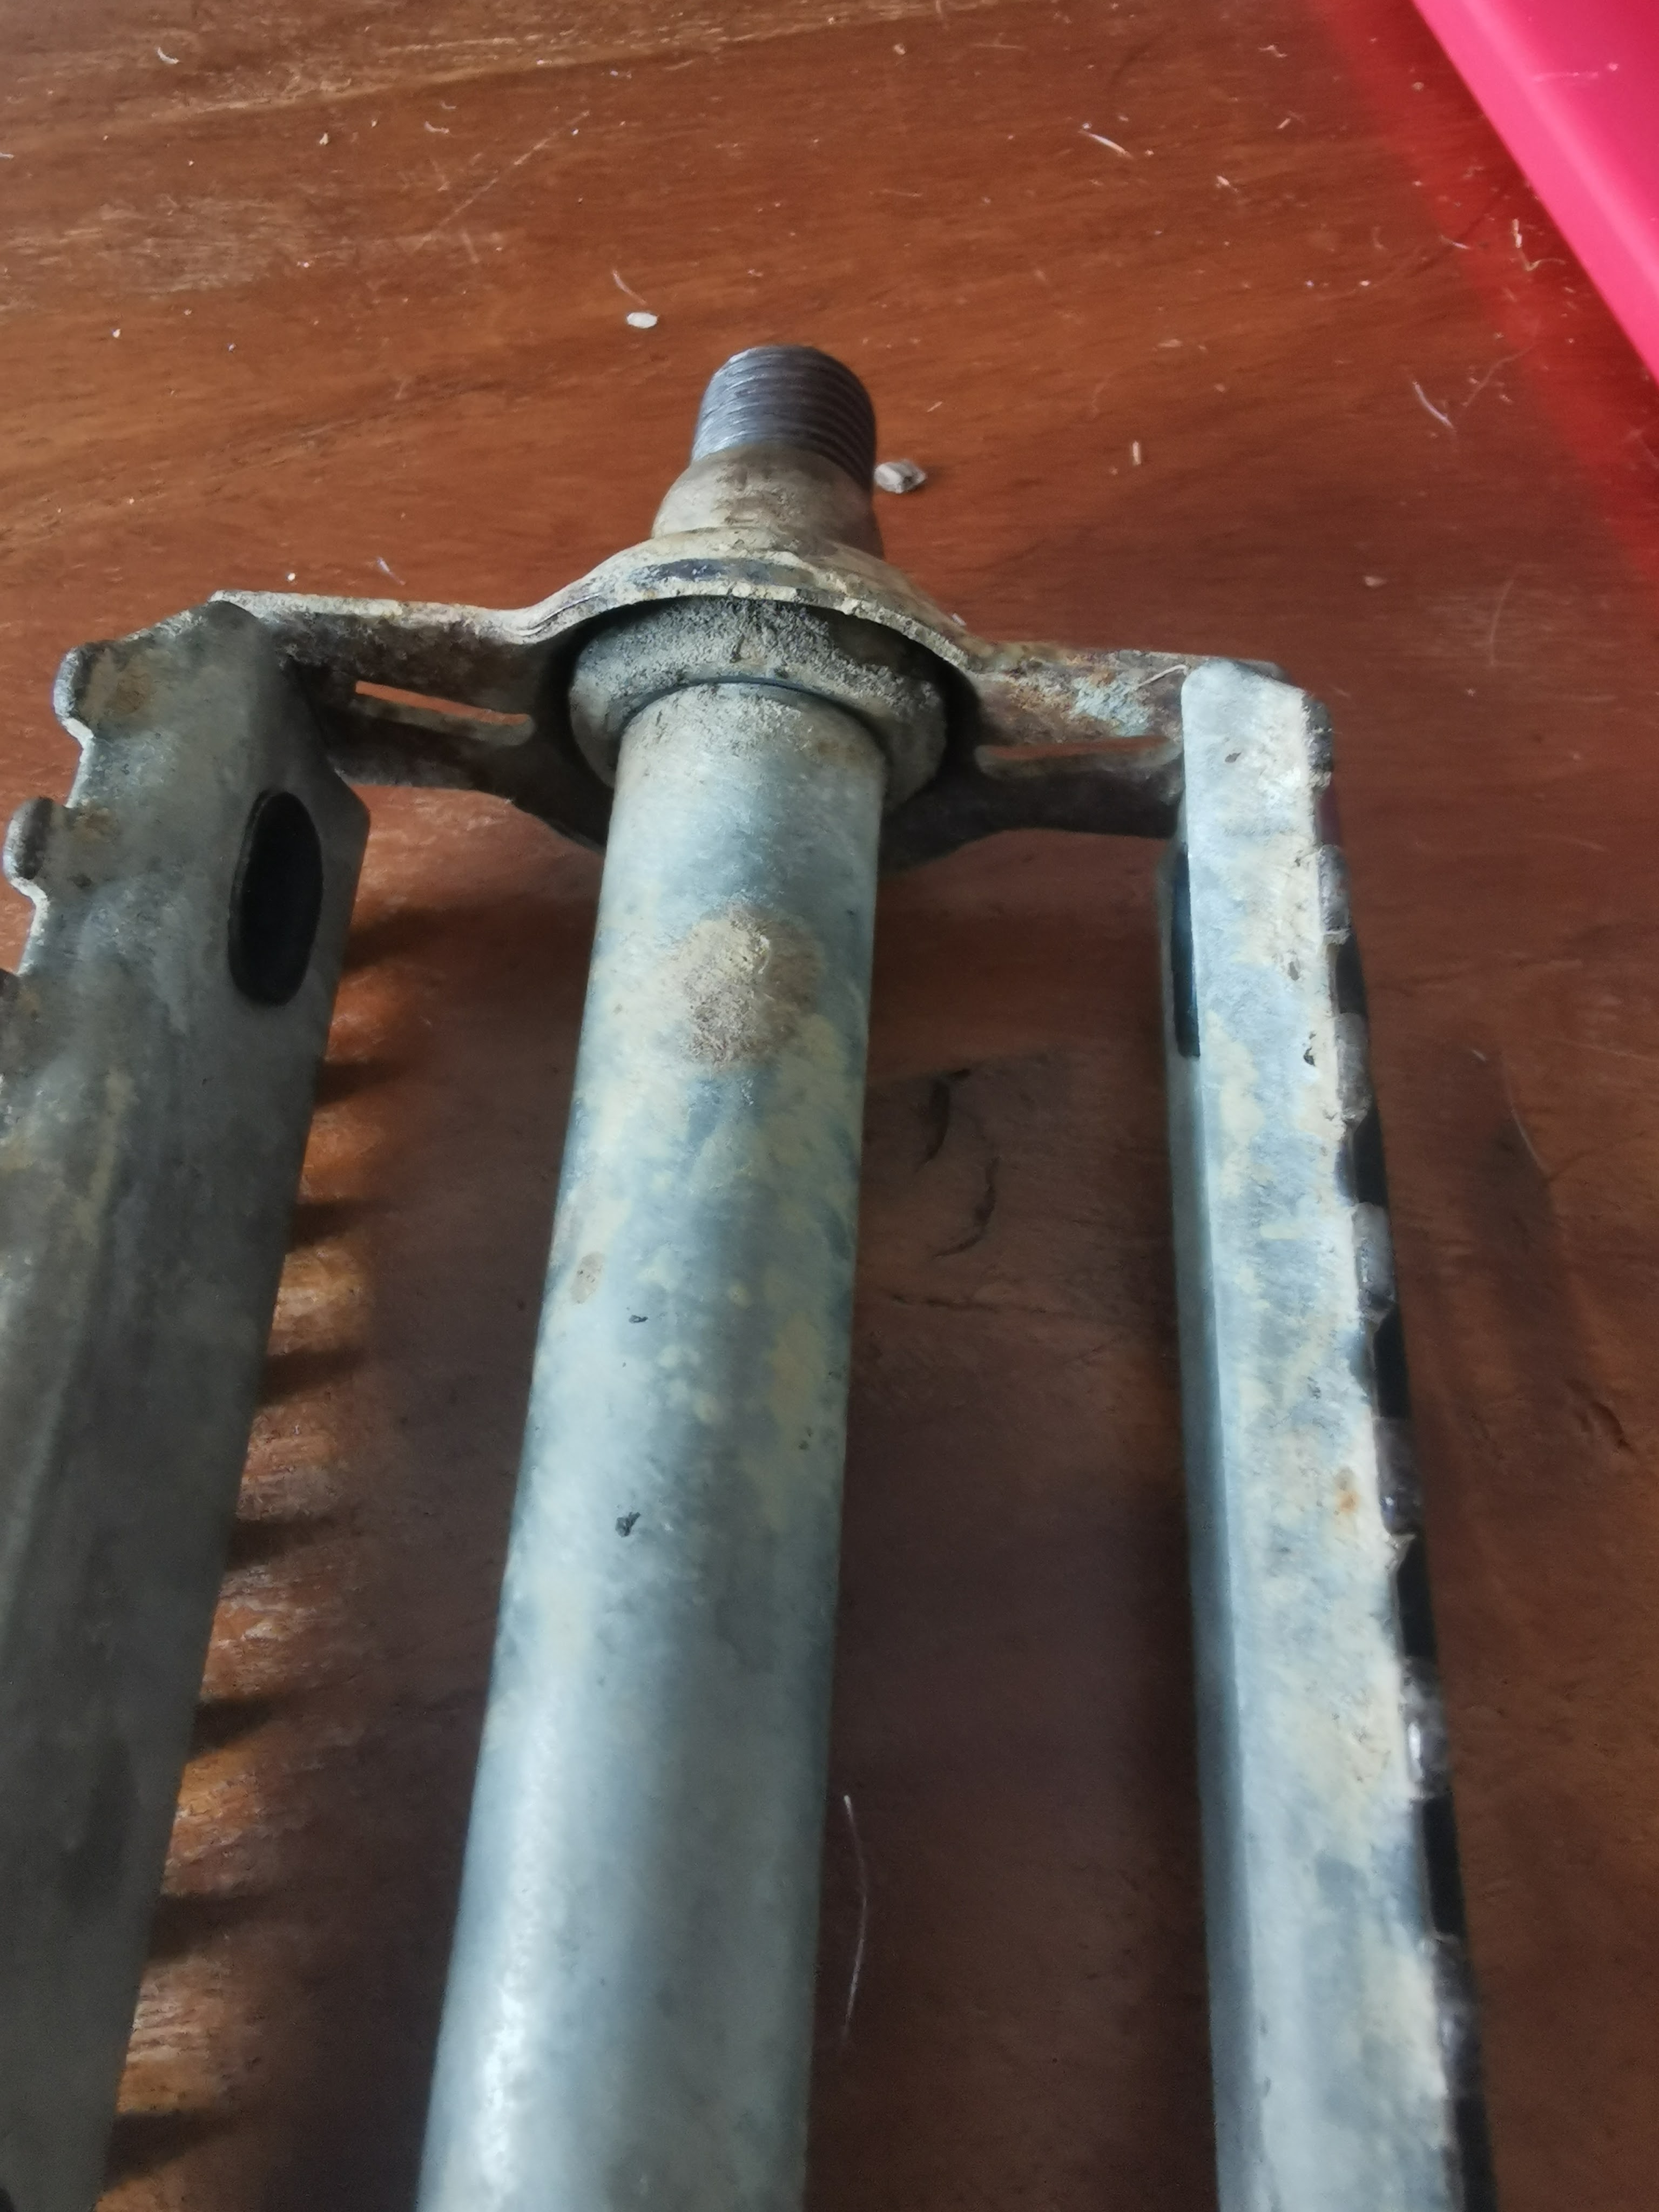
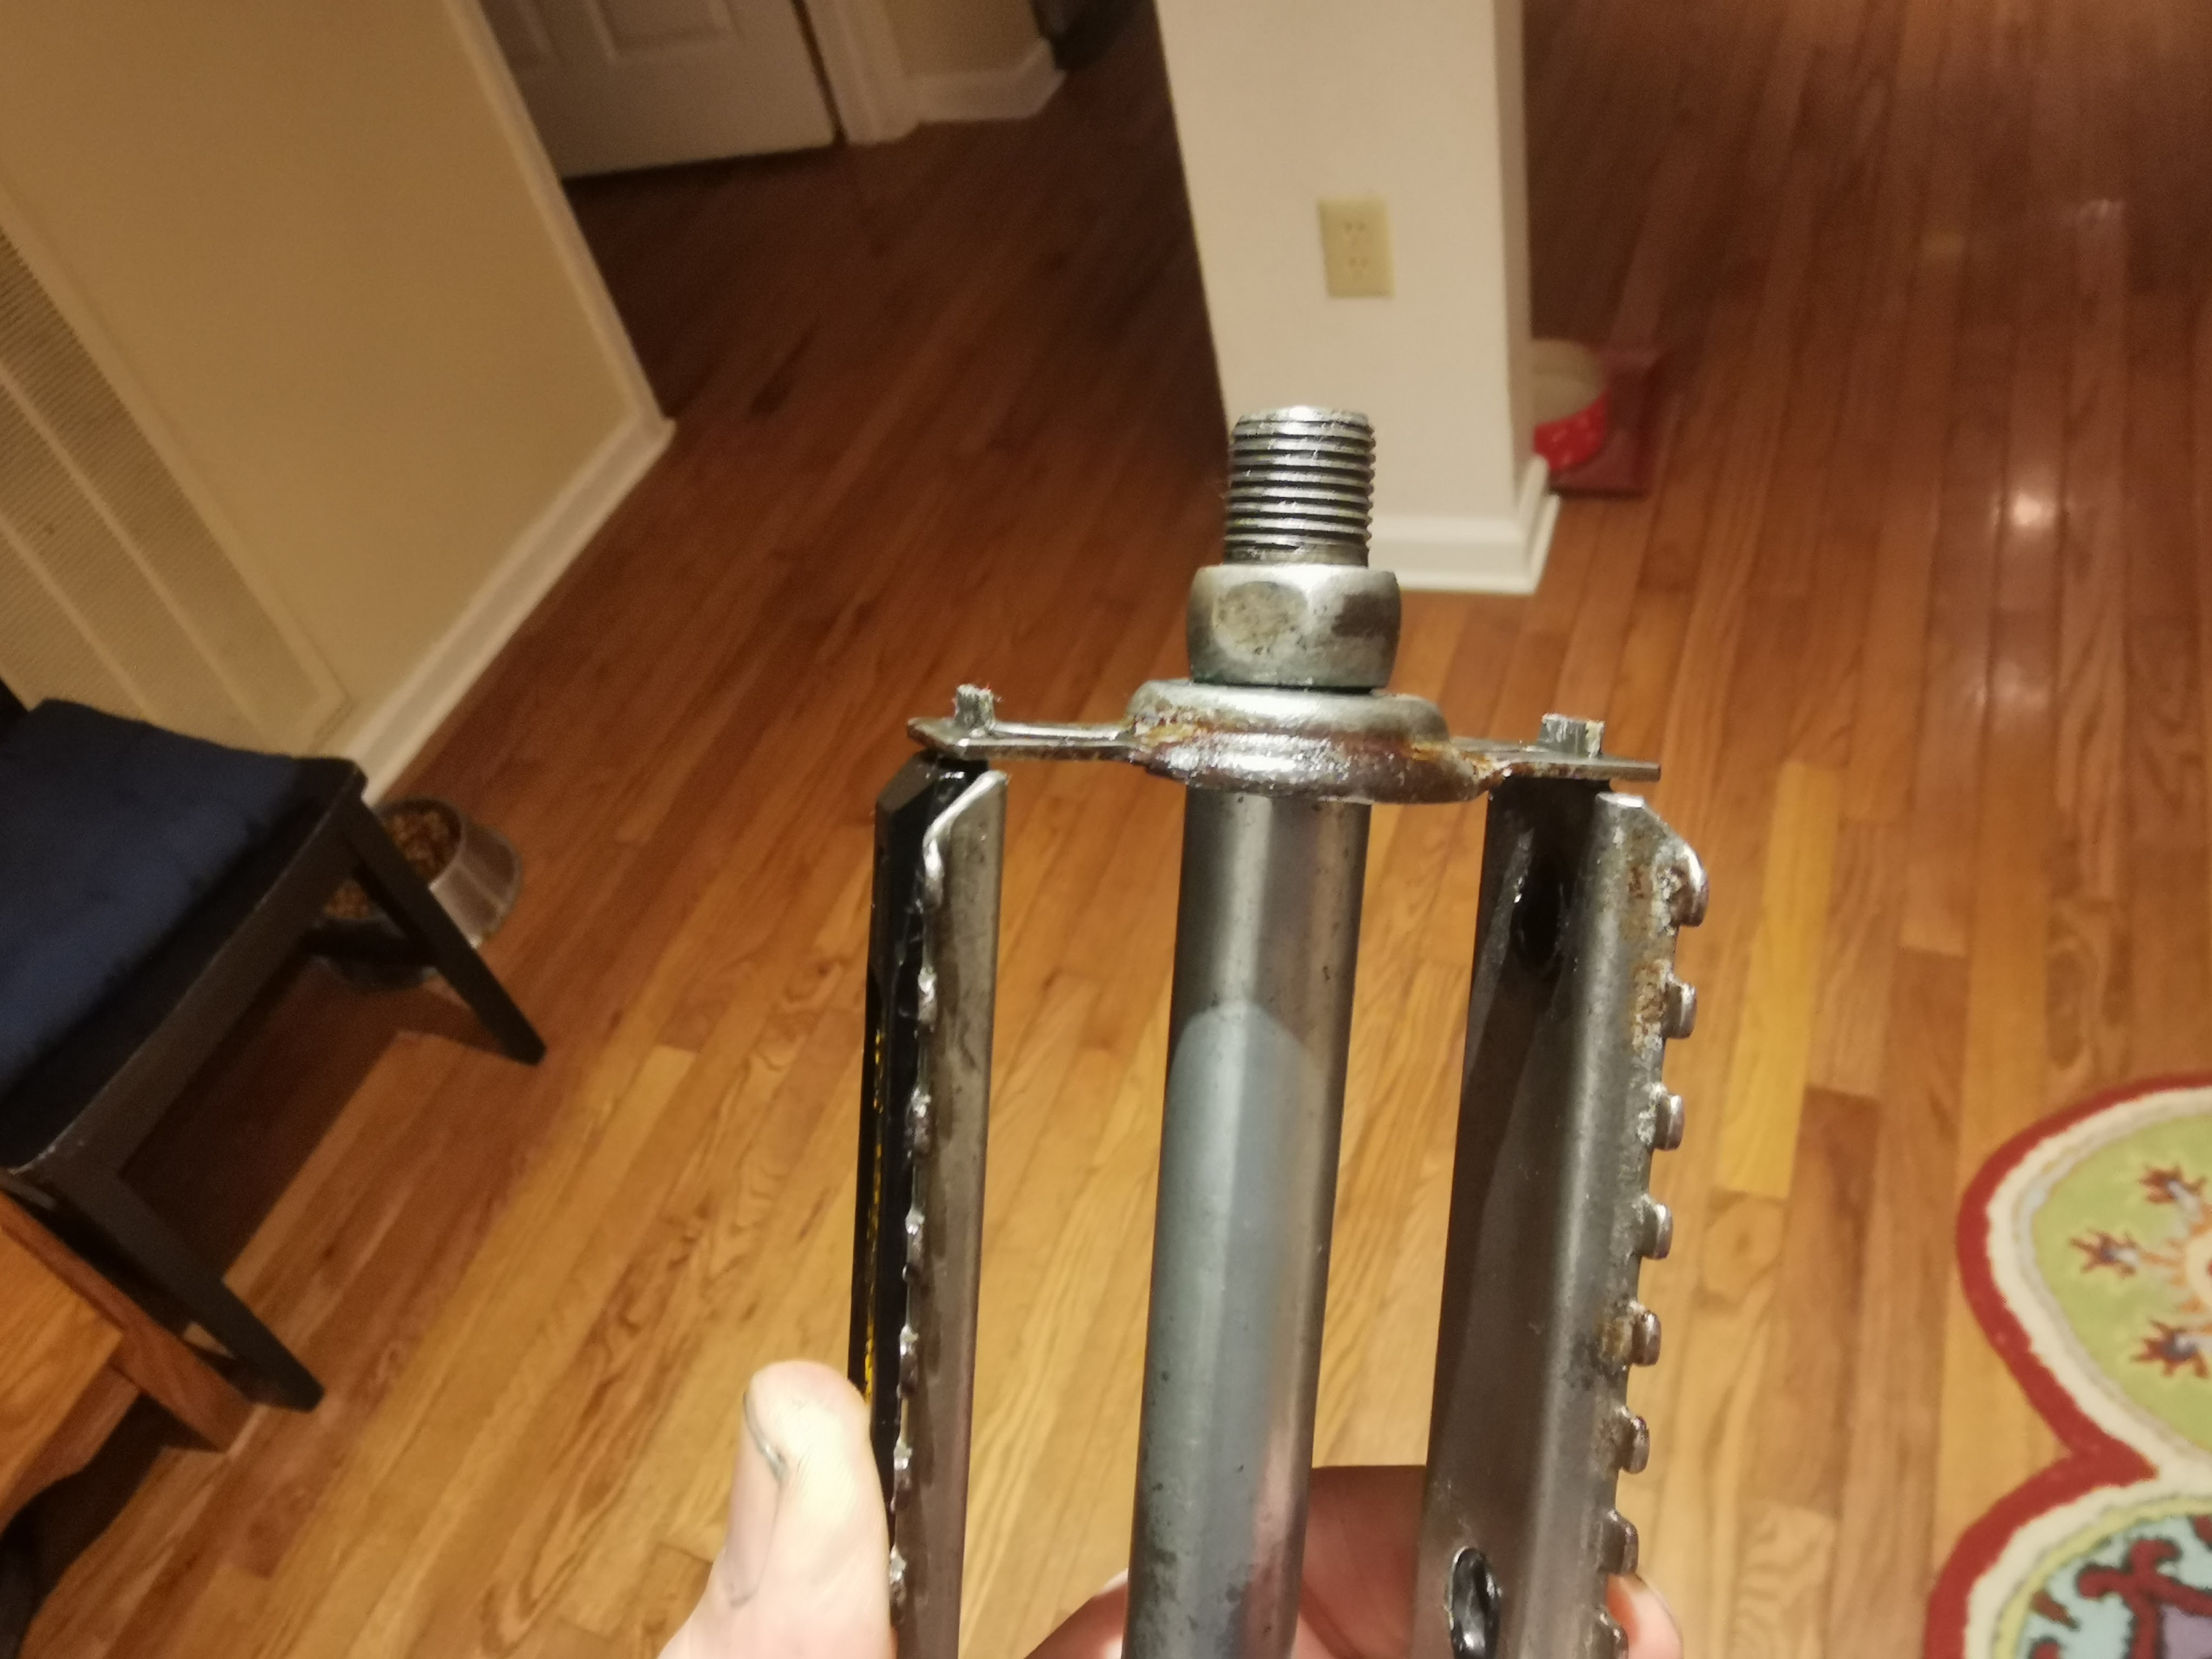
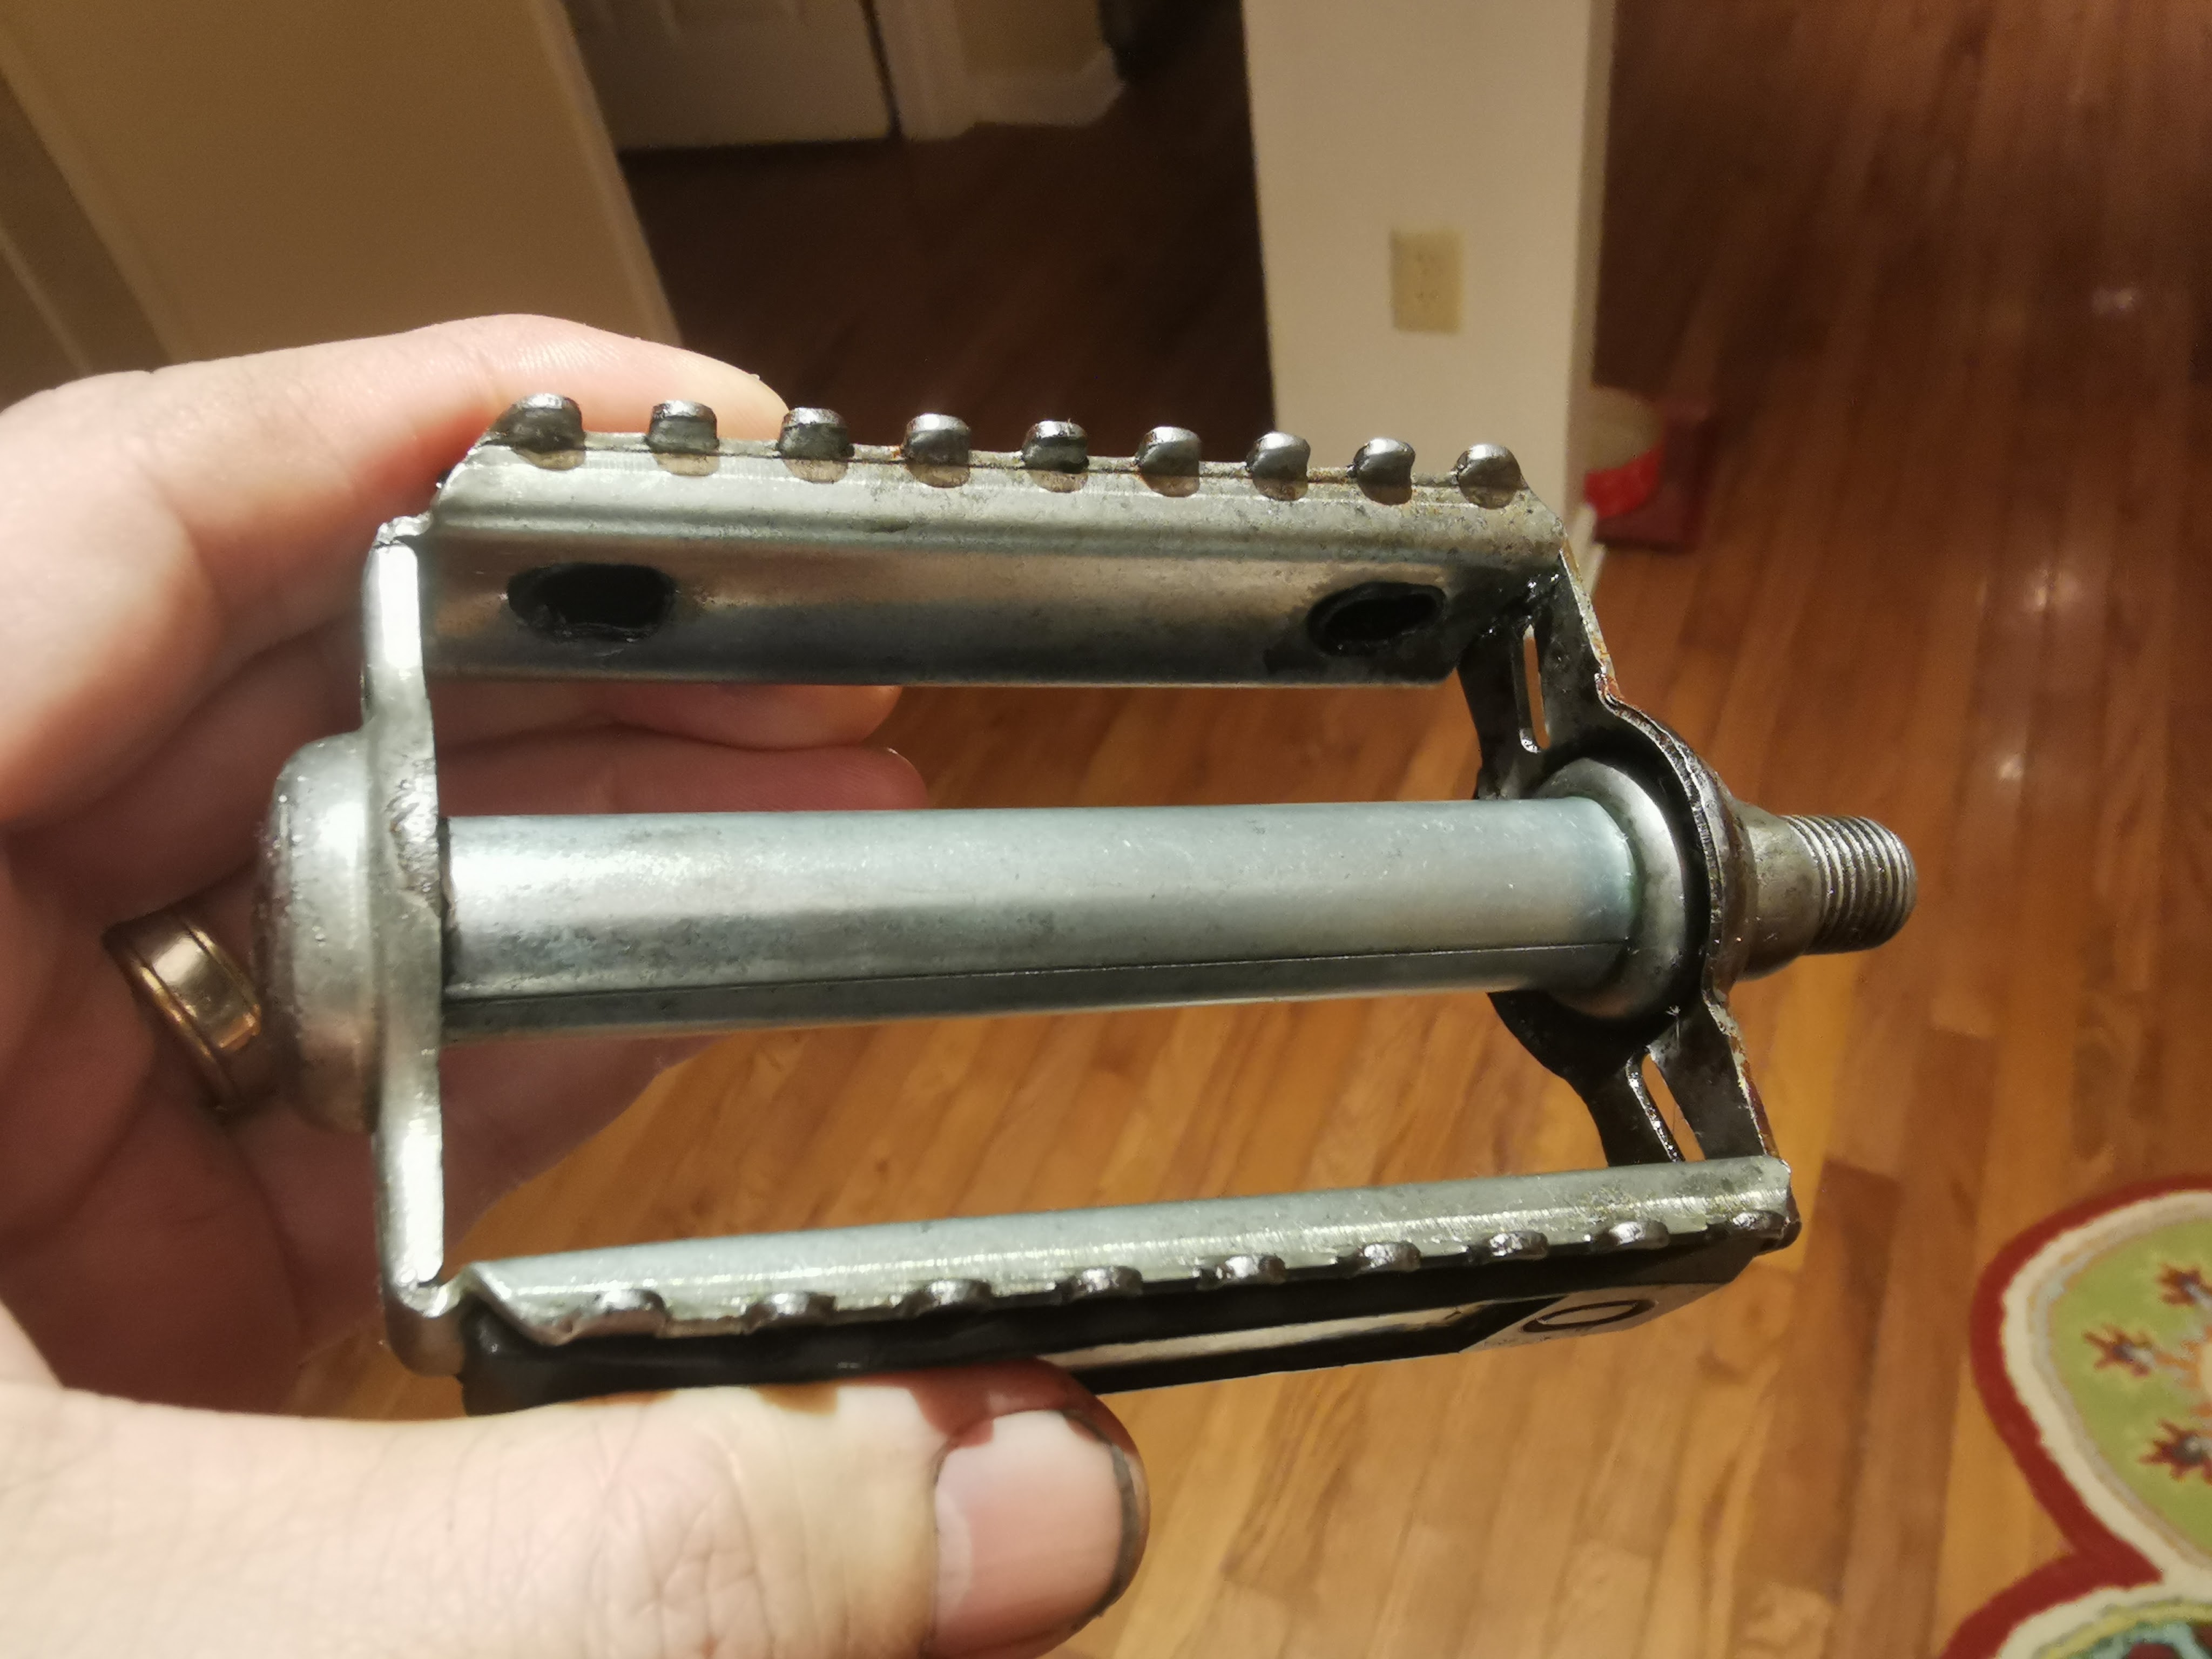
Here are the pedals before they are cleaned, and exploded.


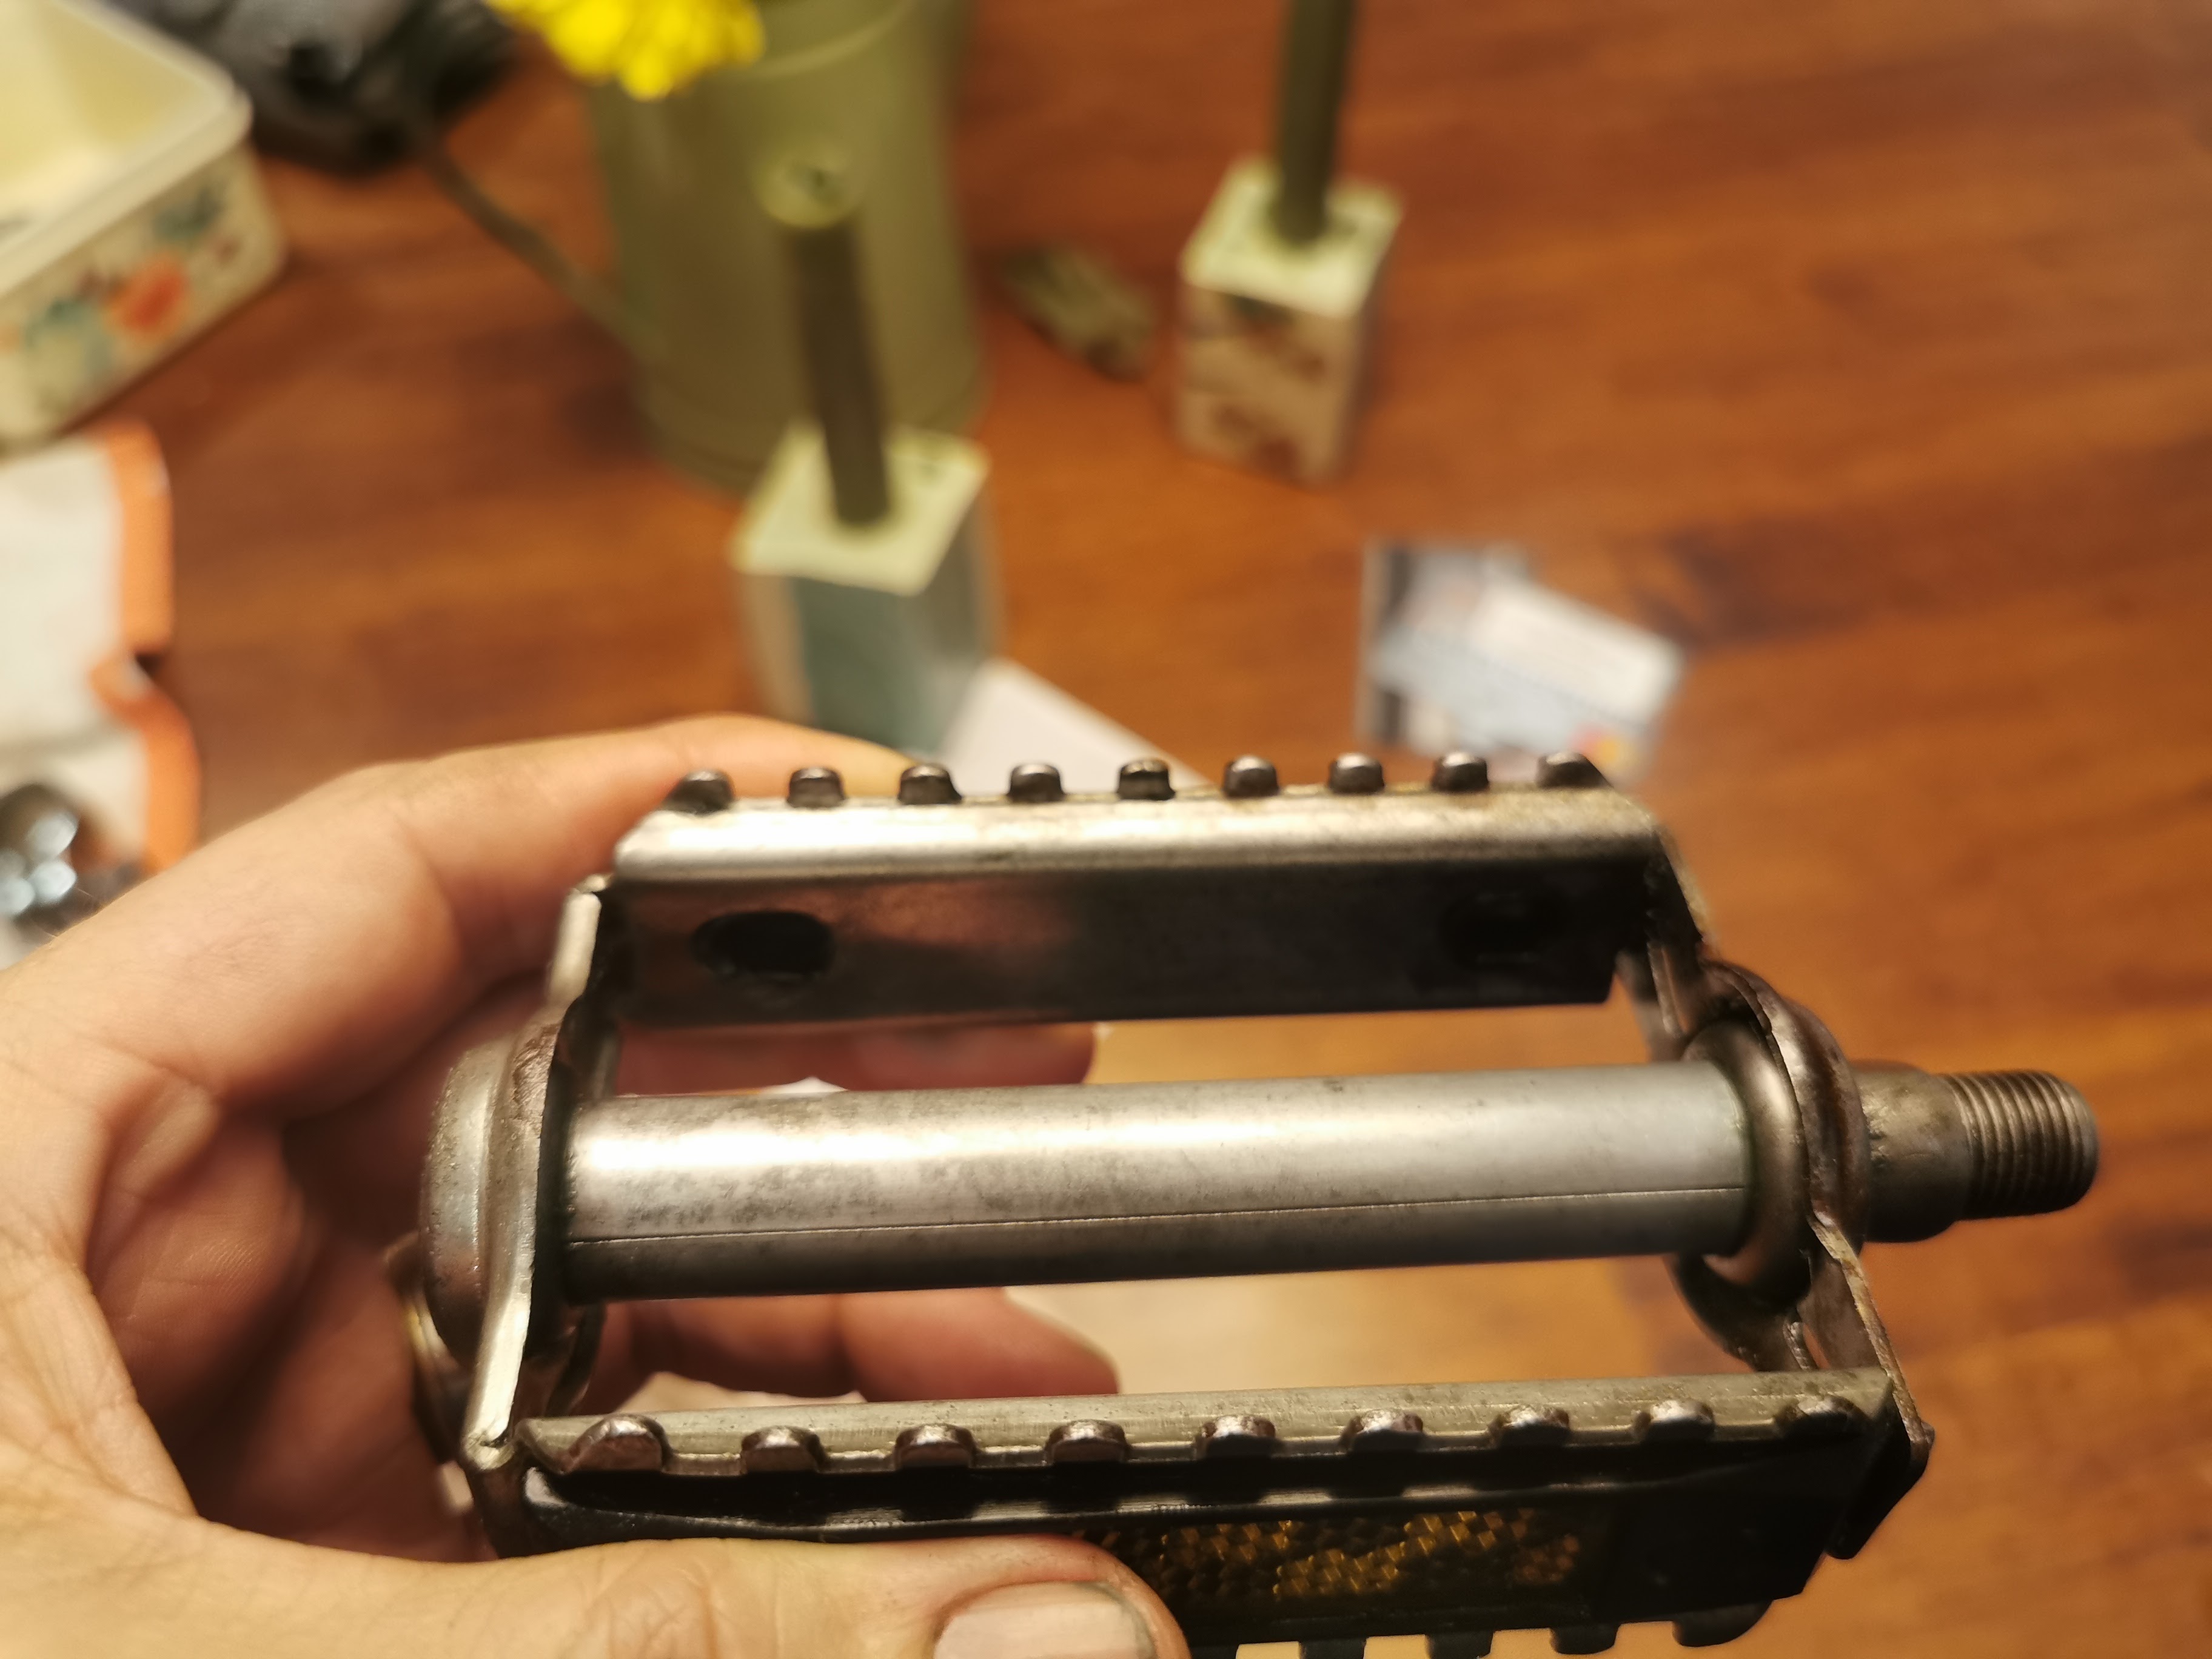
Here are the pedals after they are cleaned on on the bike. Not only are they cleaner, but I repacked the bearings and they spin so much more smoothly now. I was actually resigned to getting new pedals but then decided since I’d stuck with the original color that I may as well just try to keep the entire bike original, excepting the consumables.


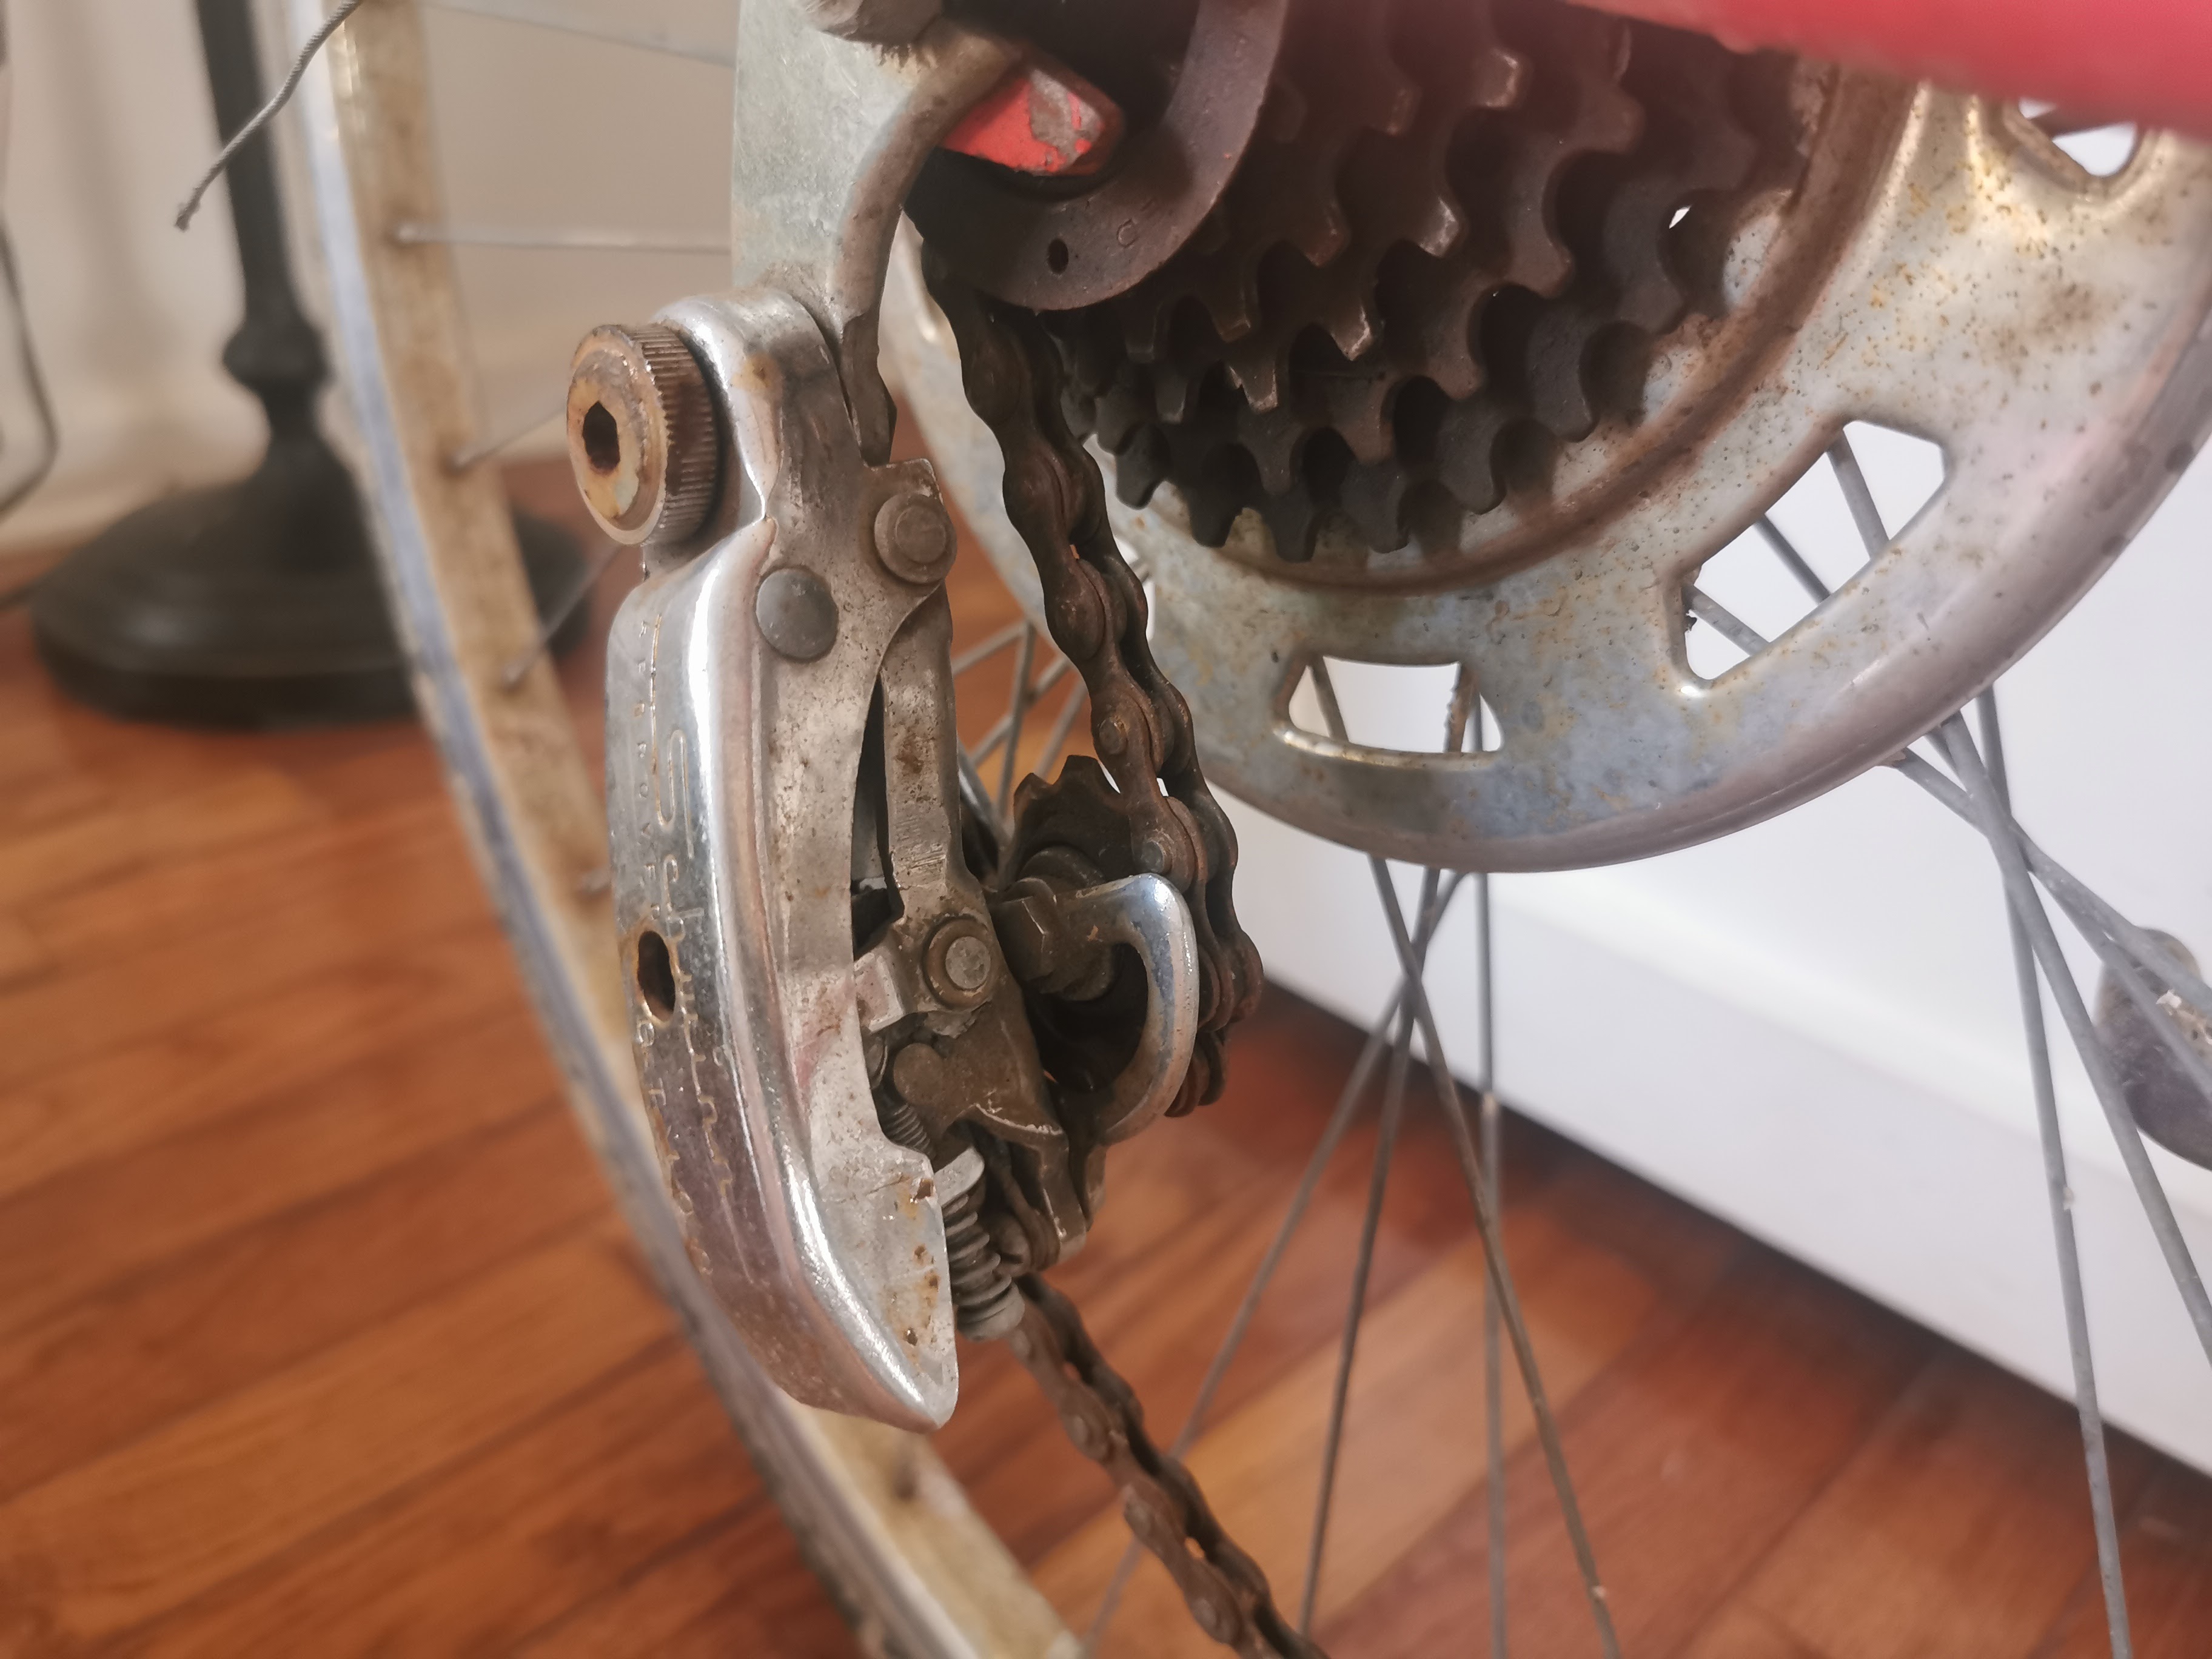
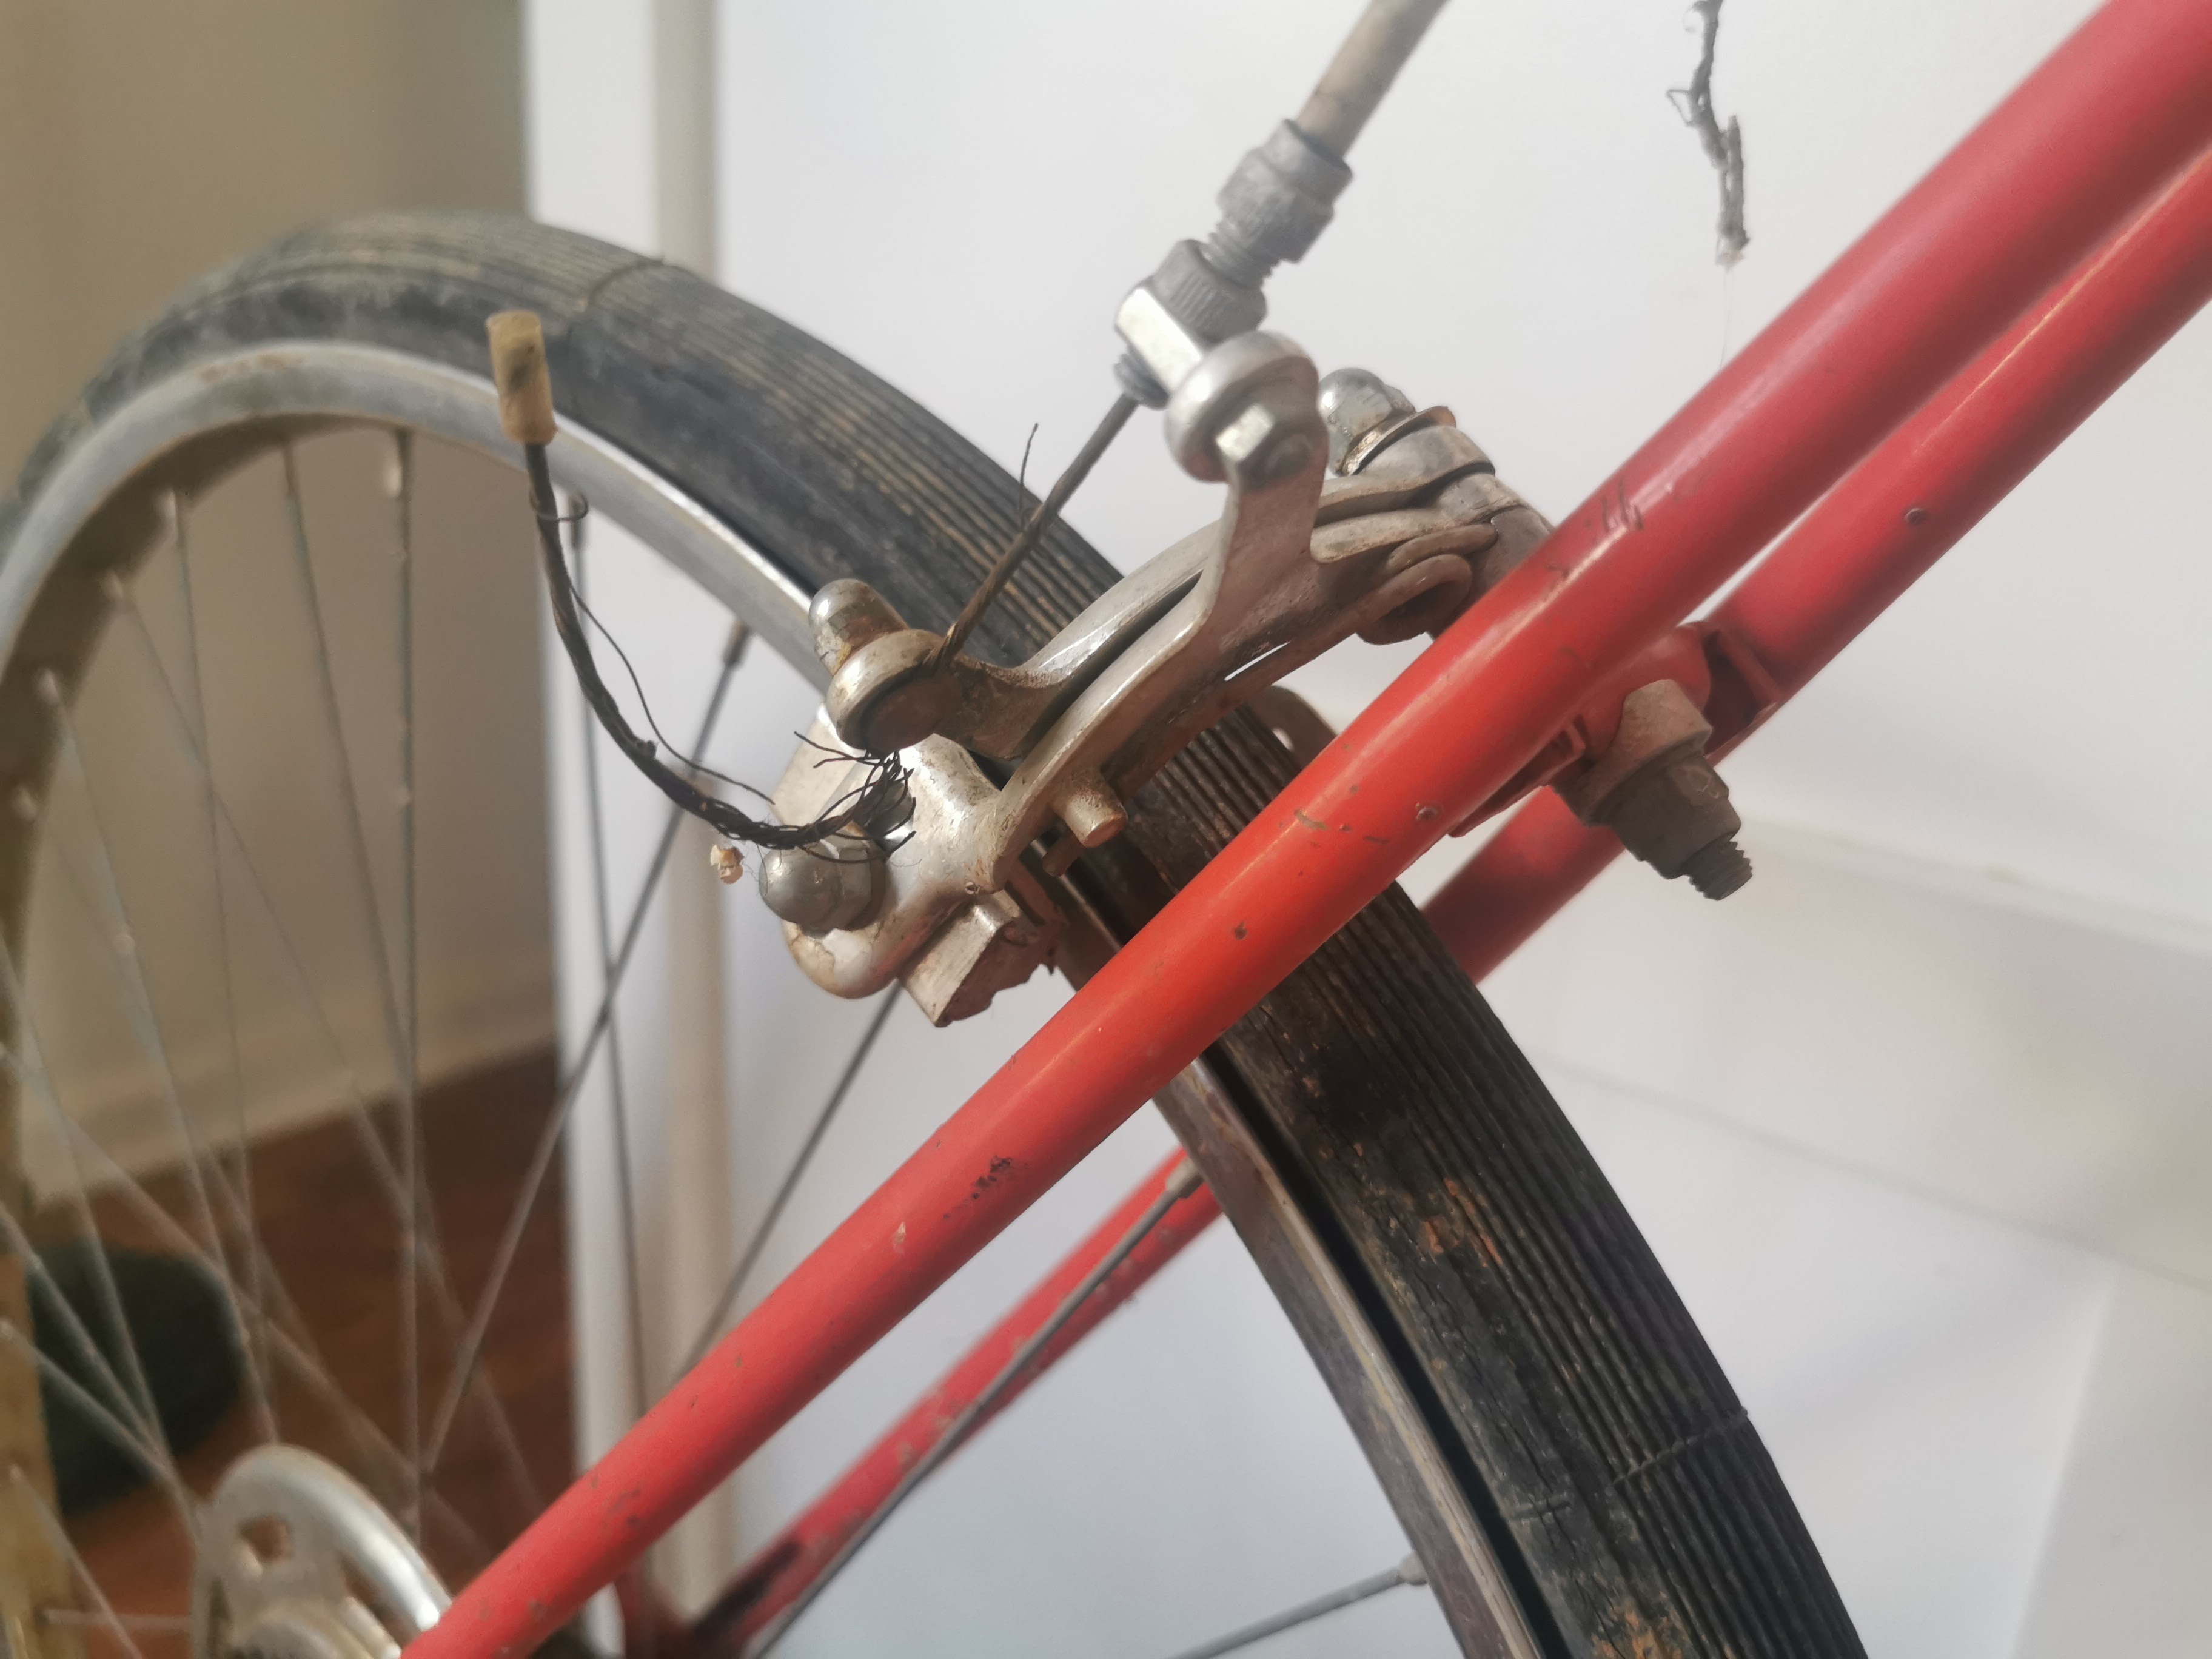
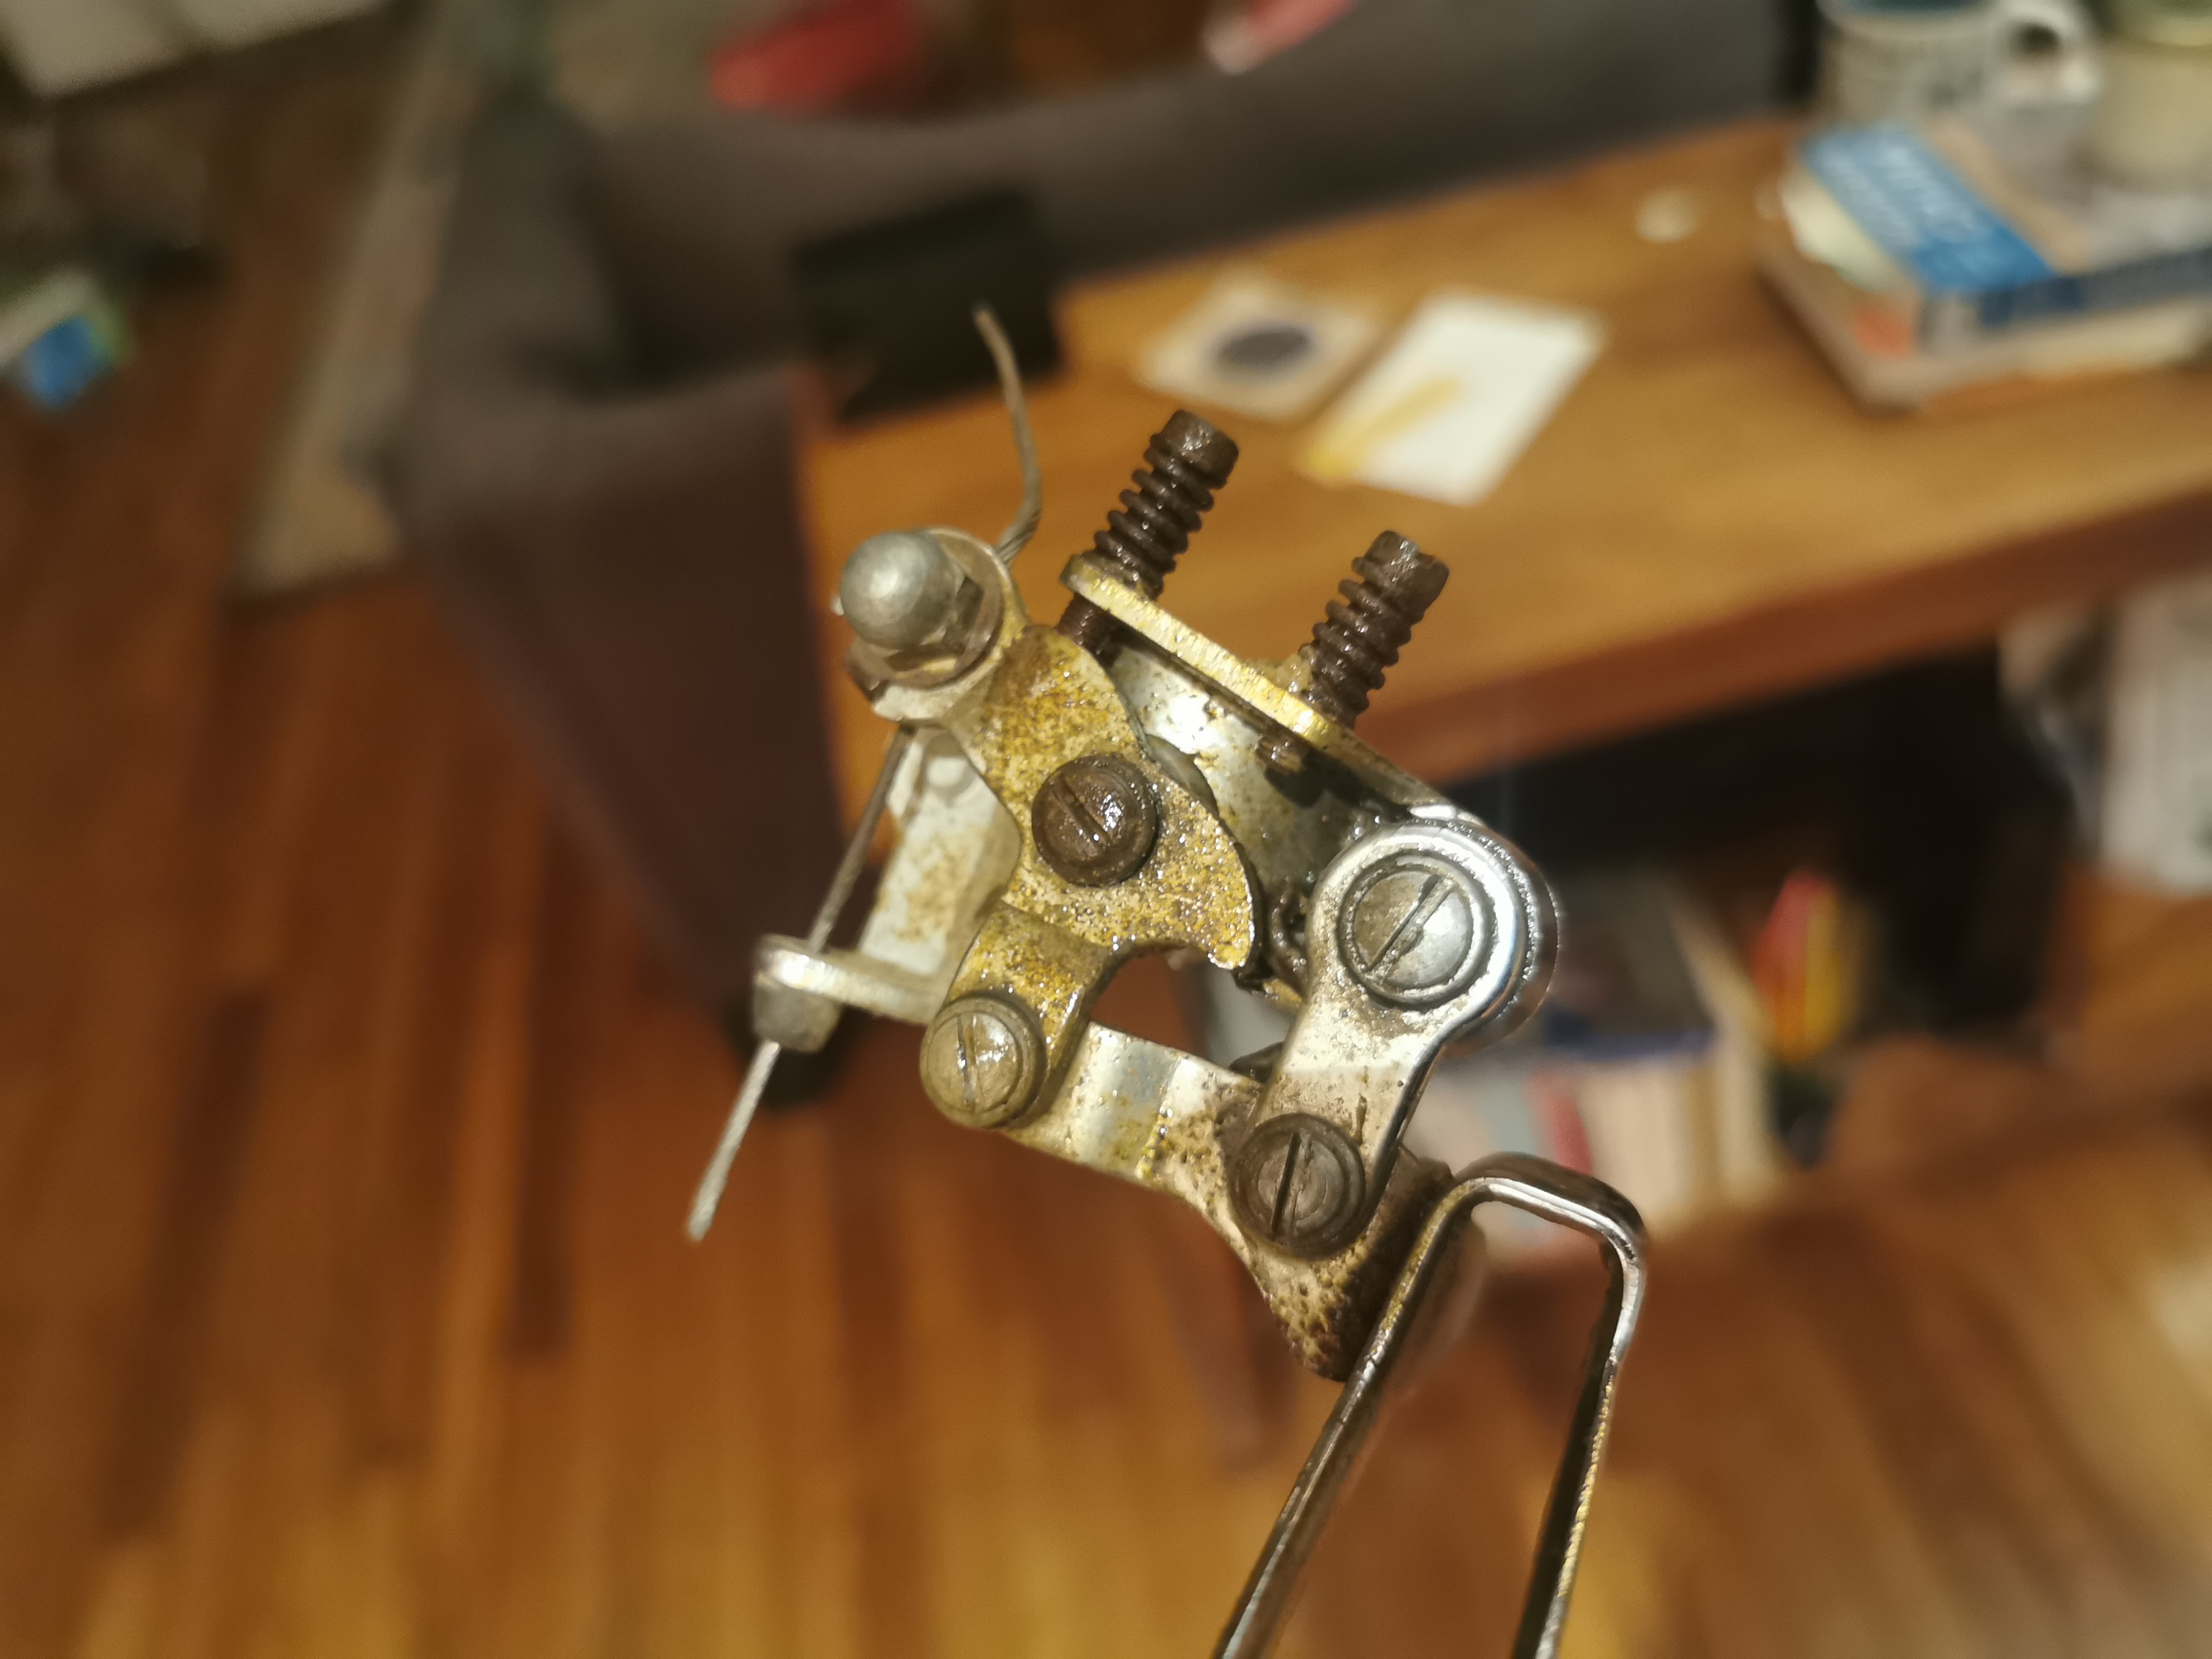
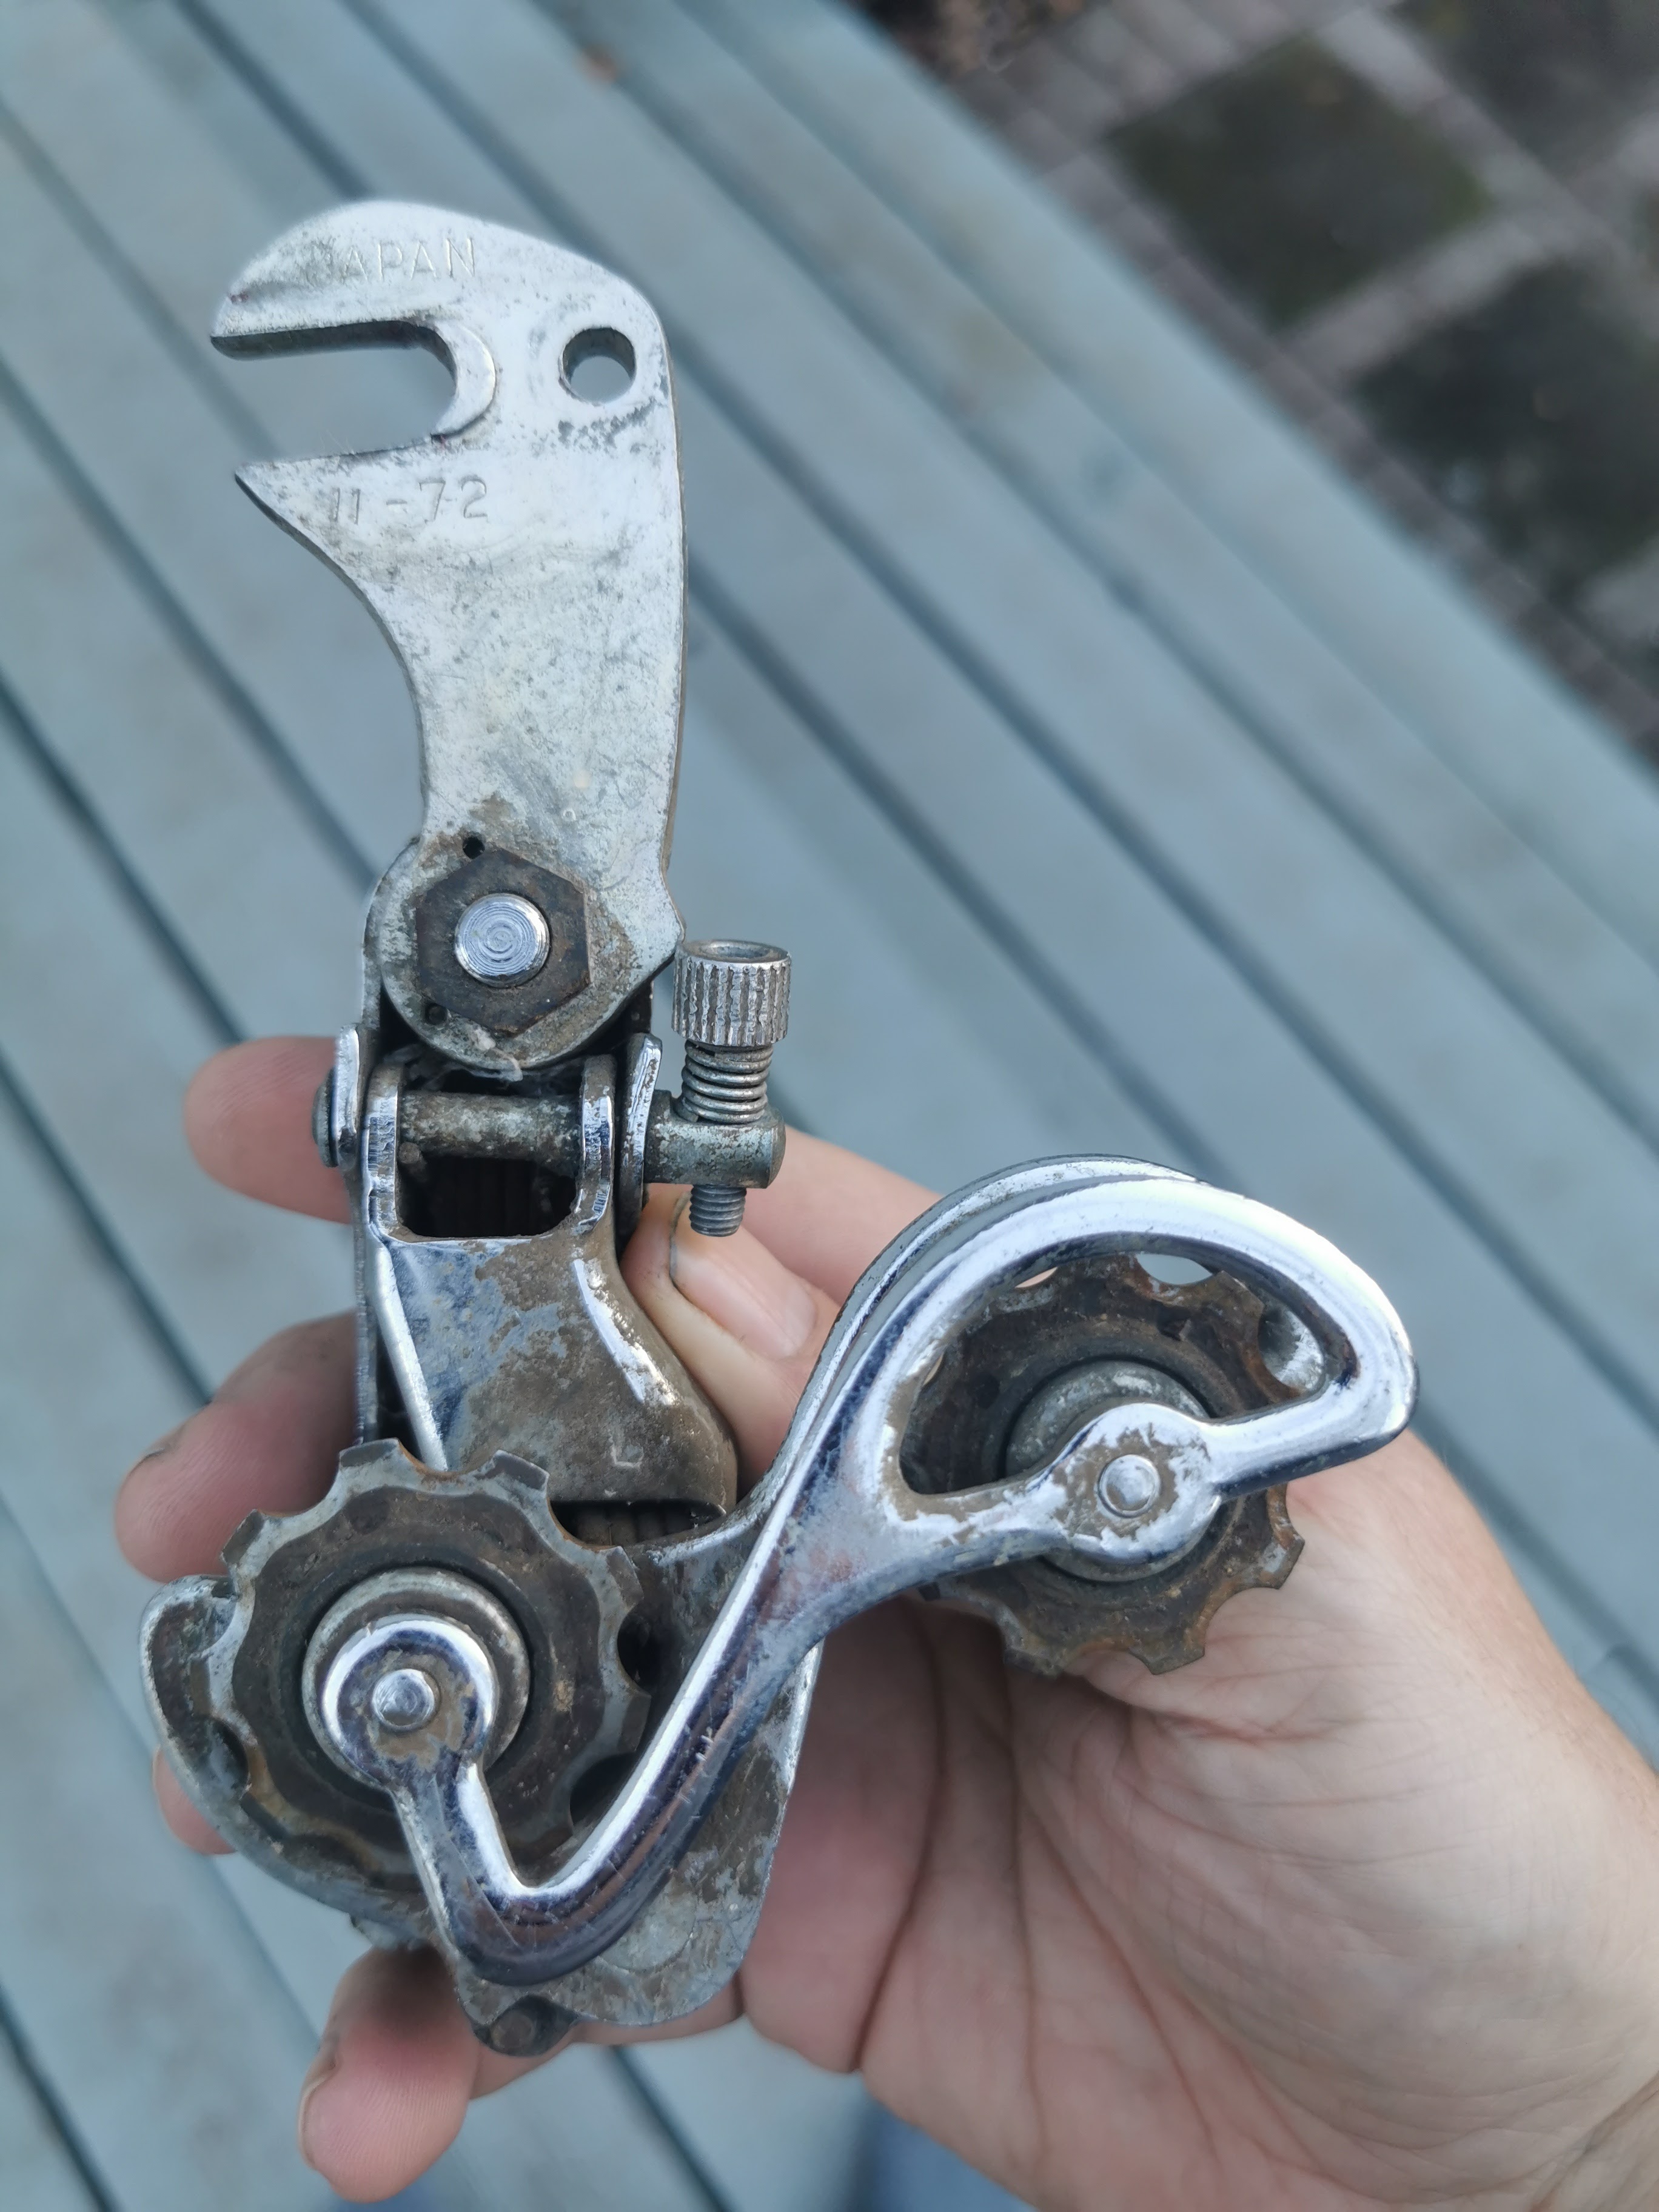
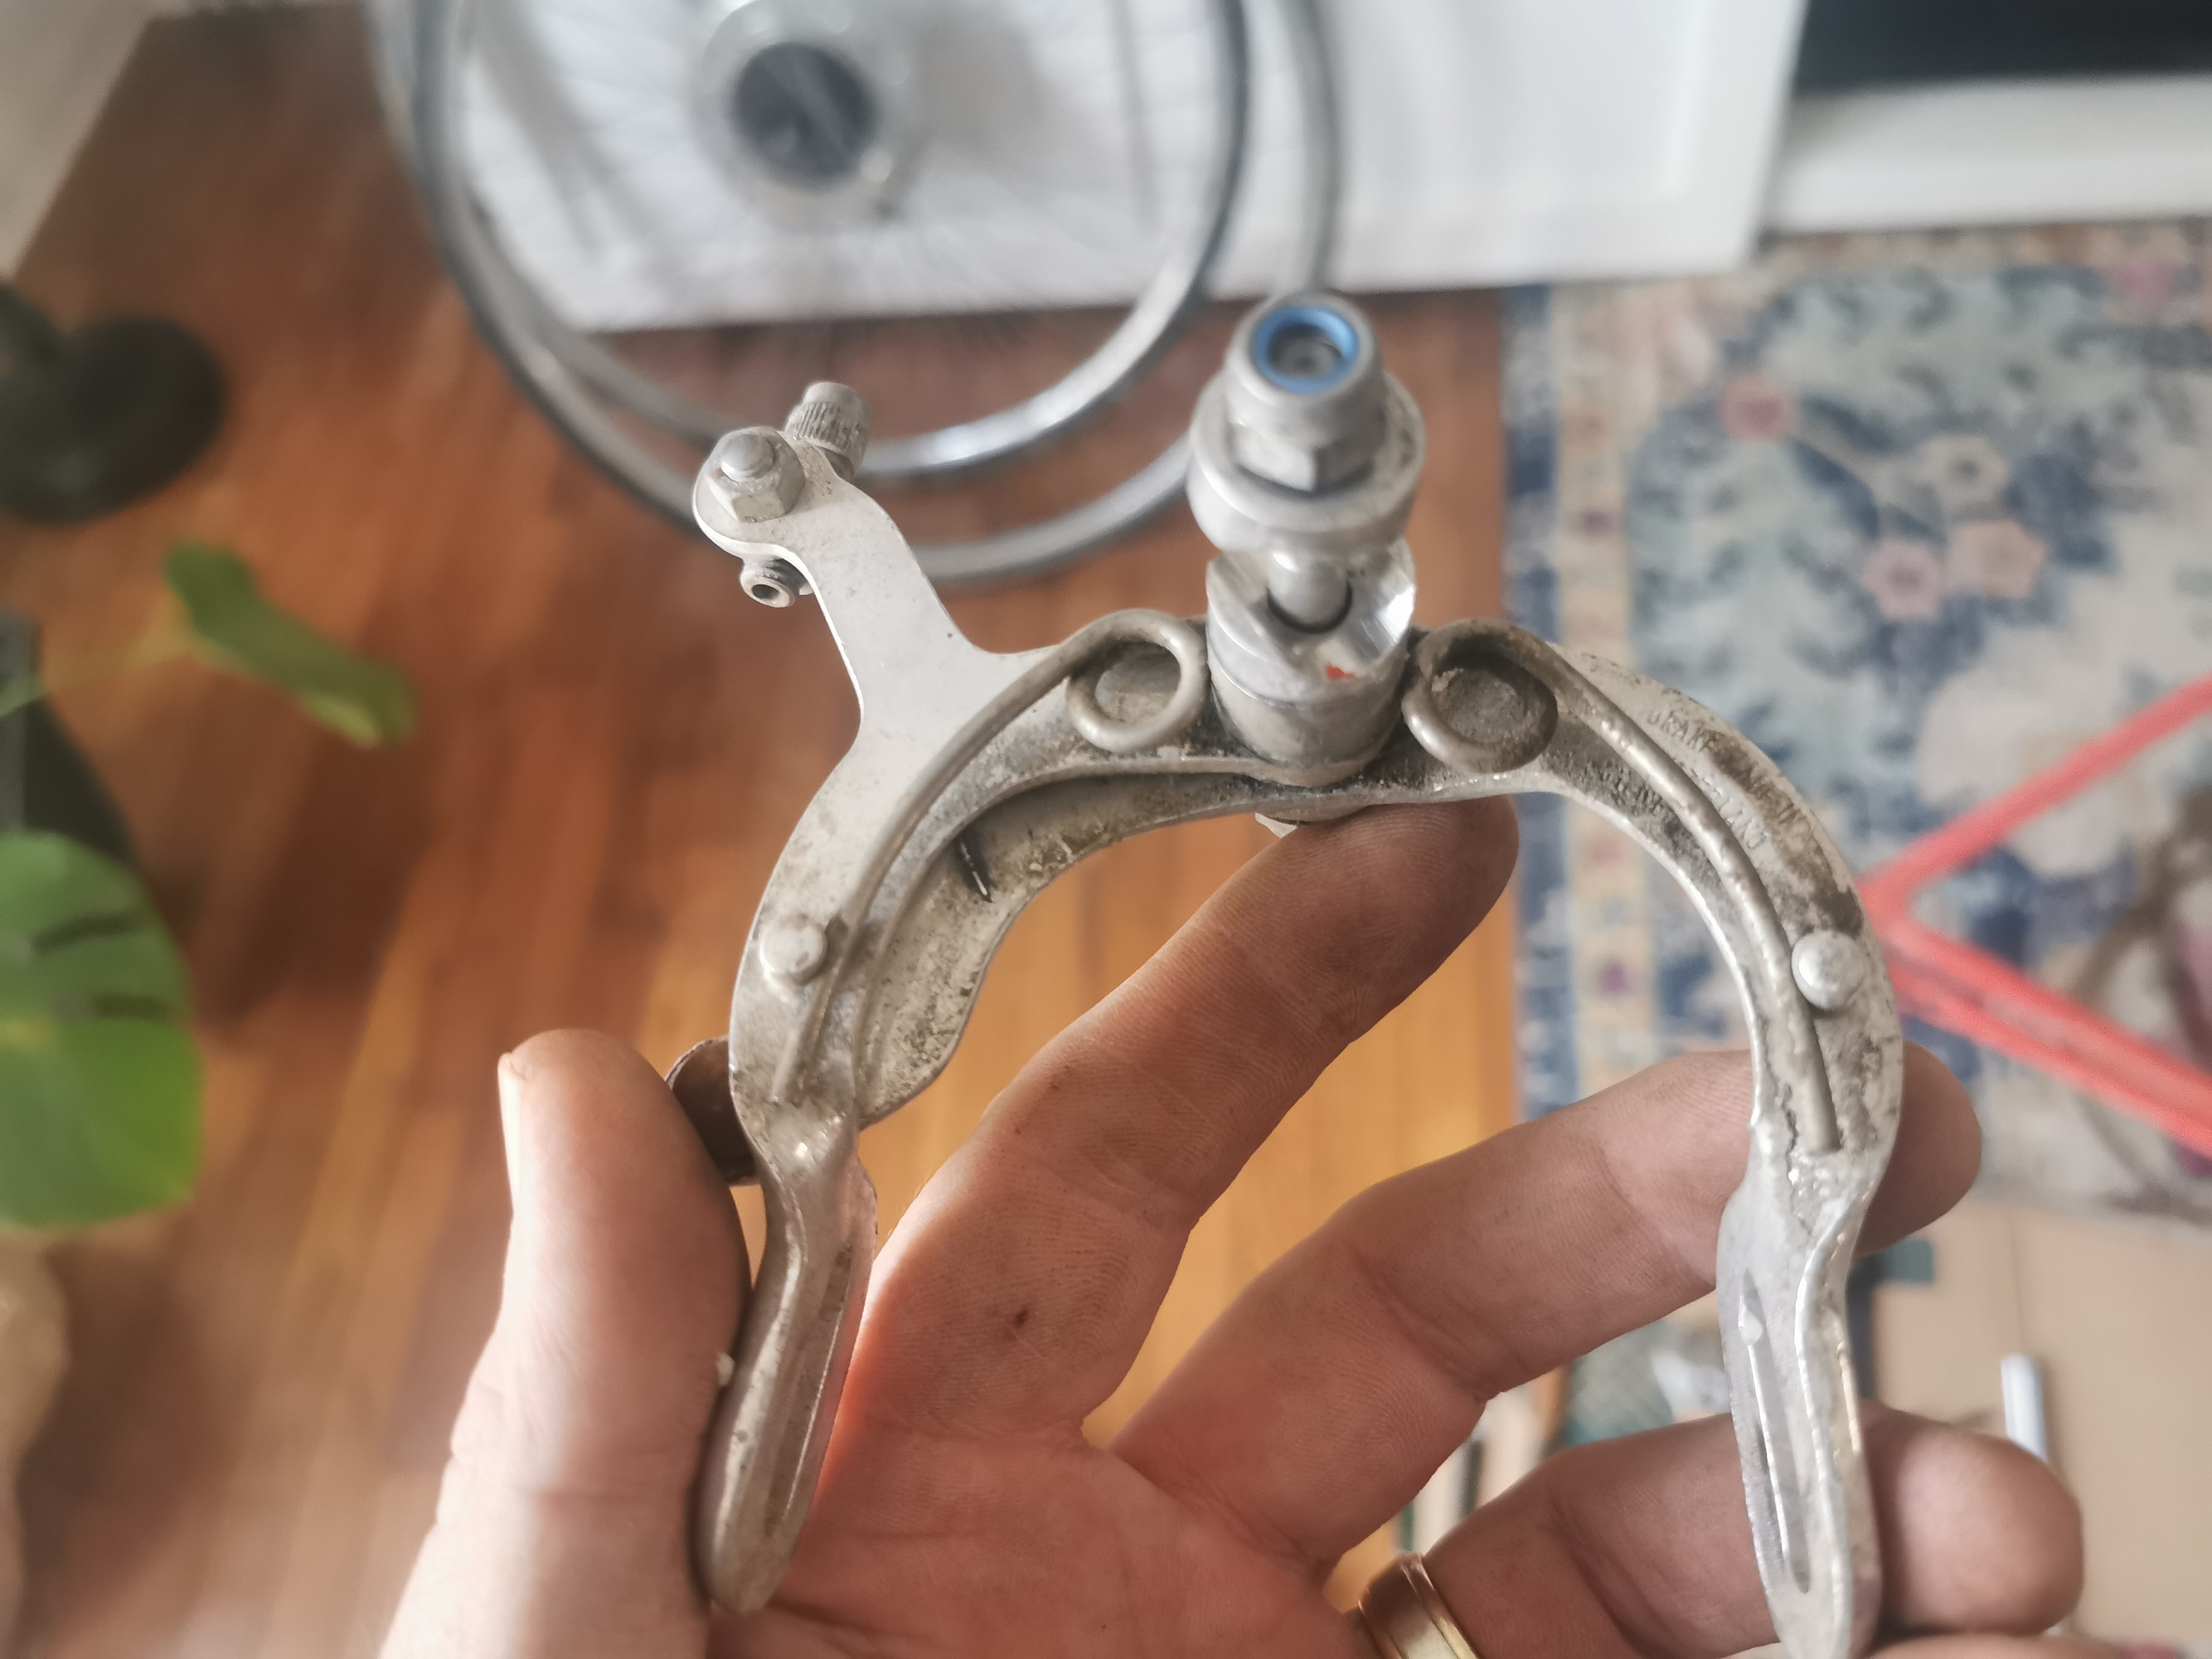
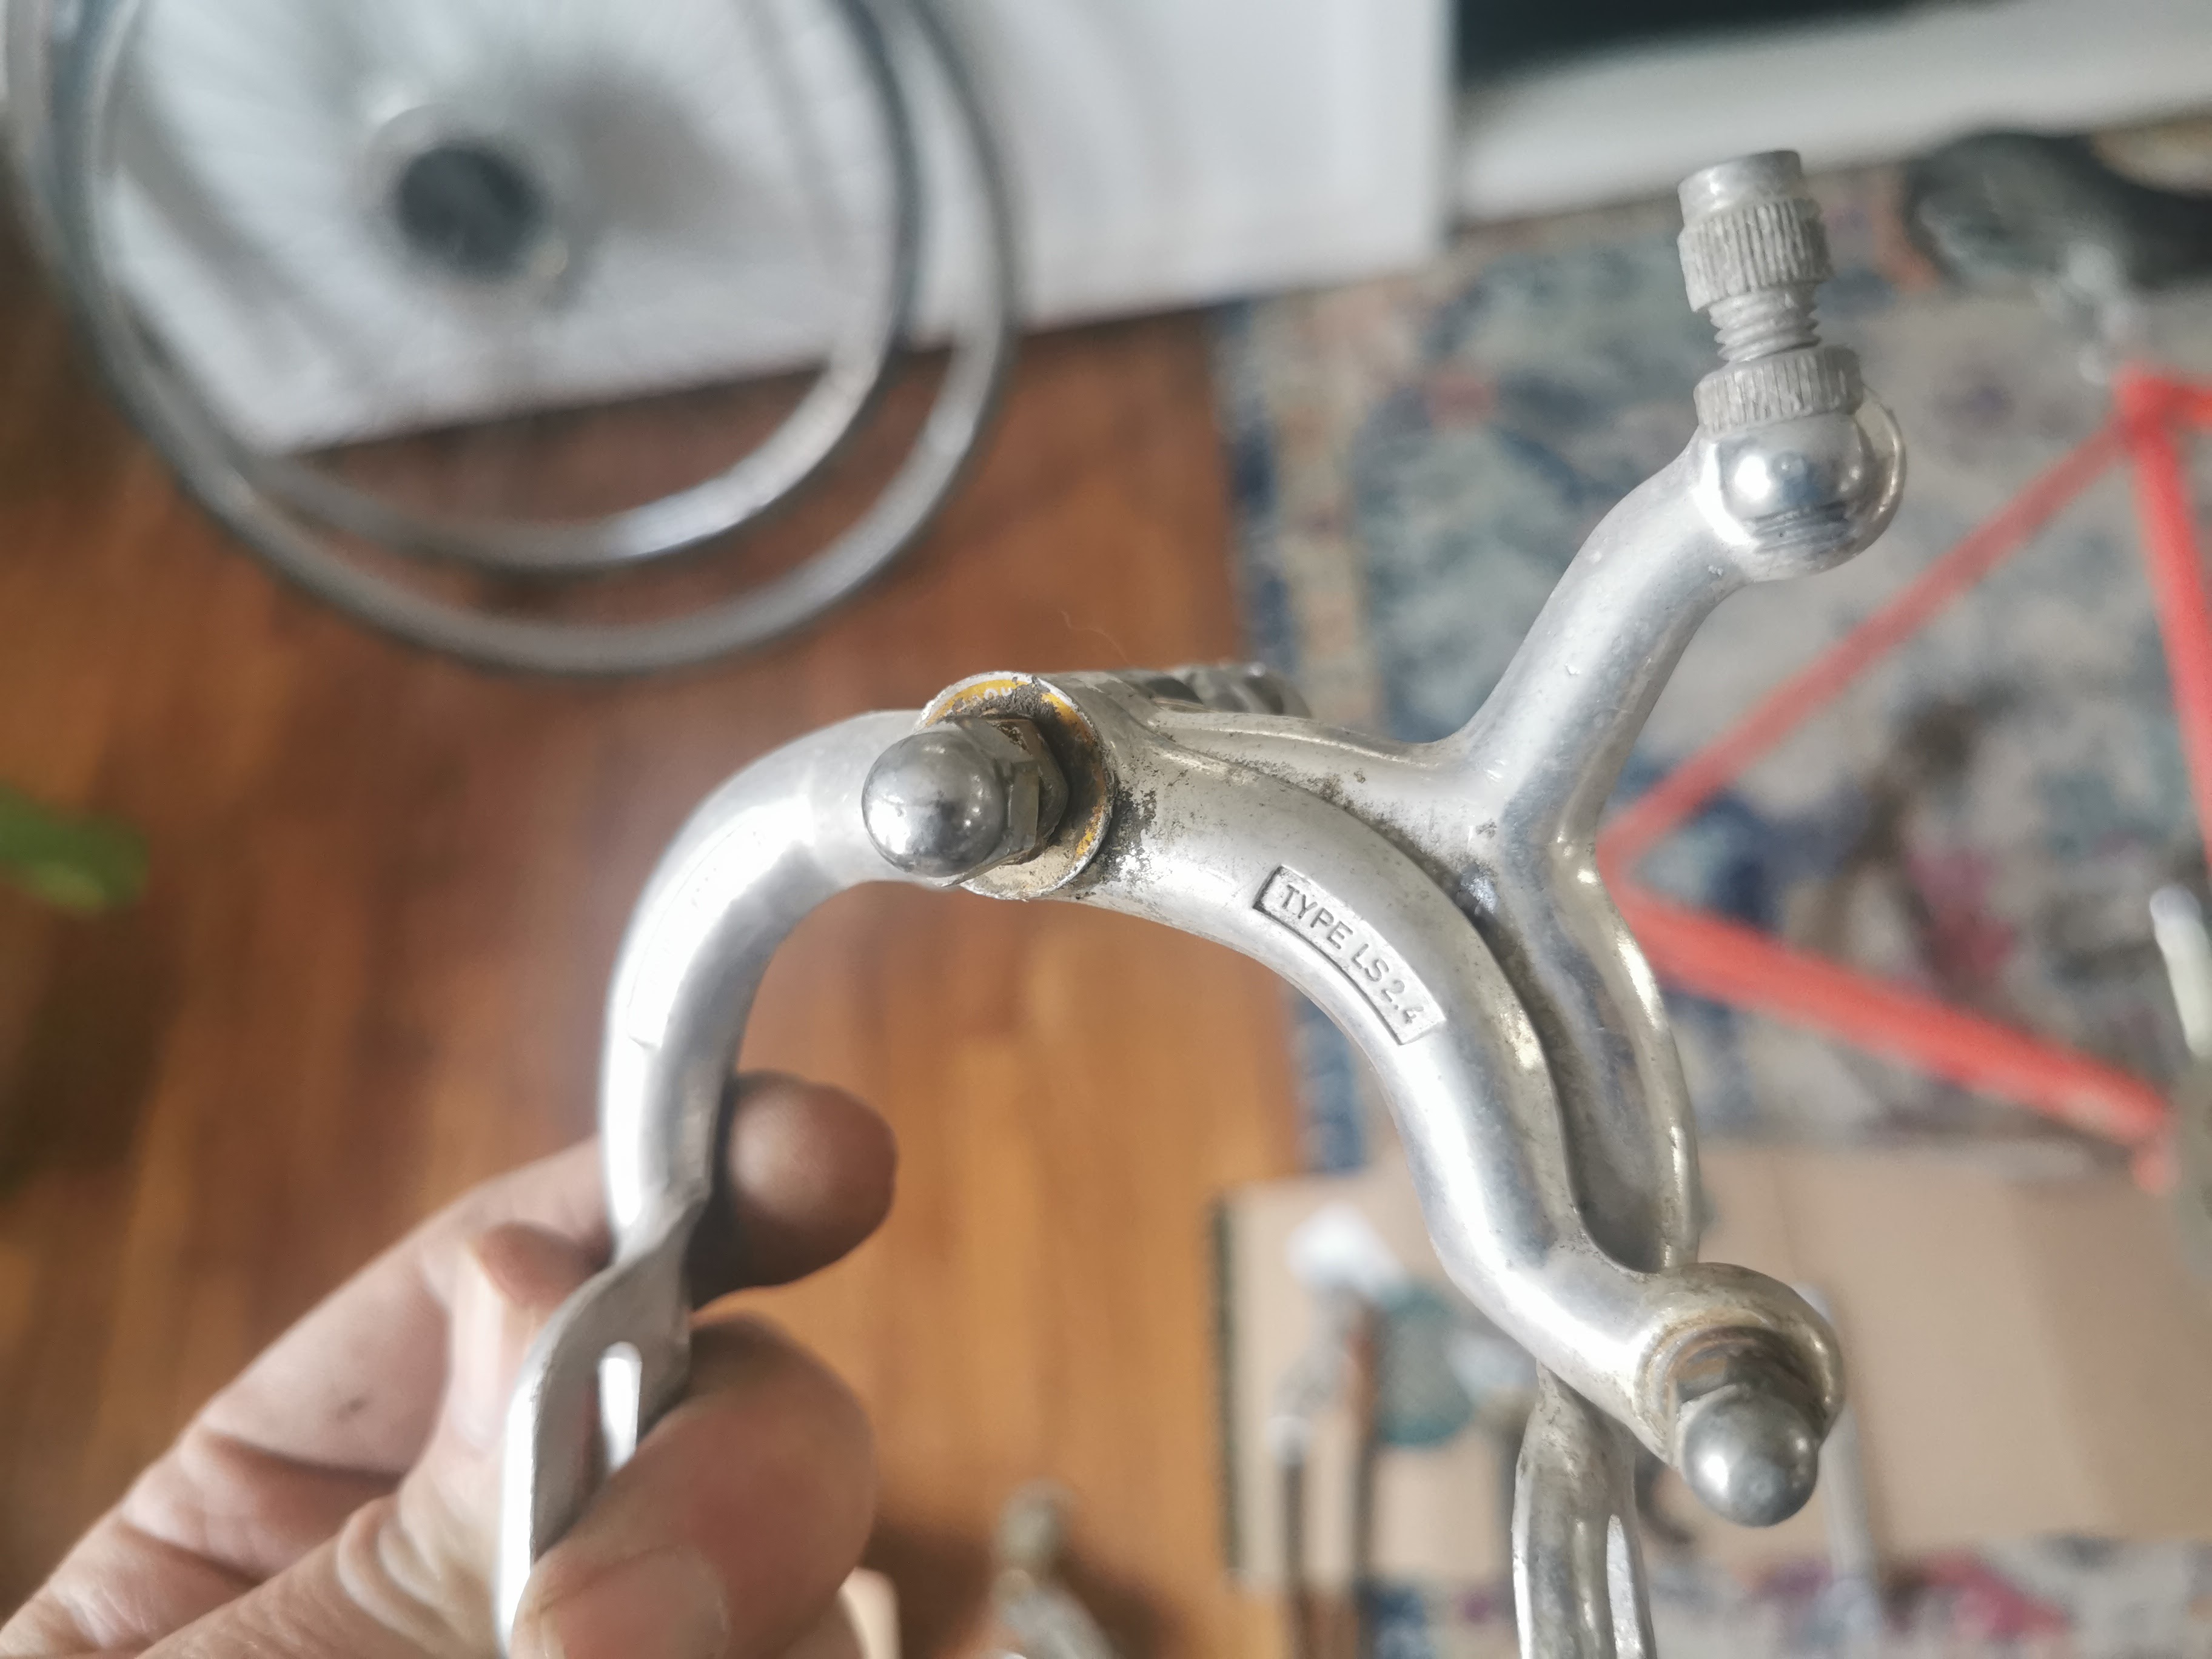
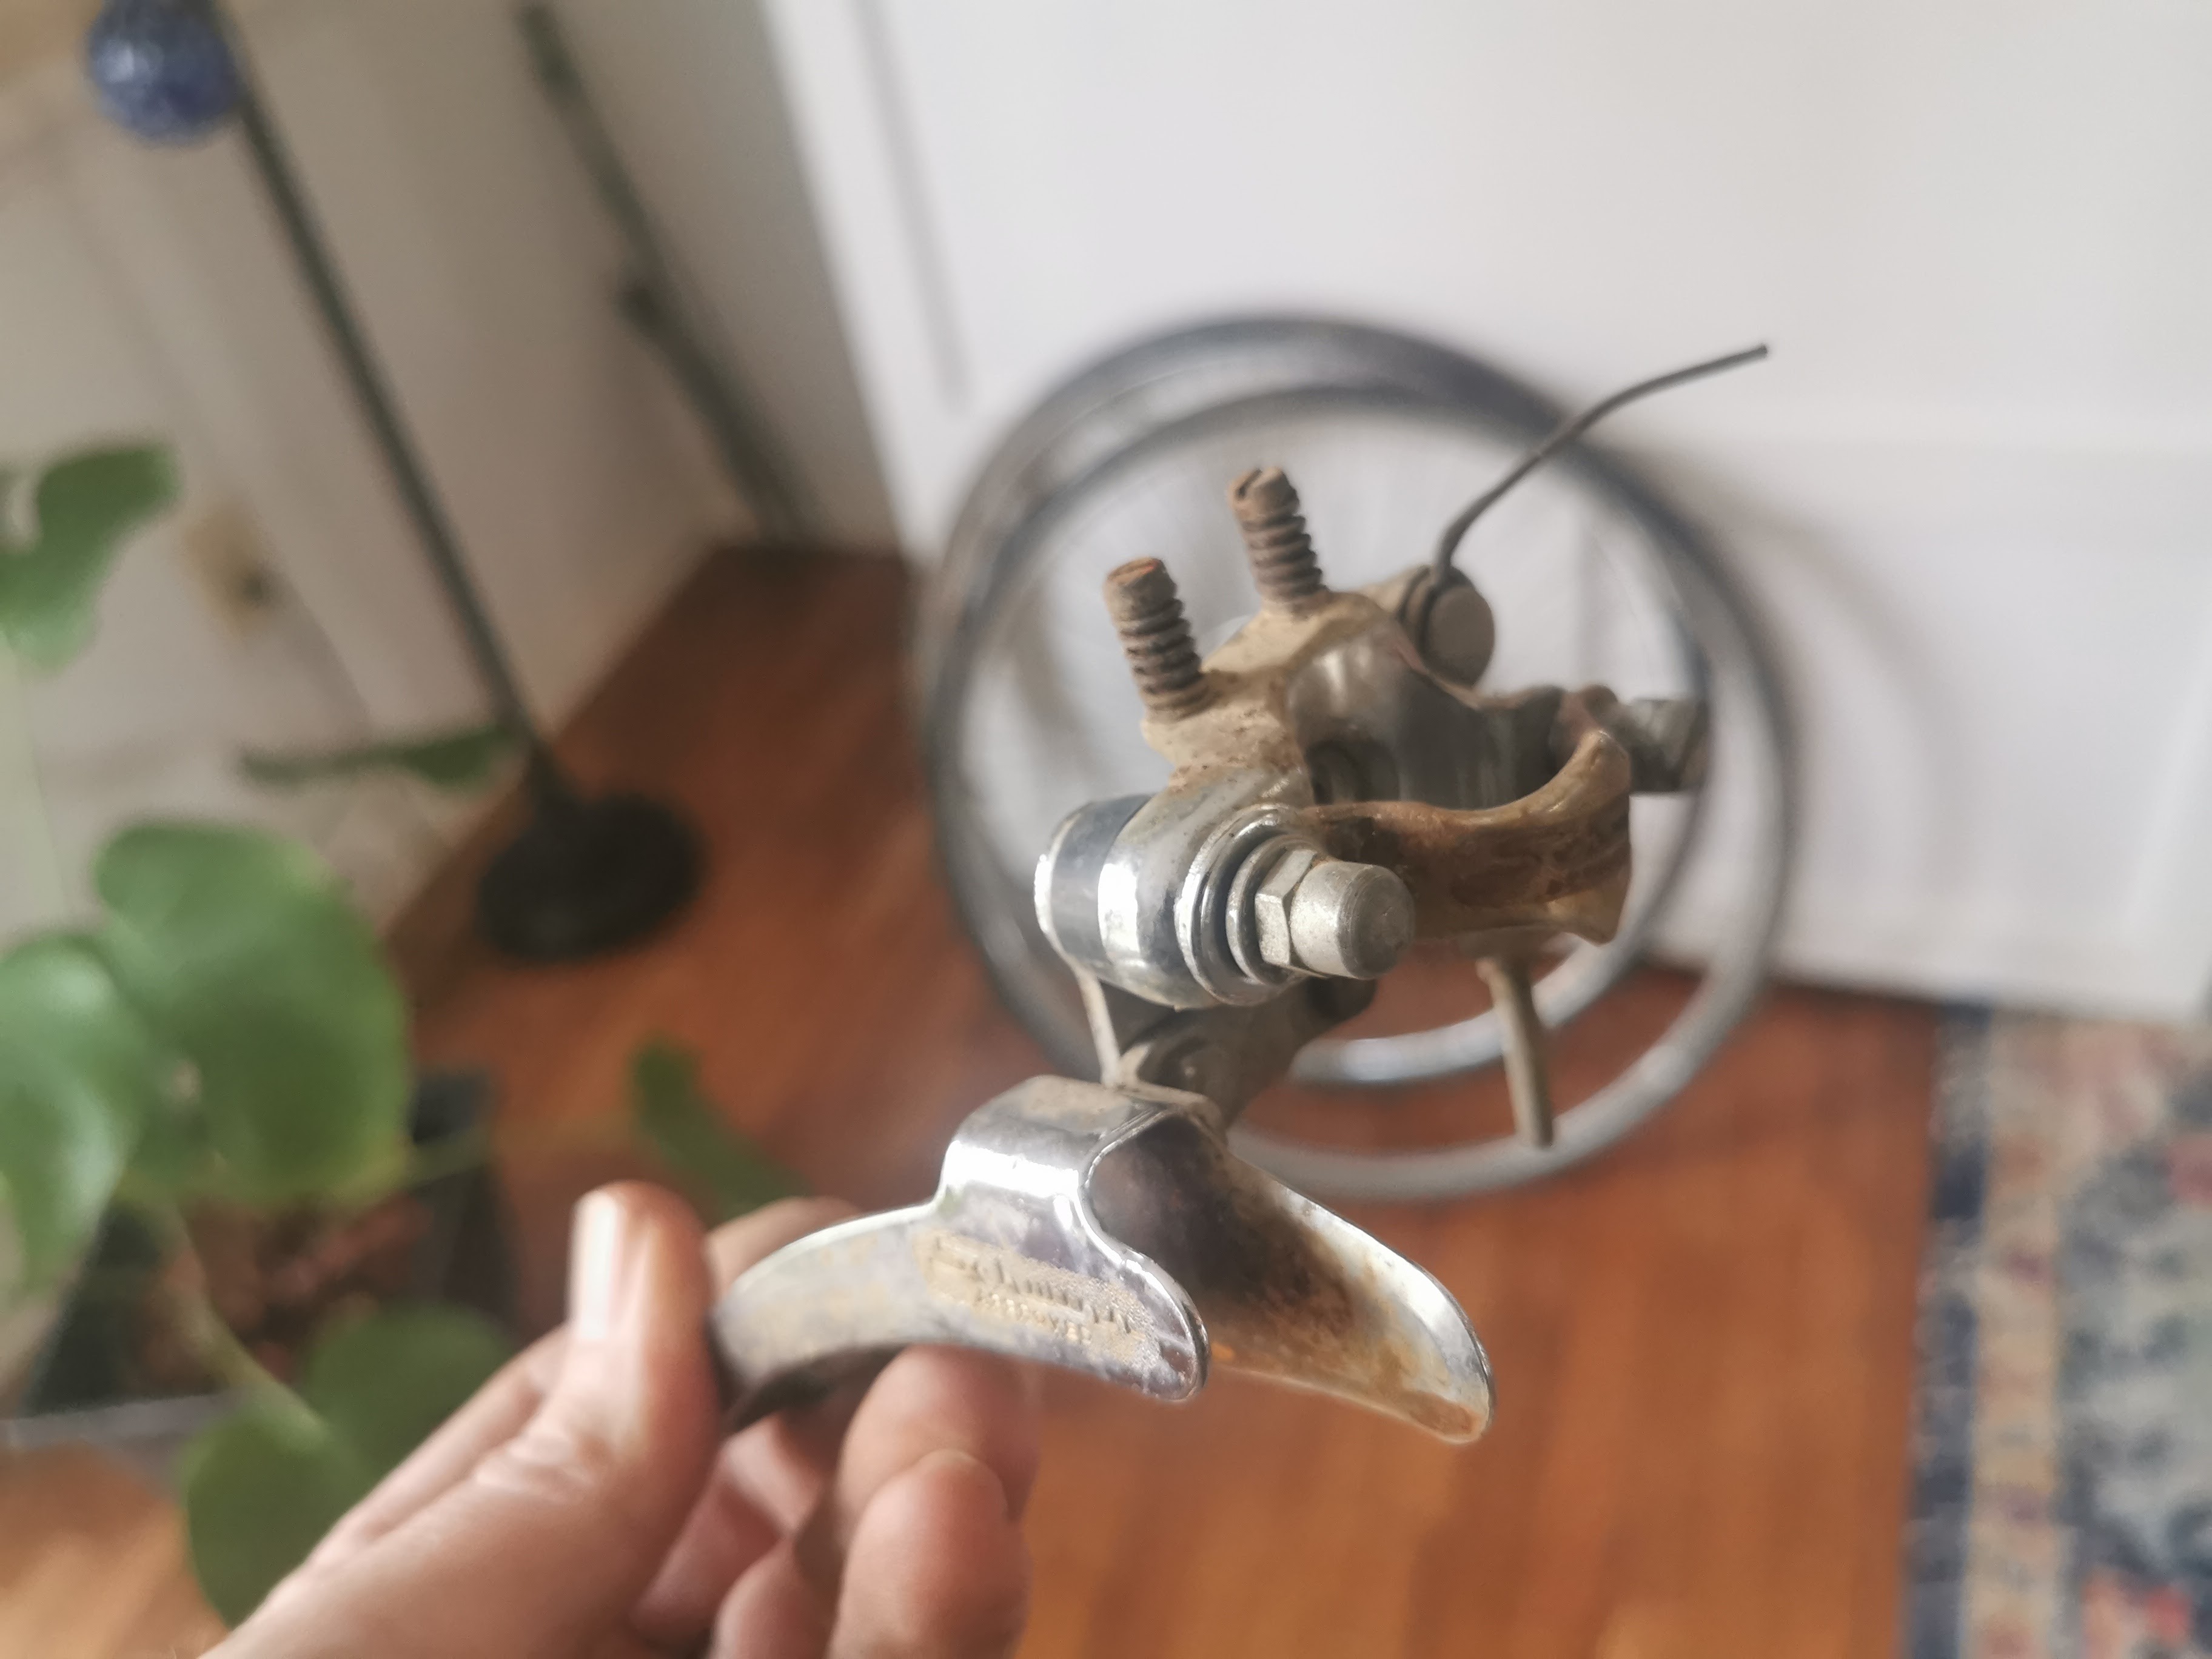
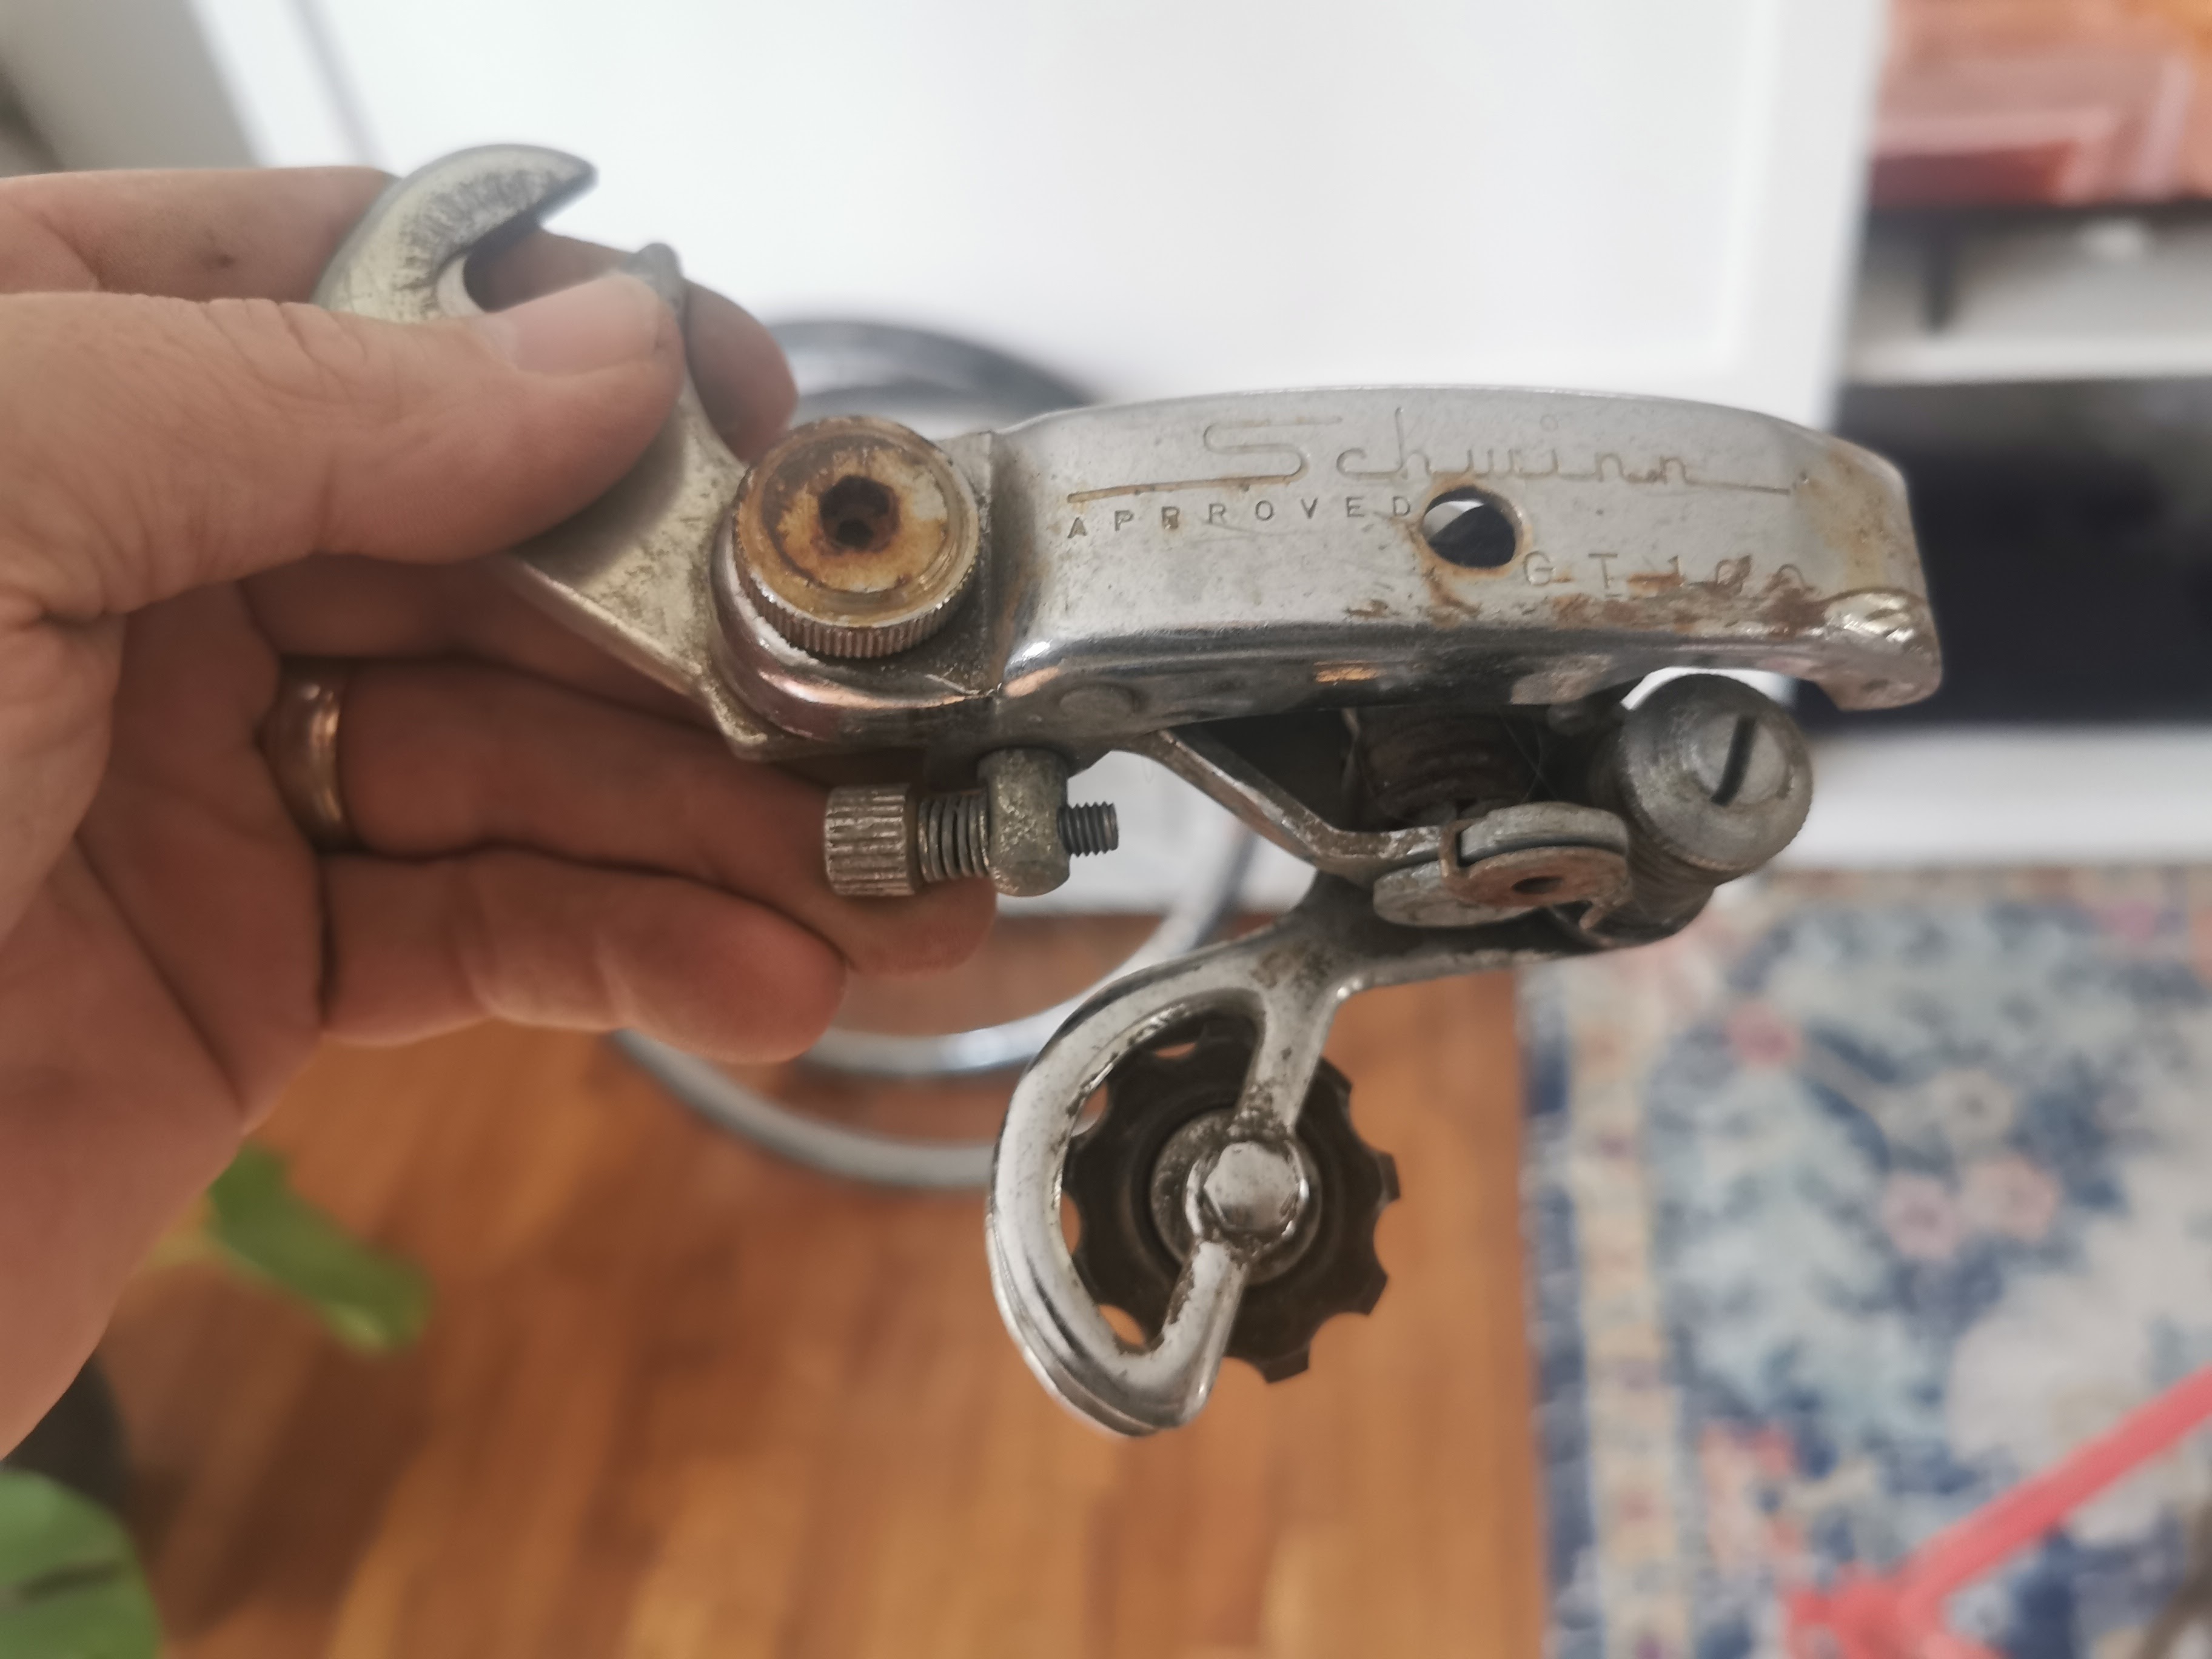
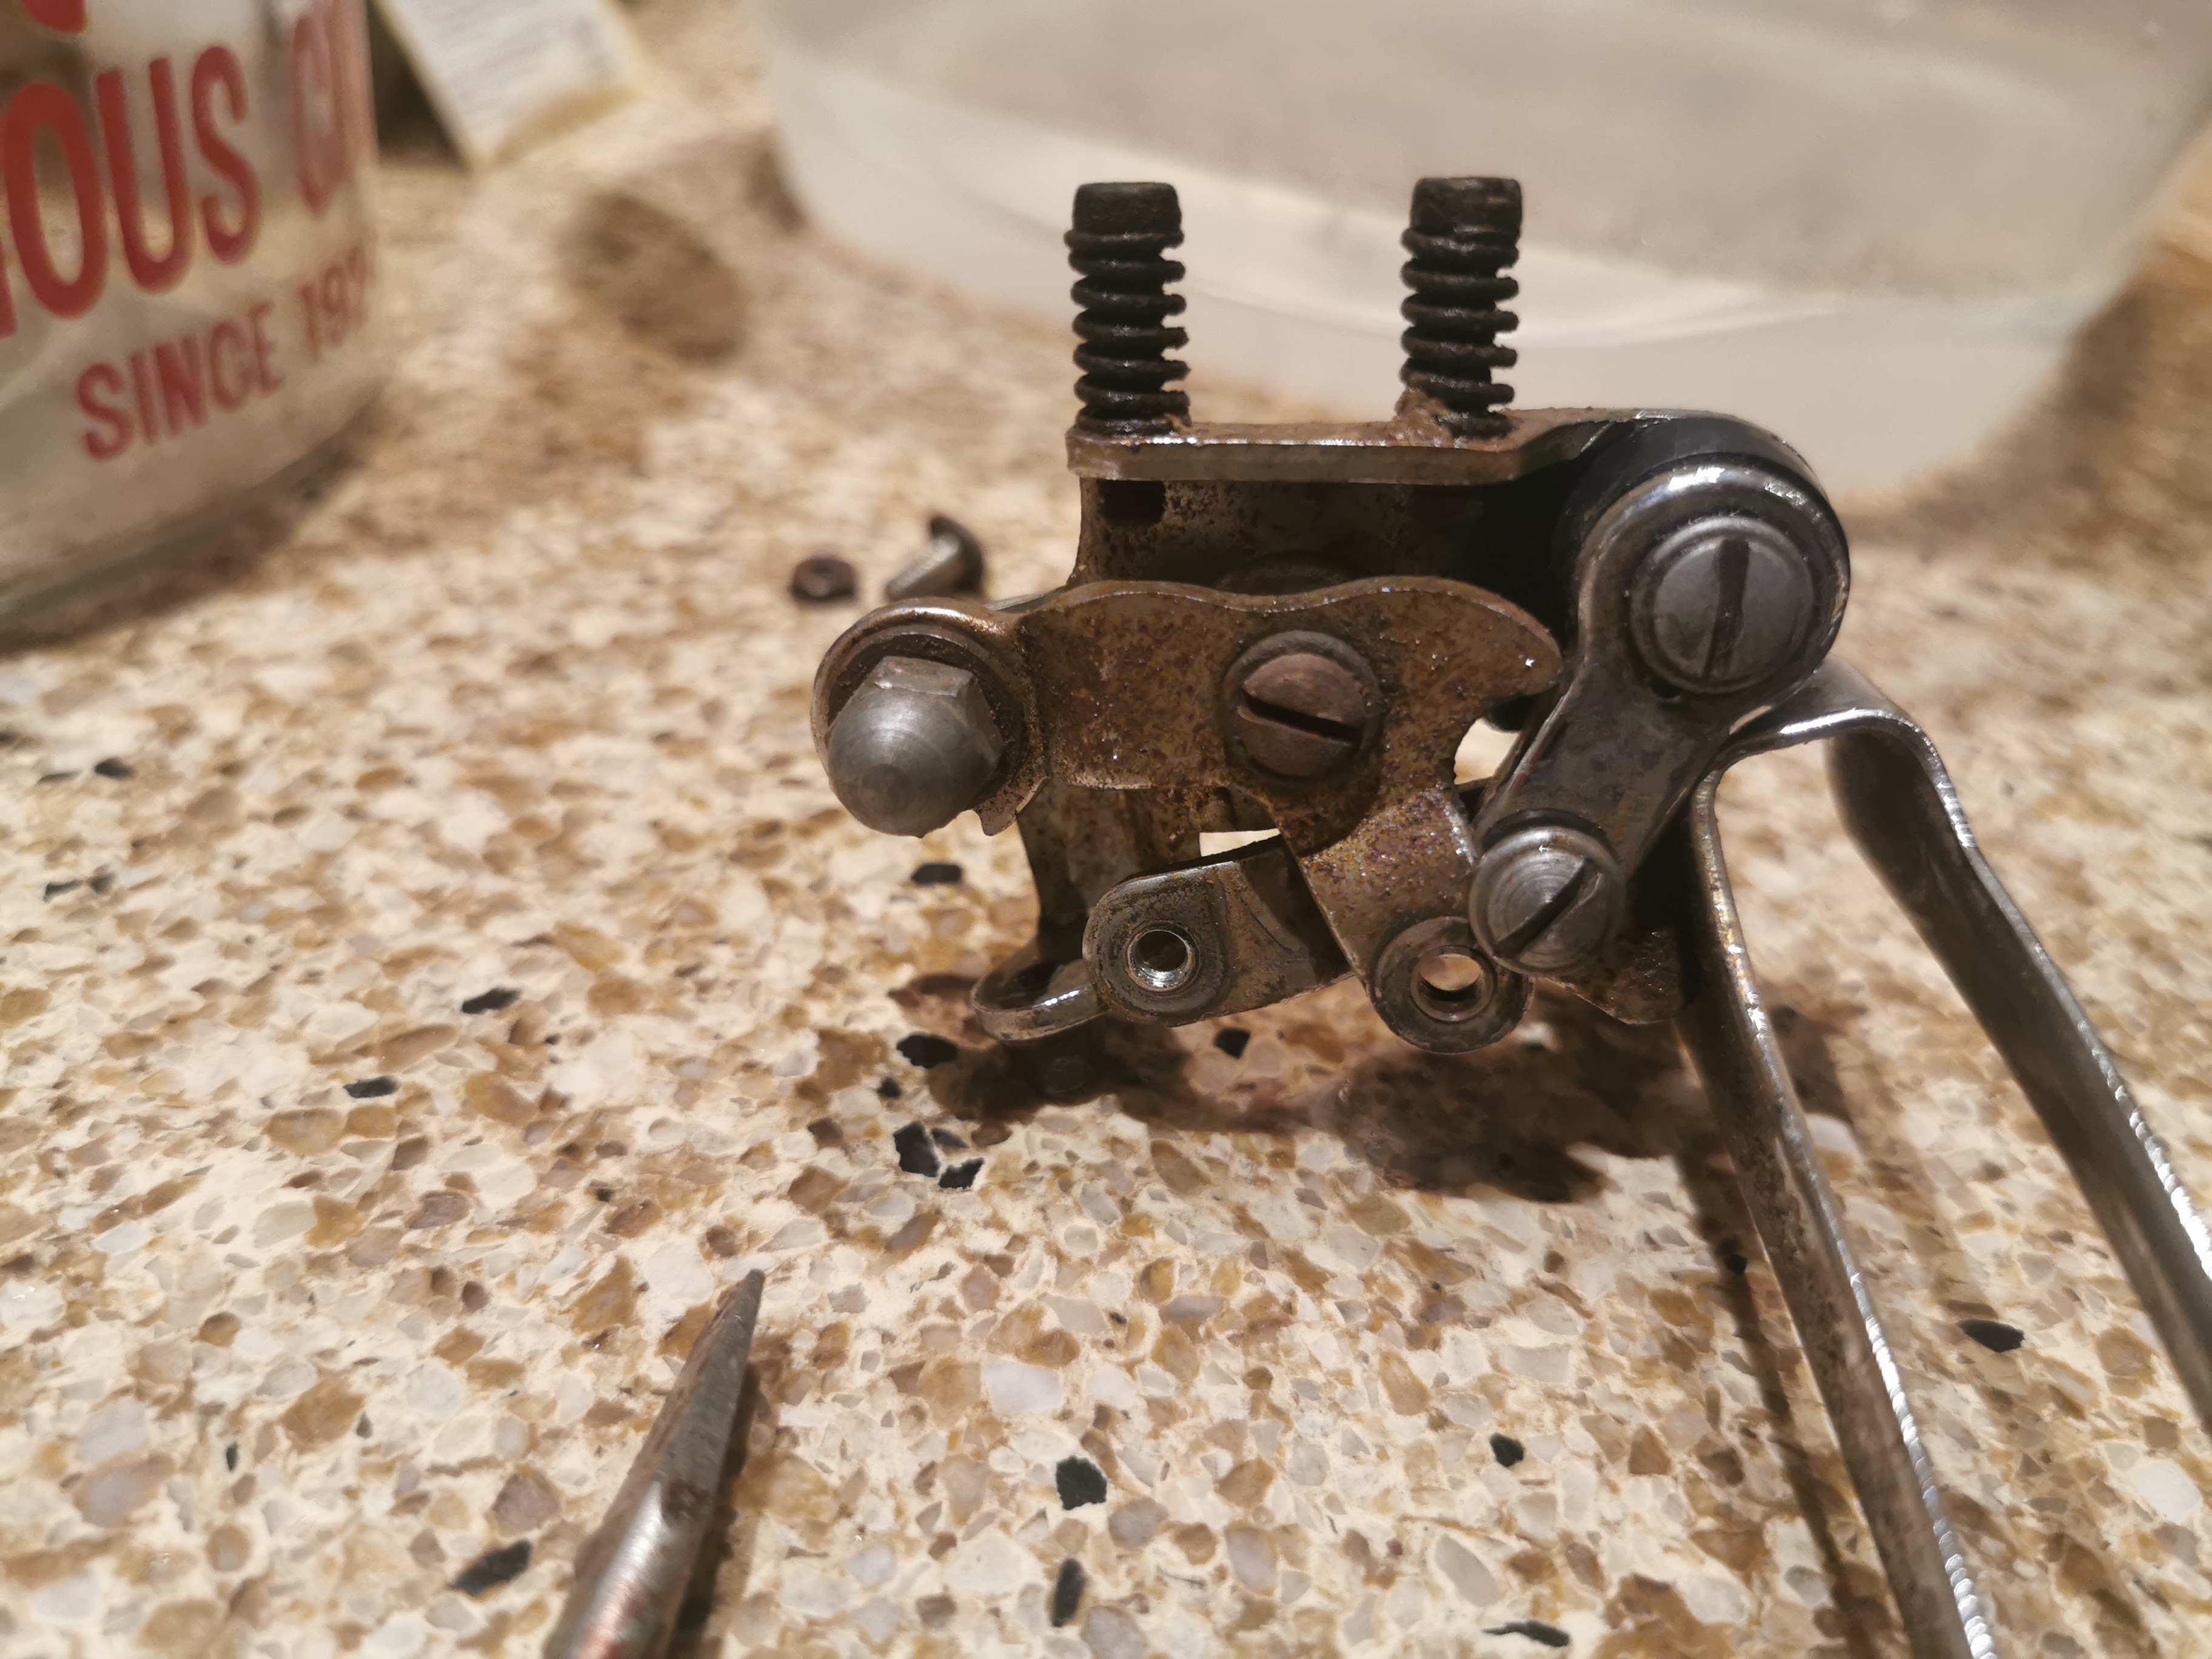
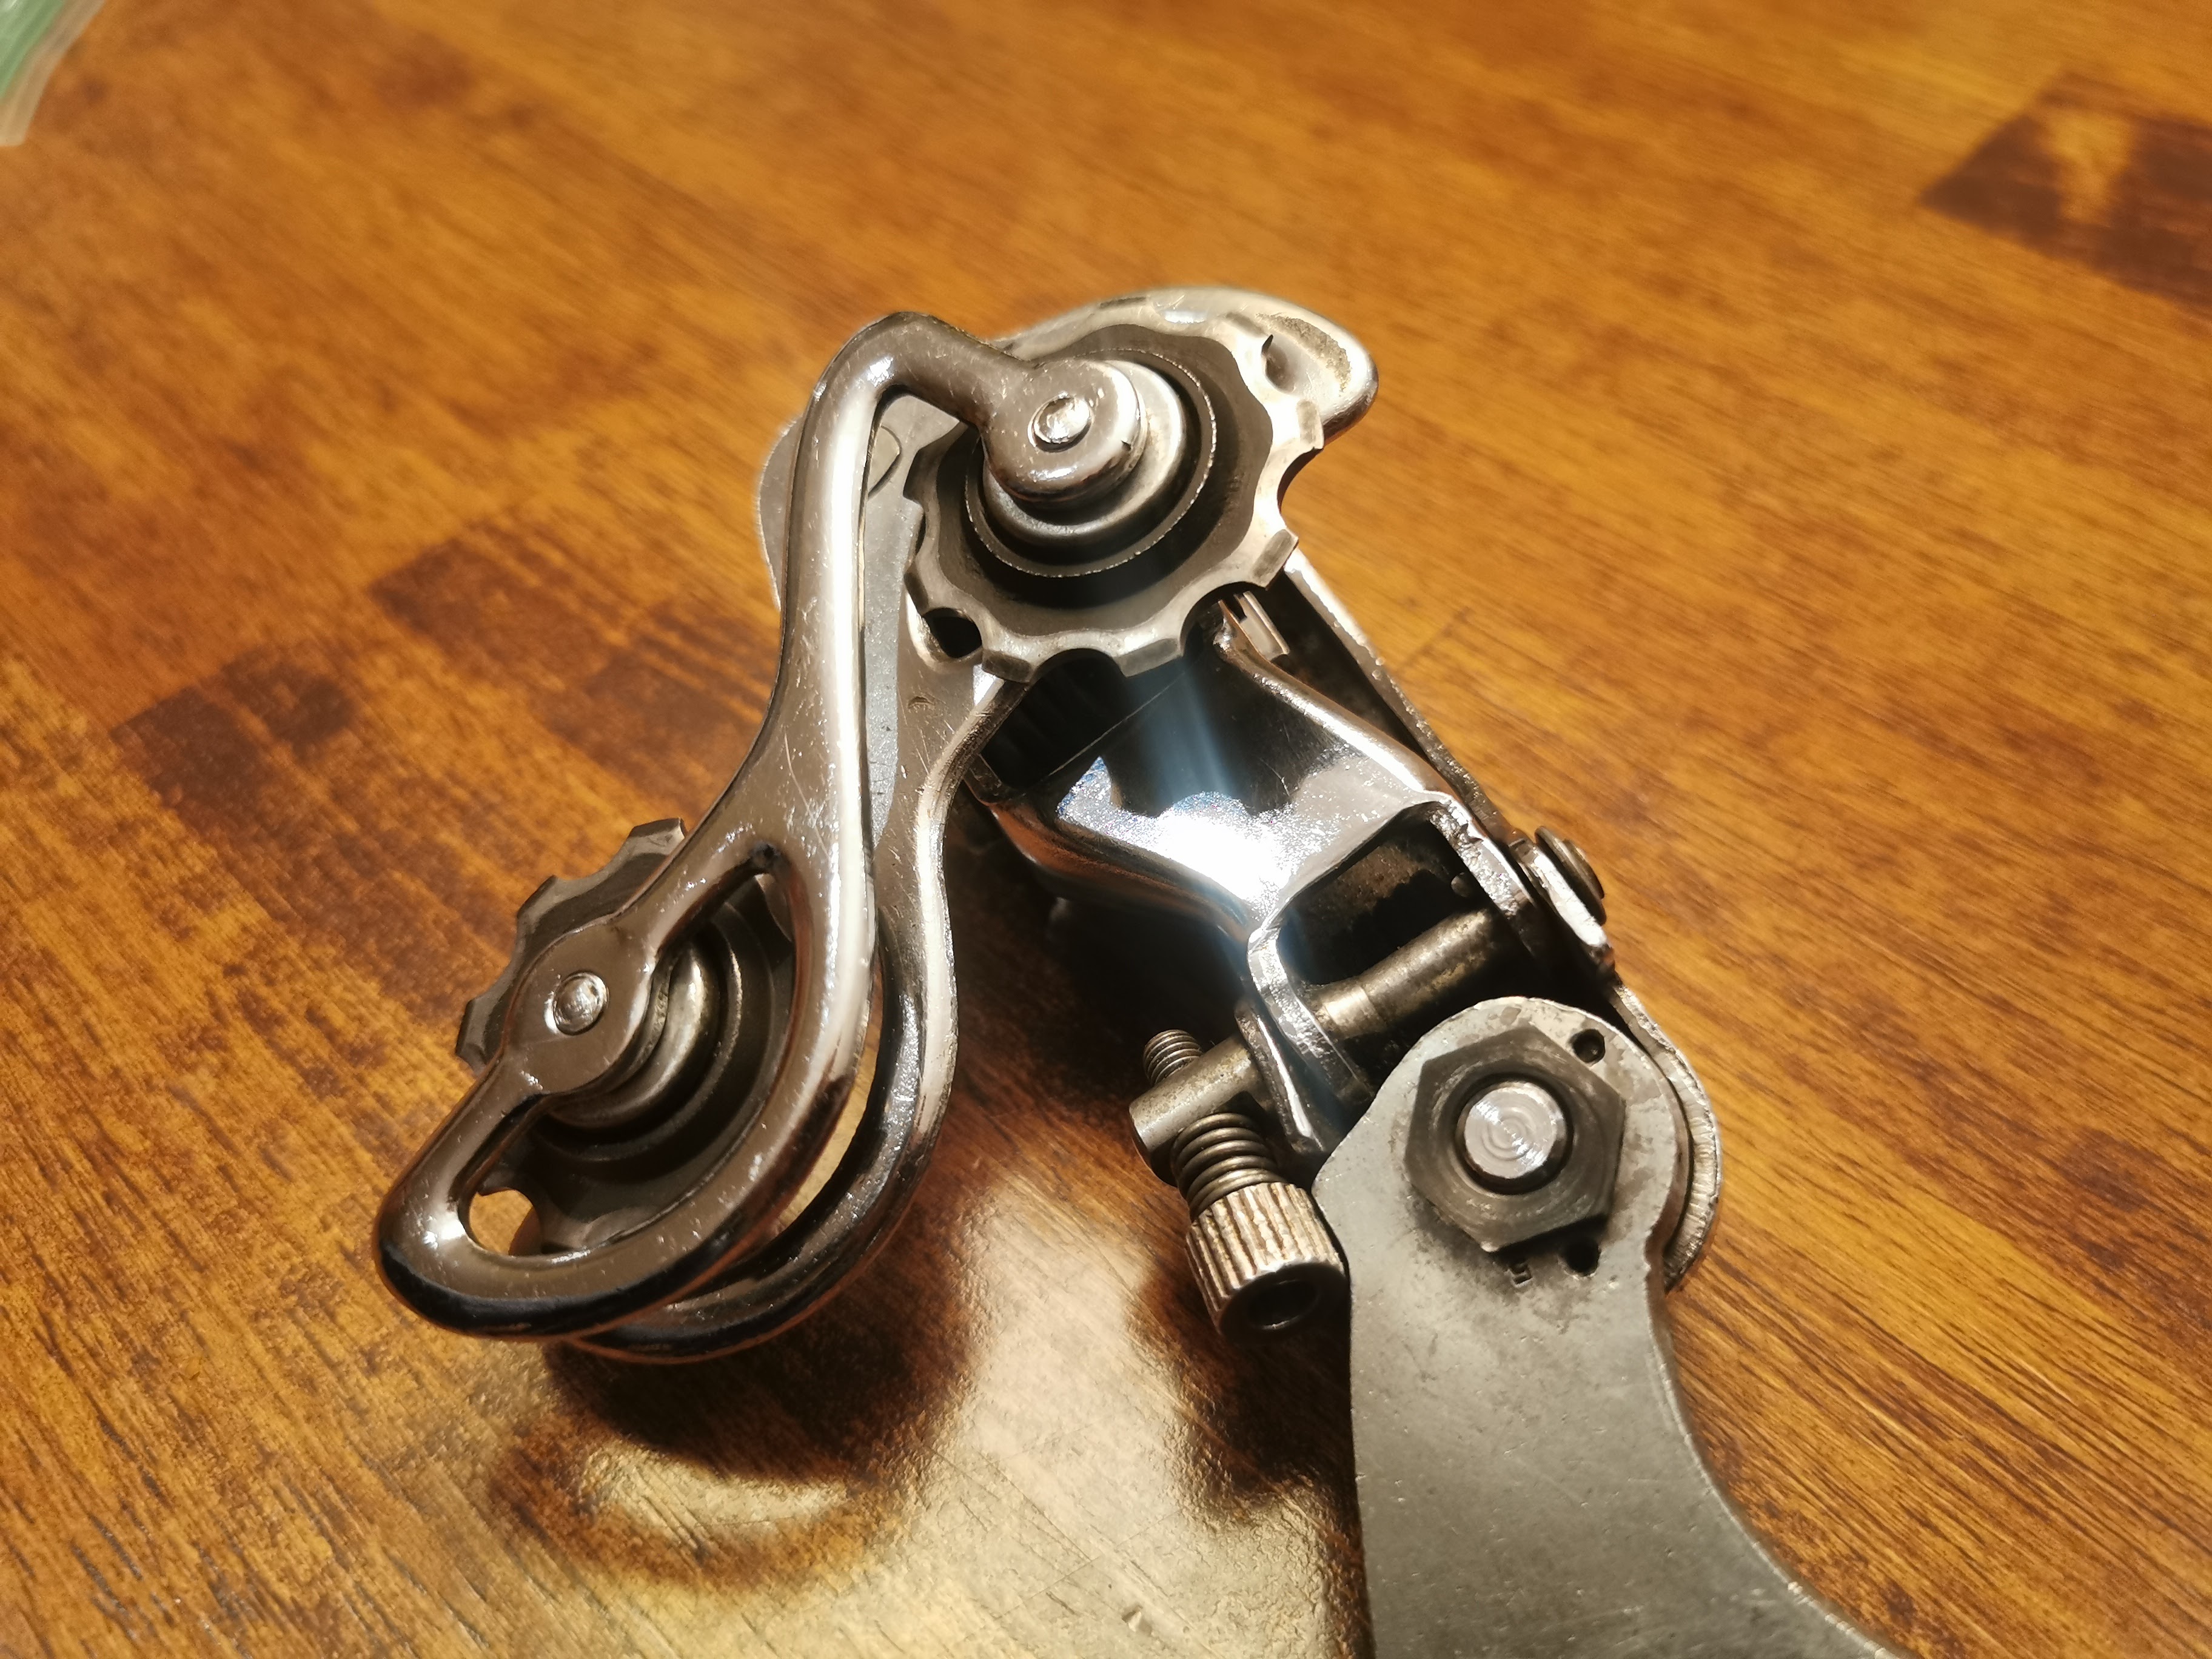
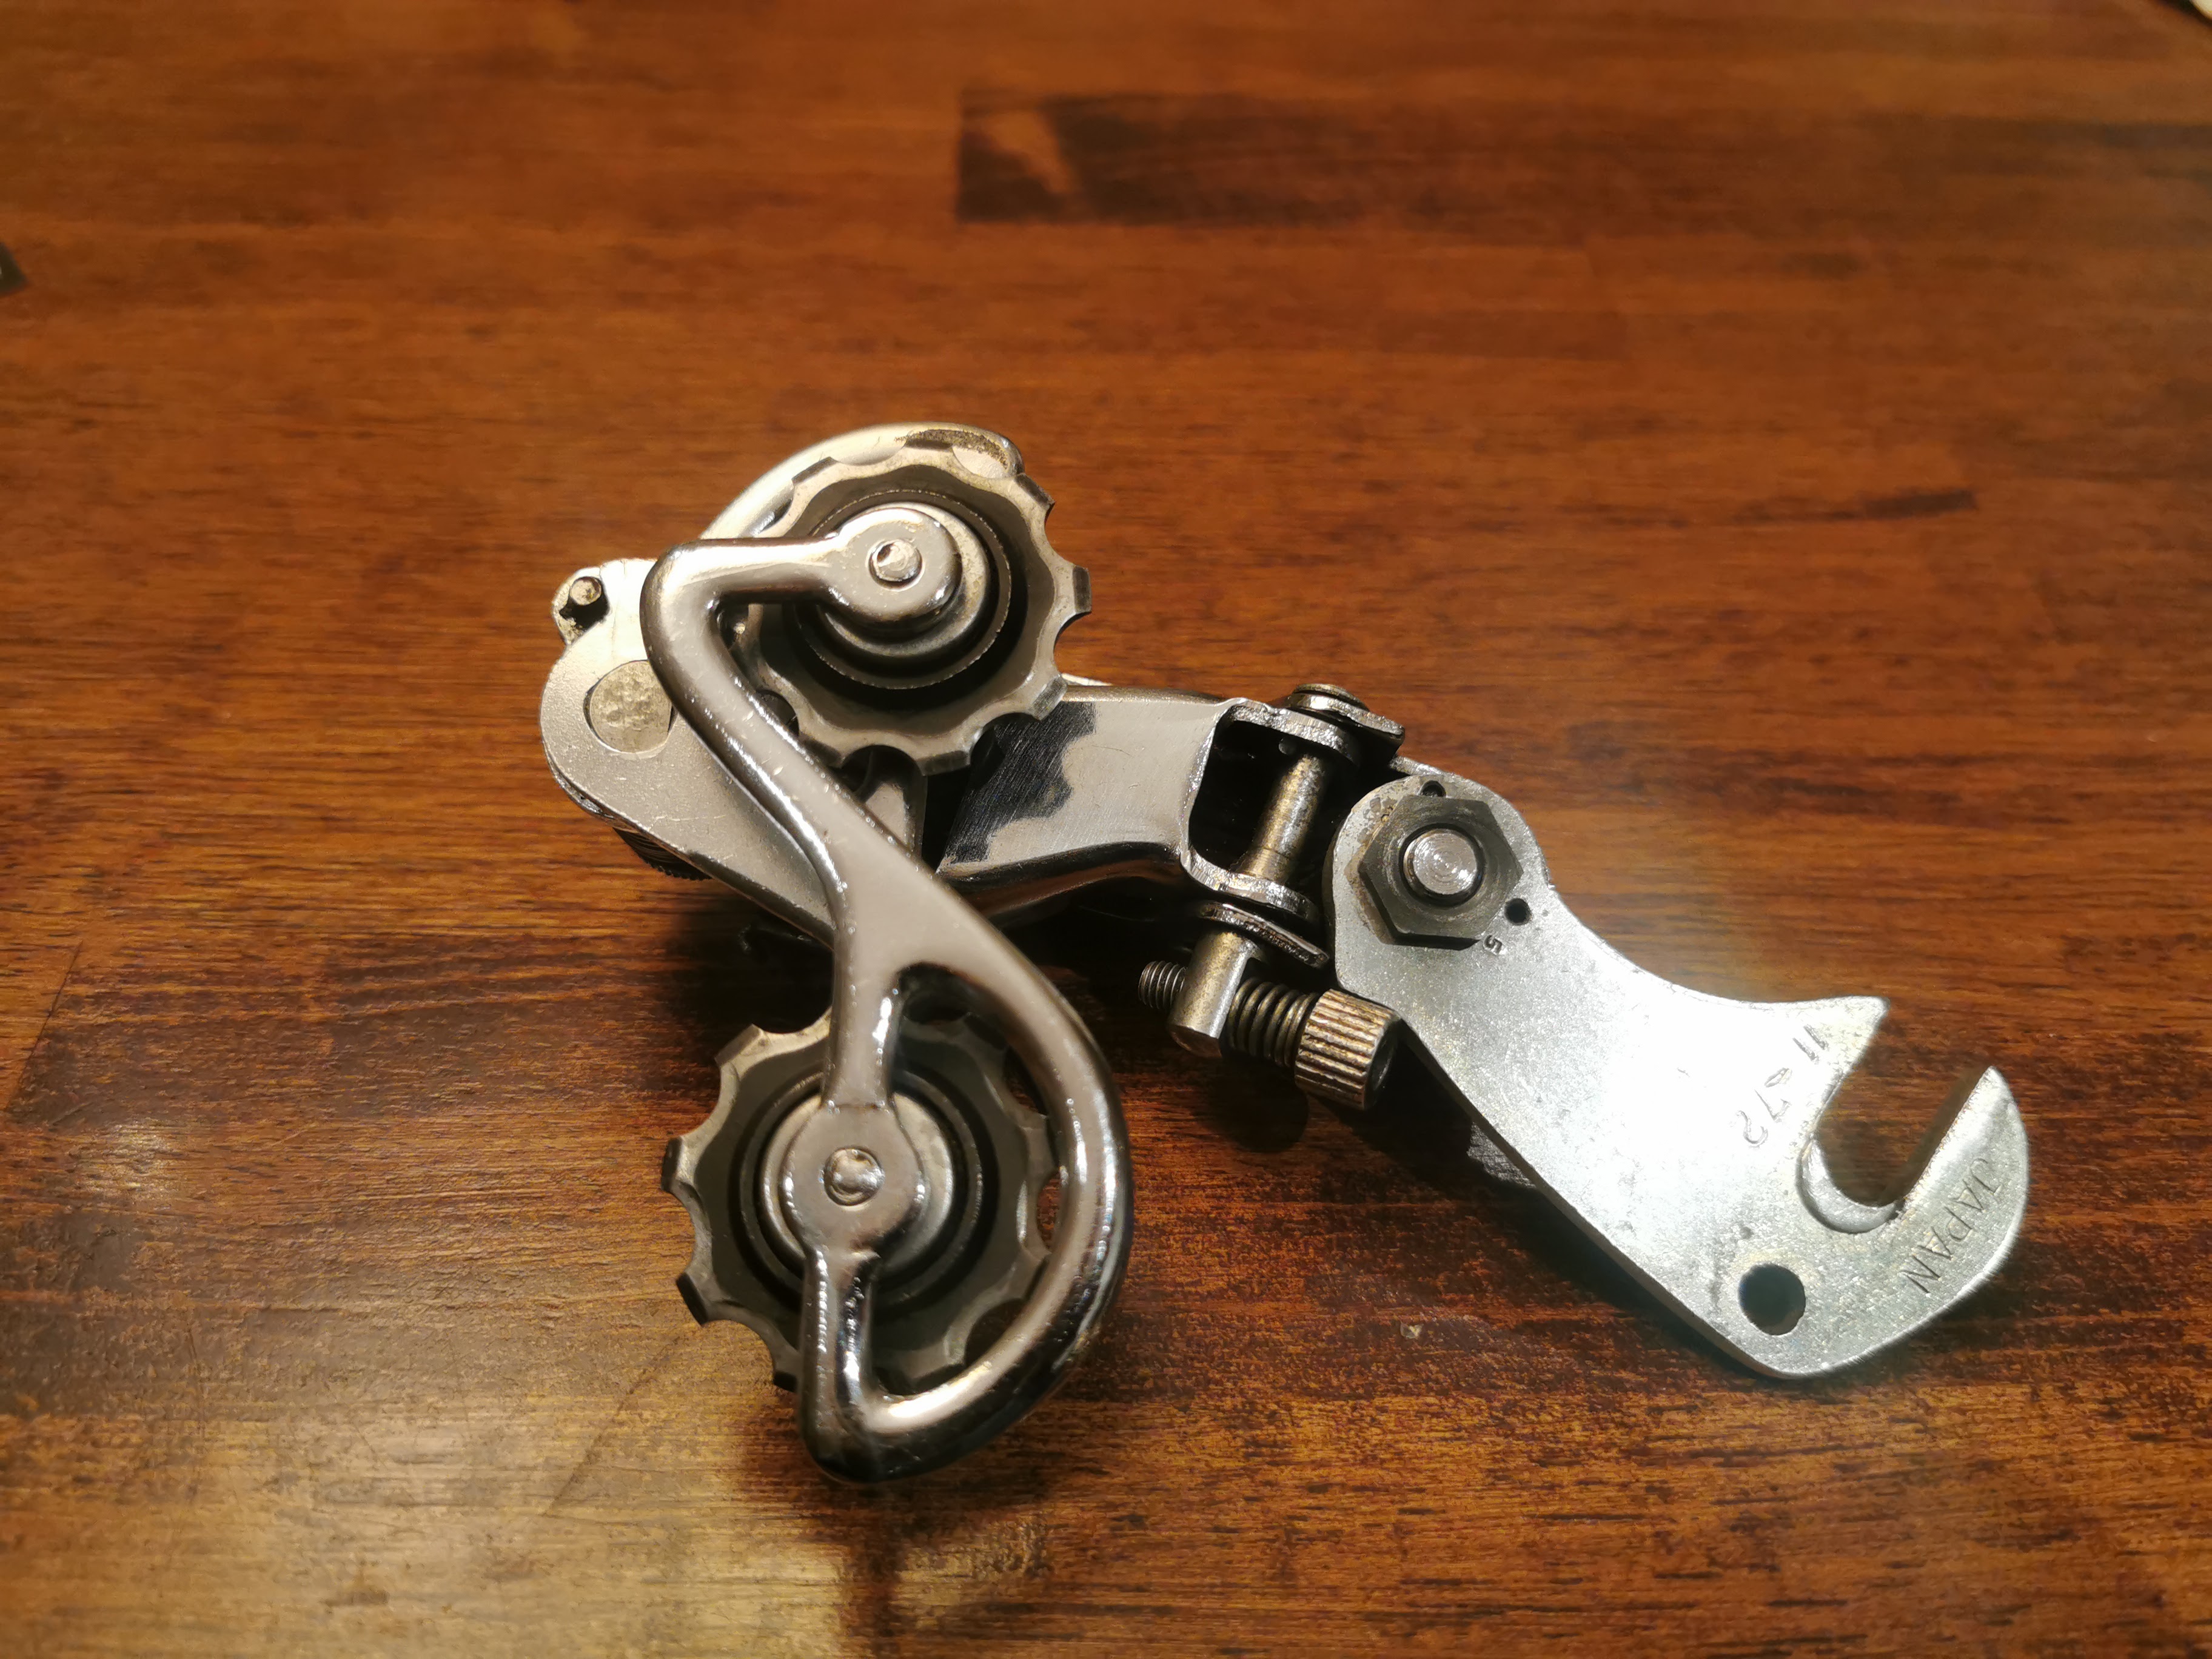
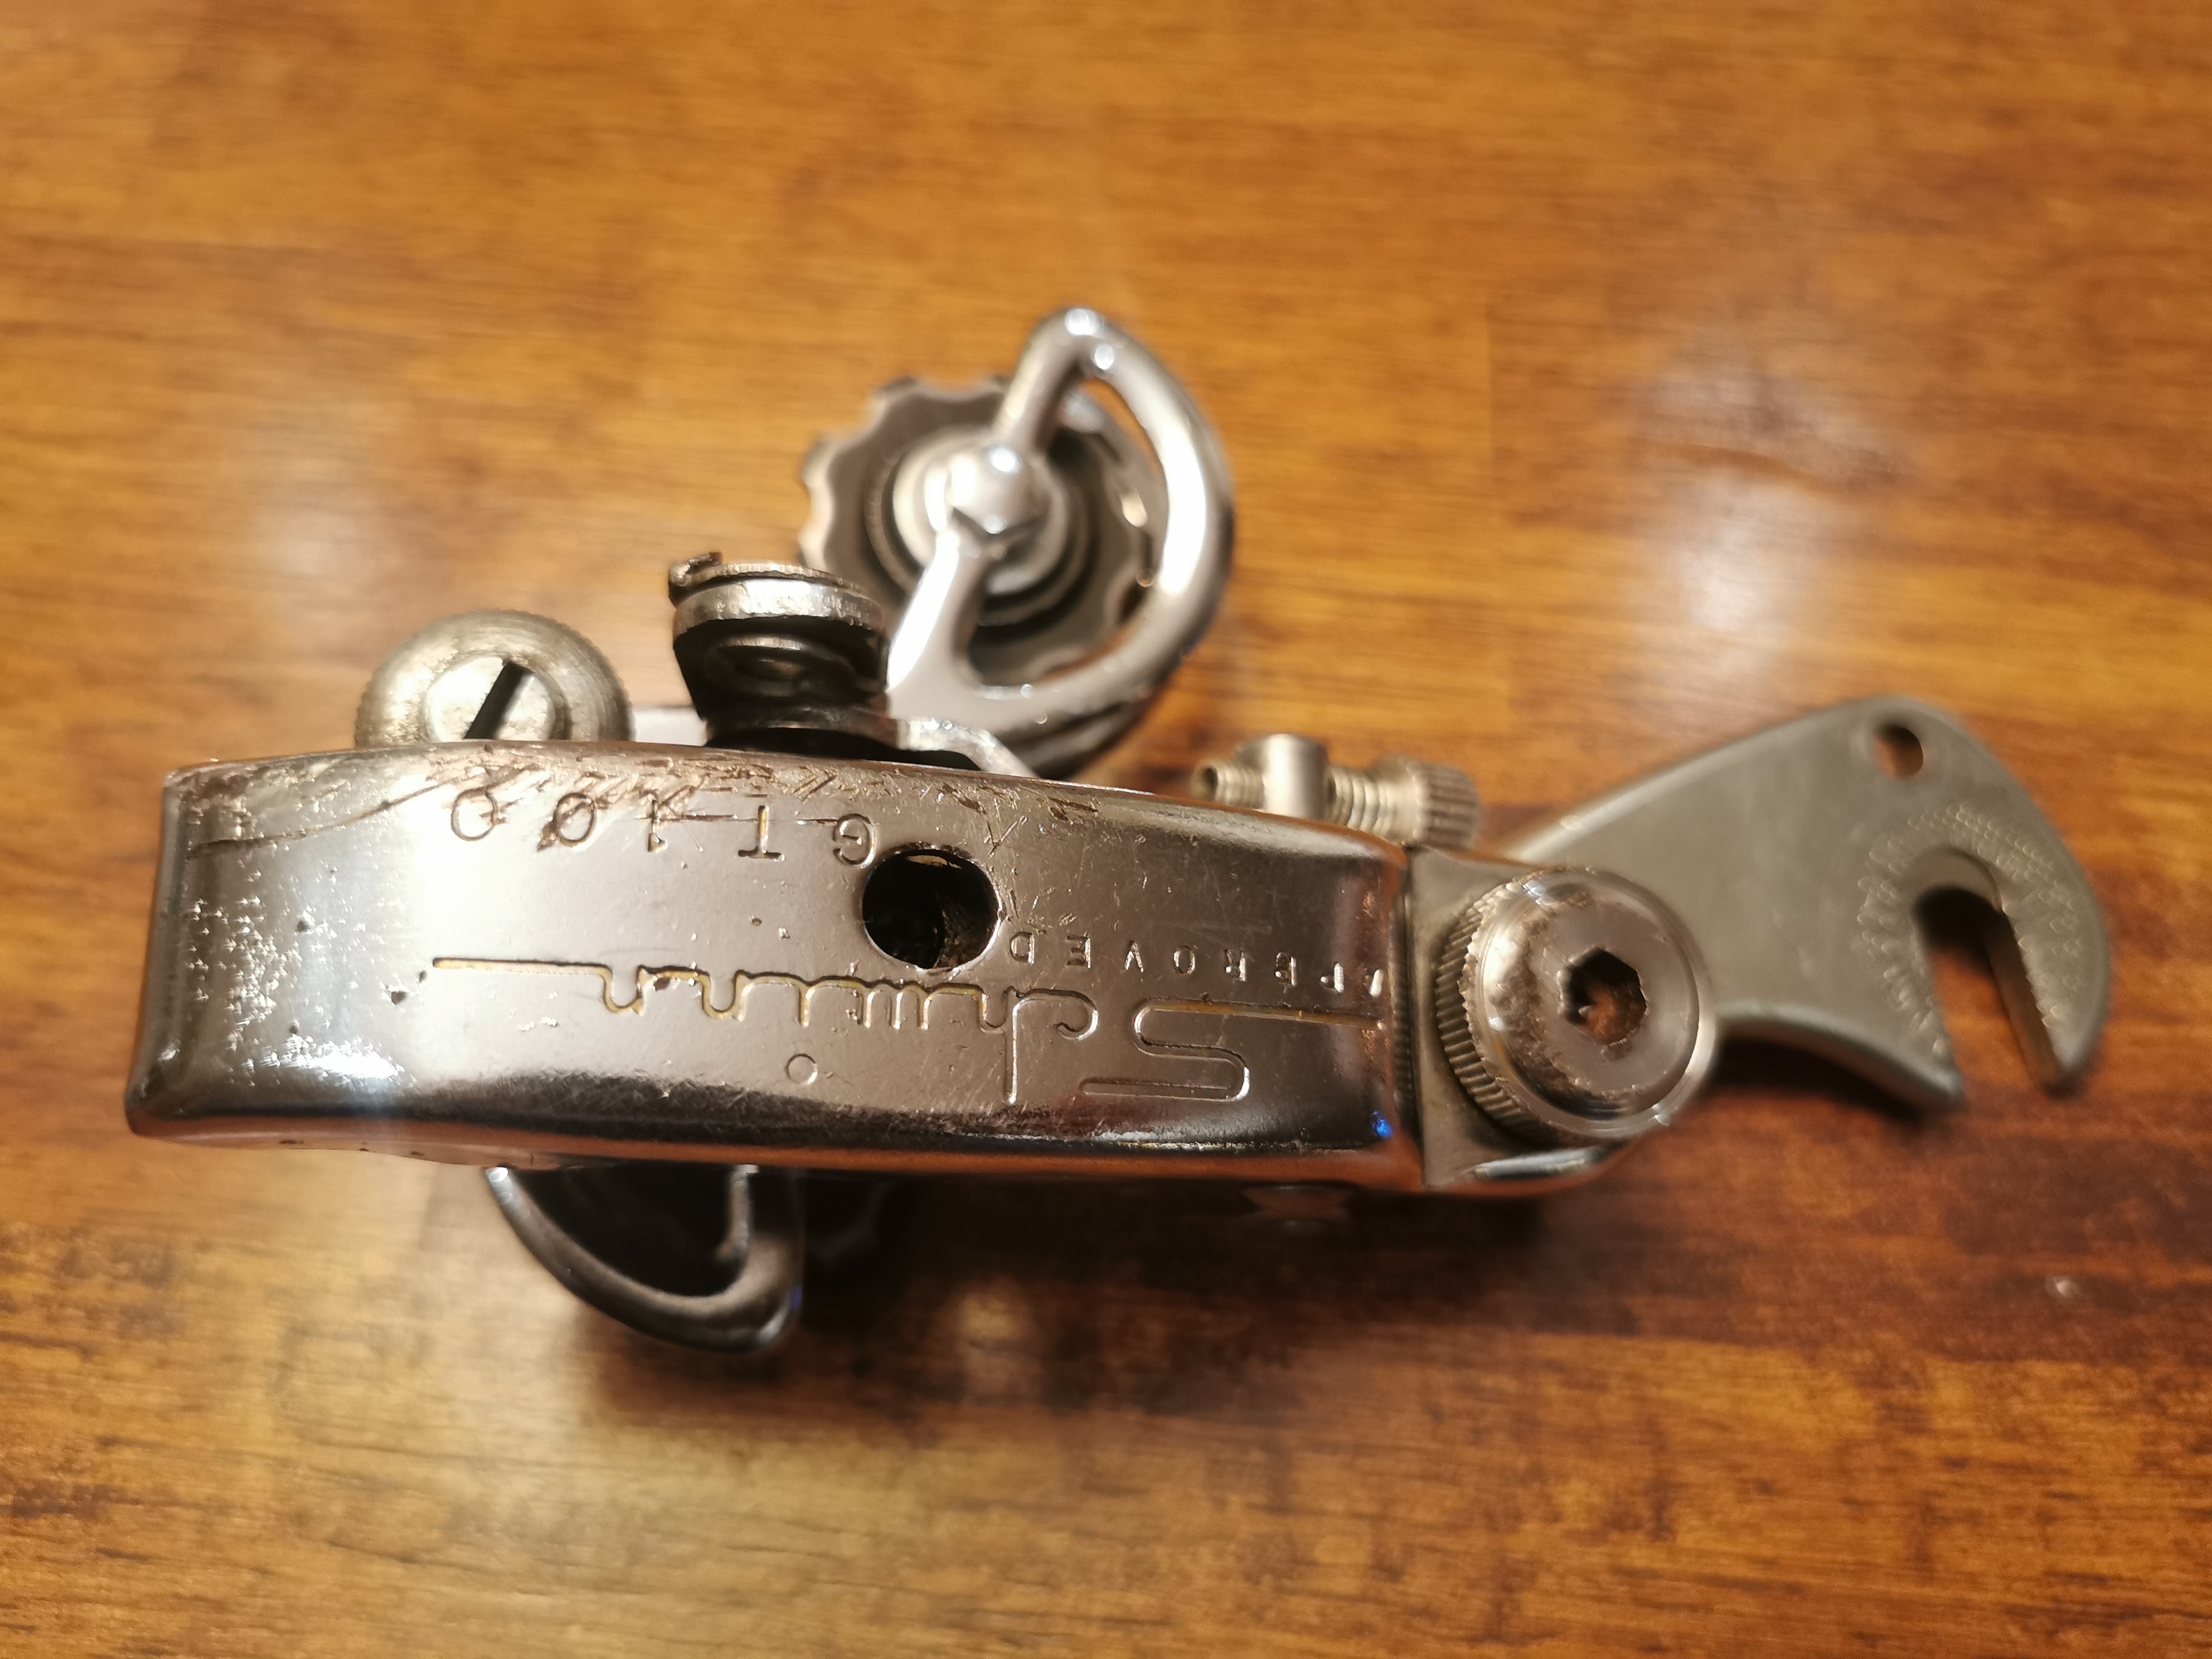
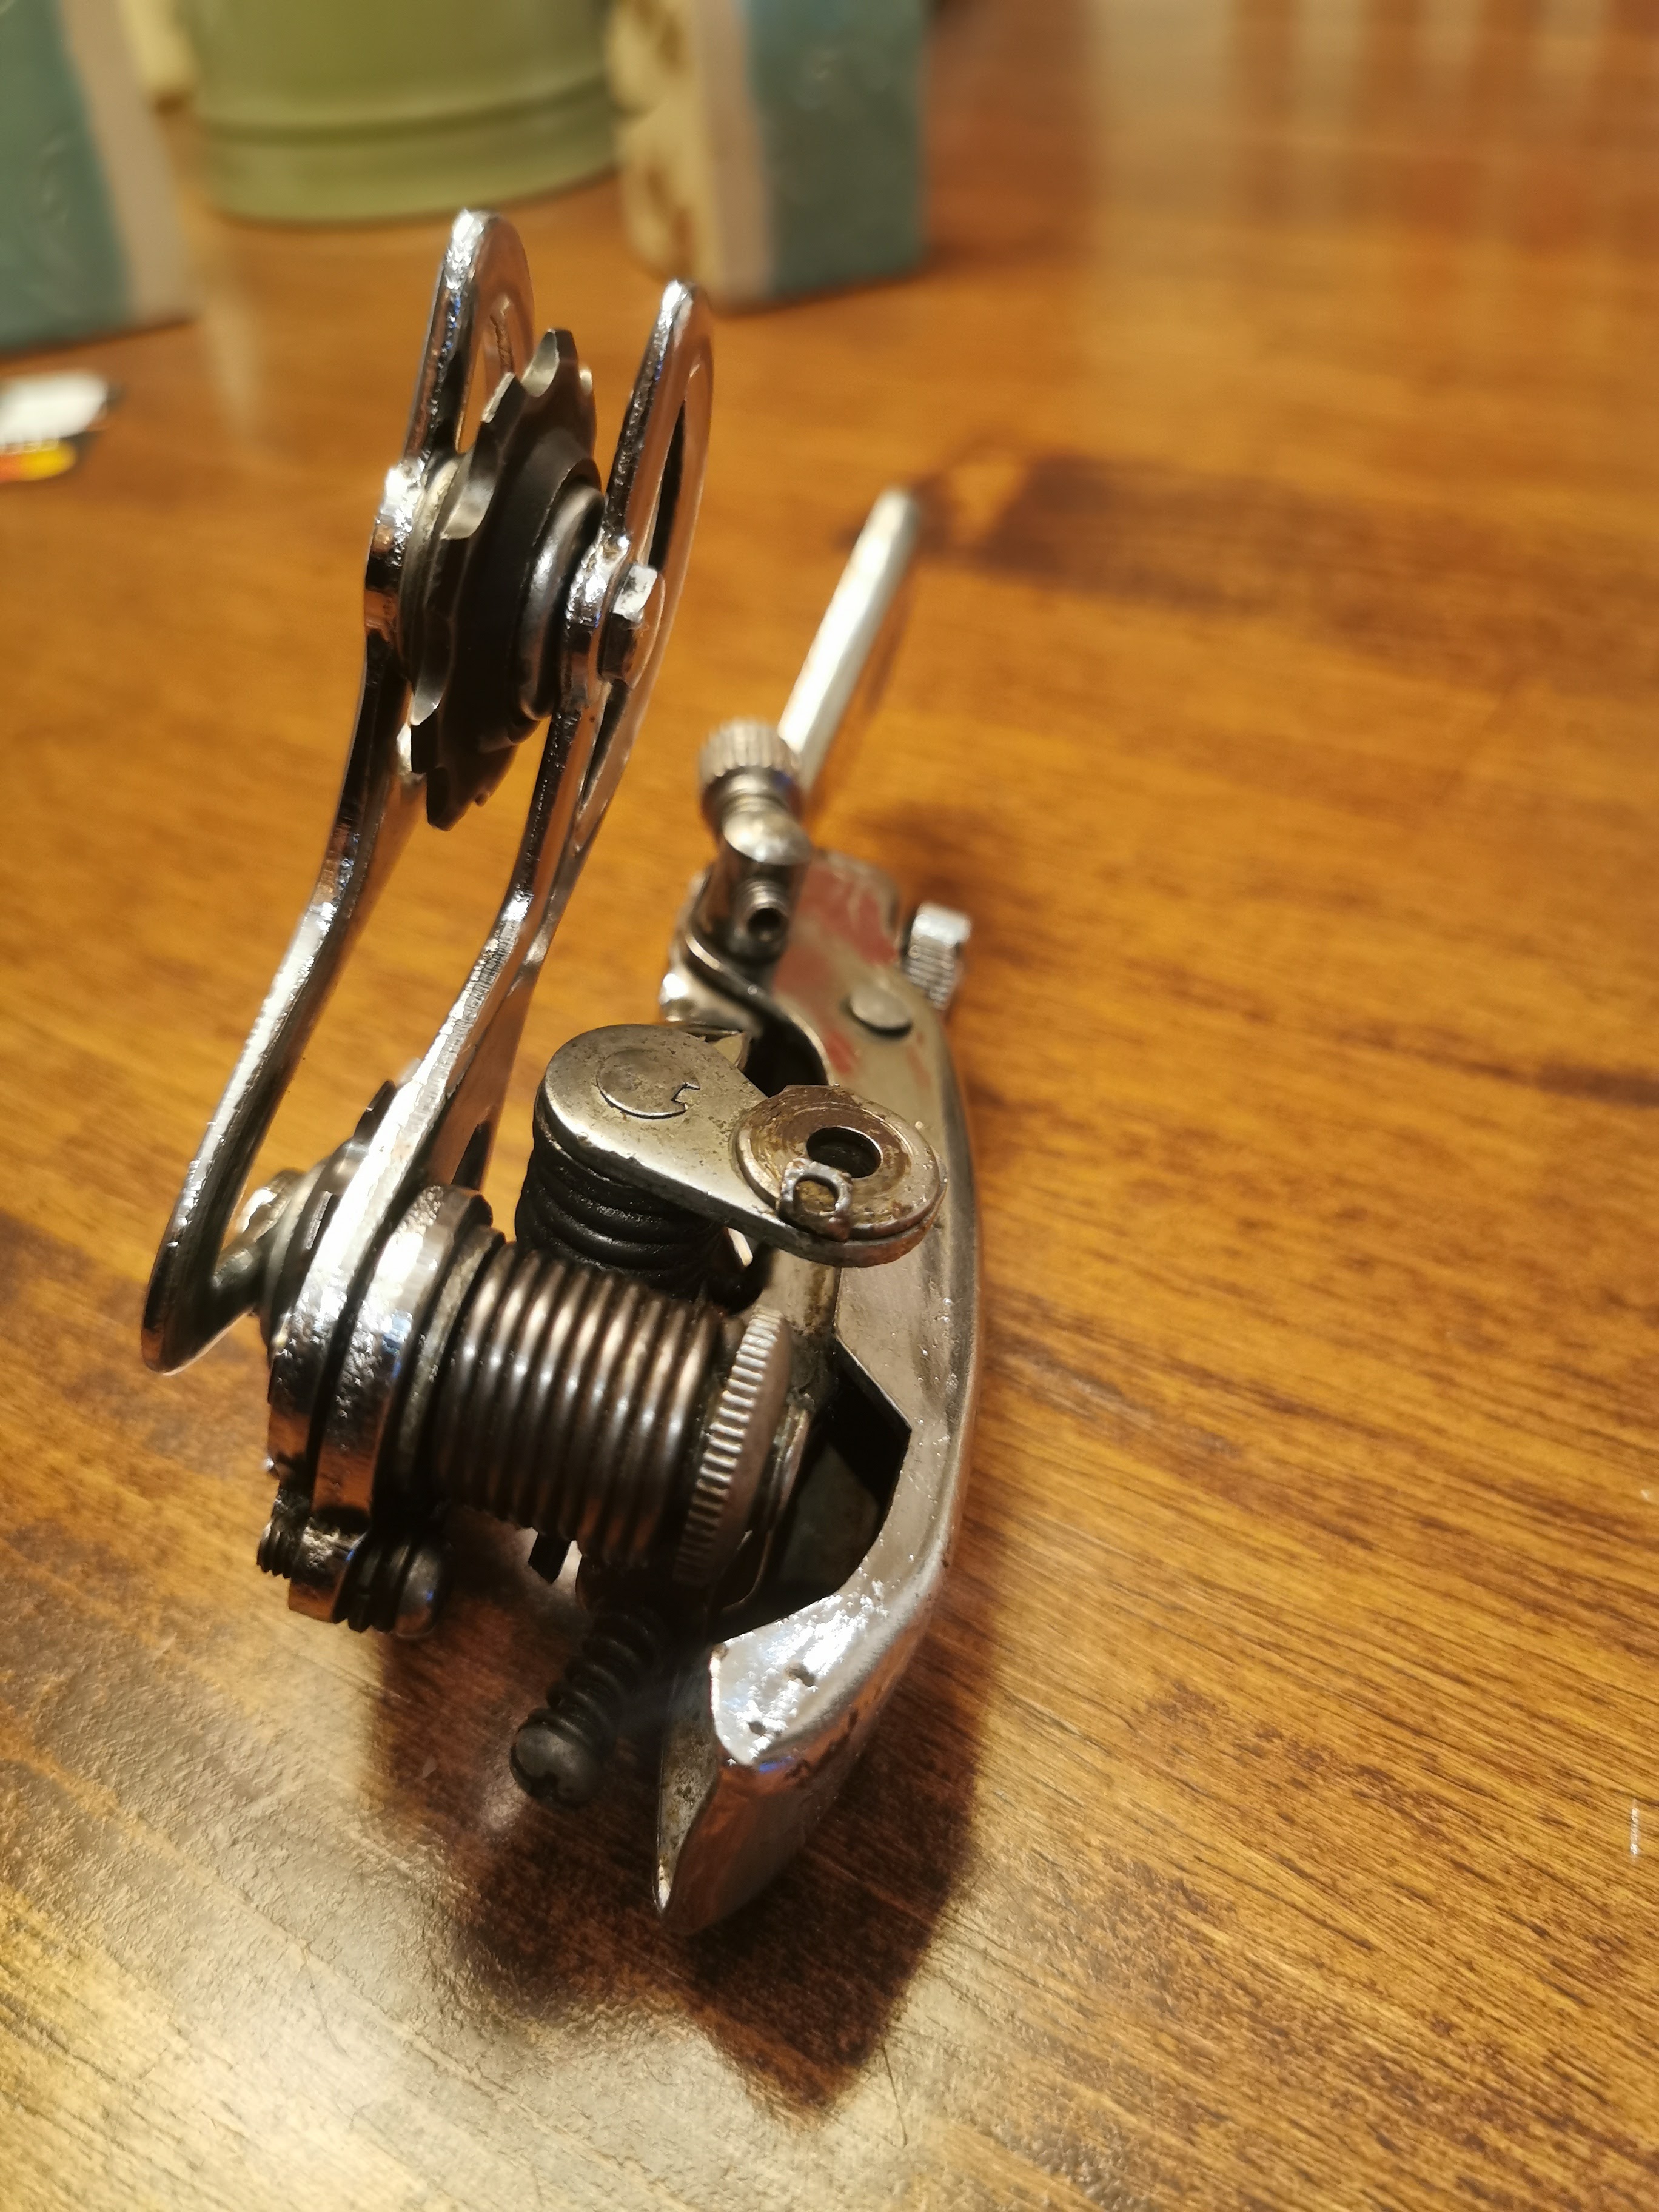
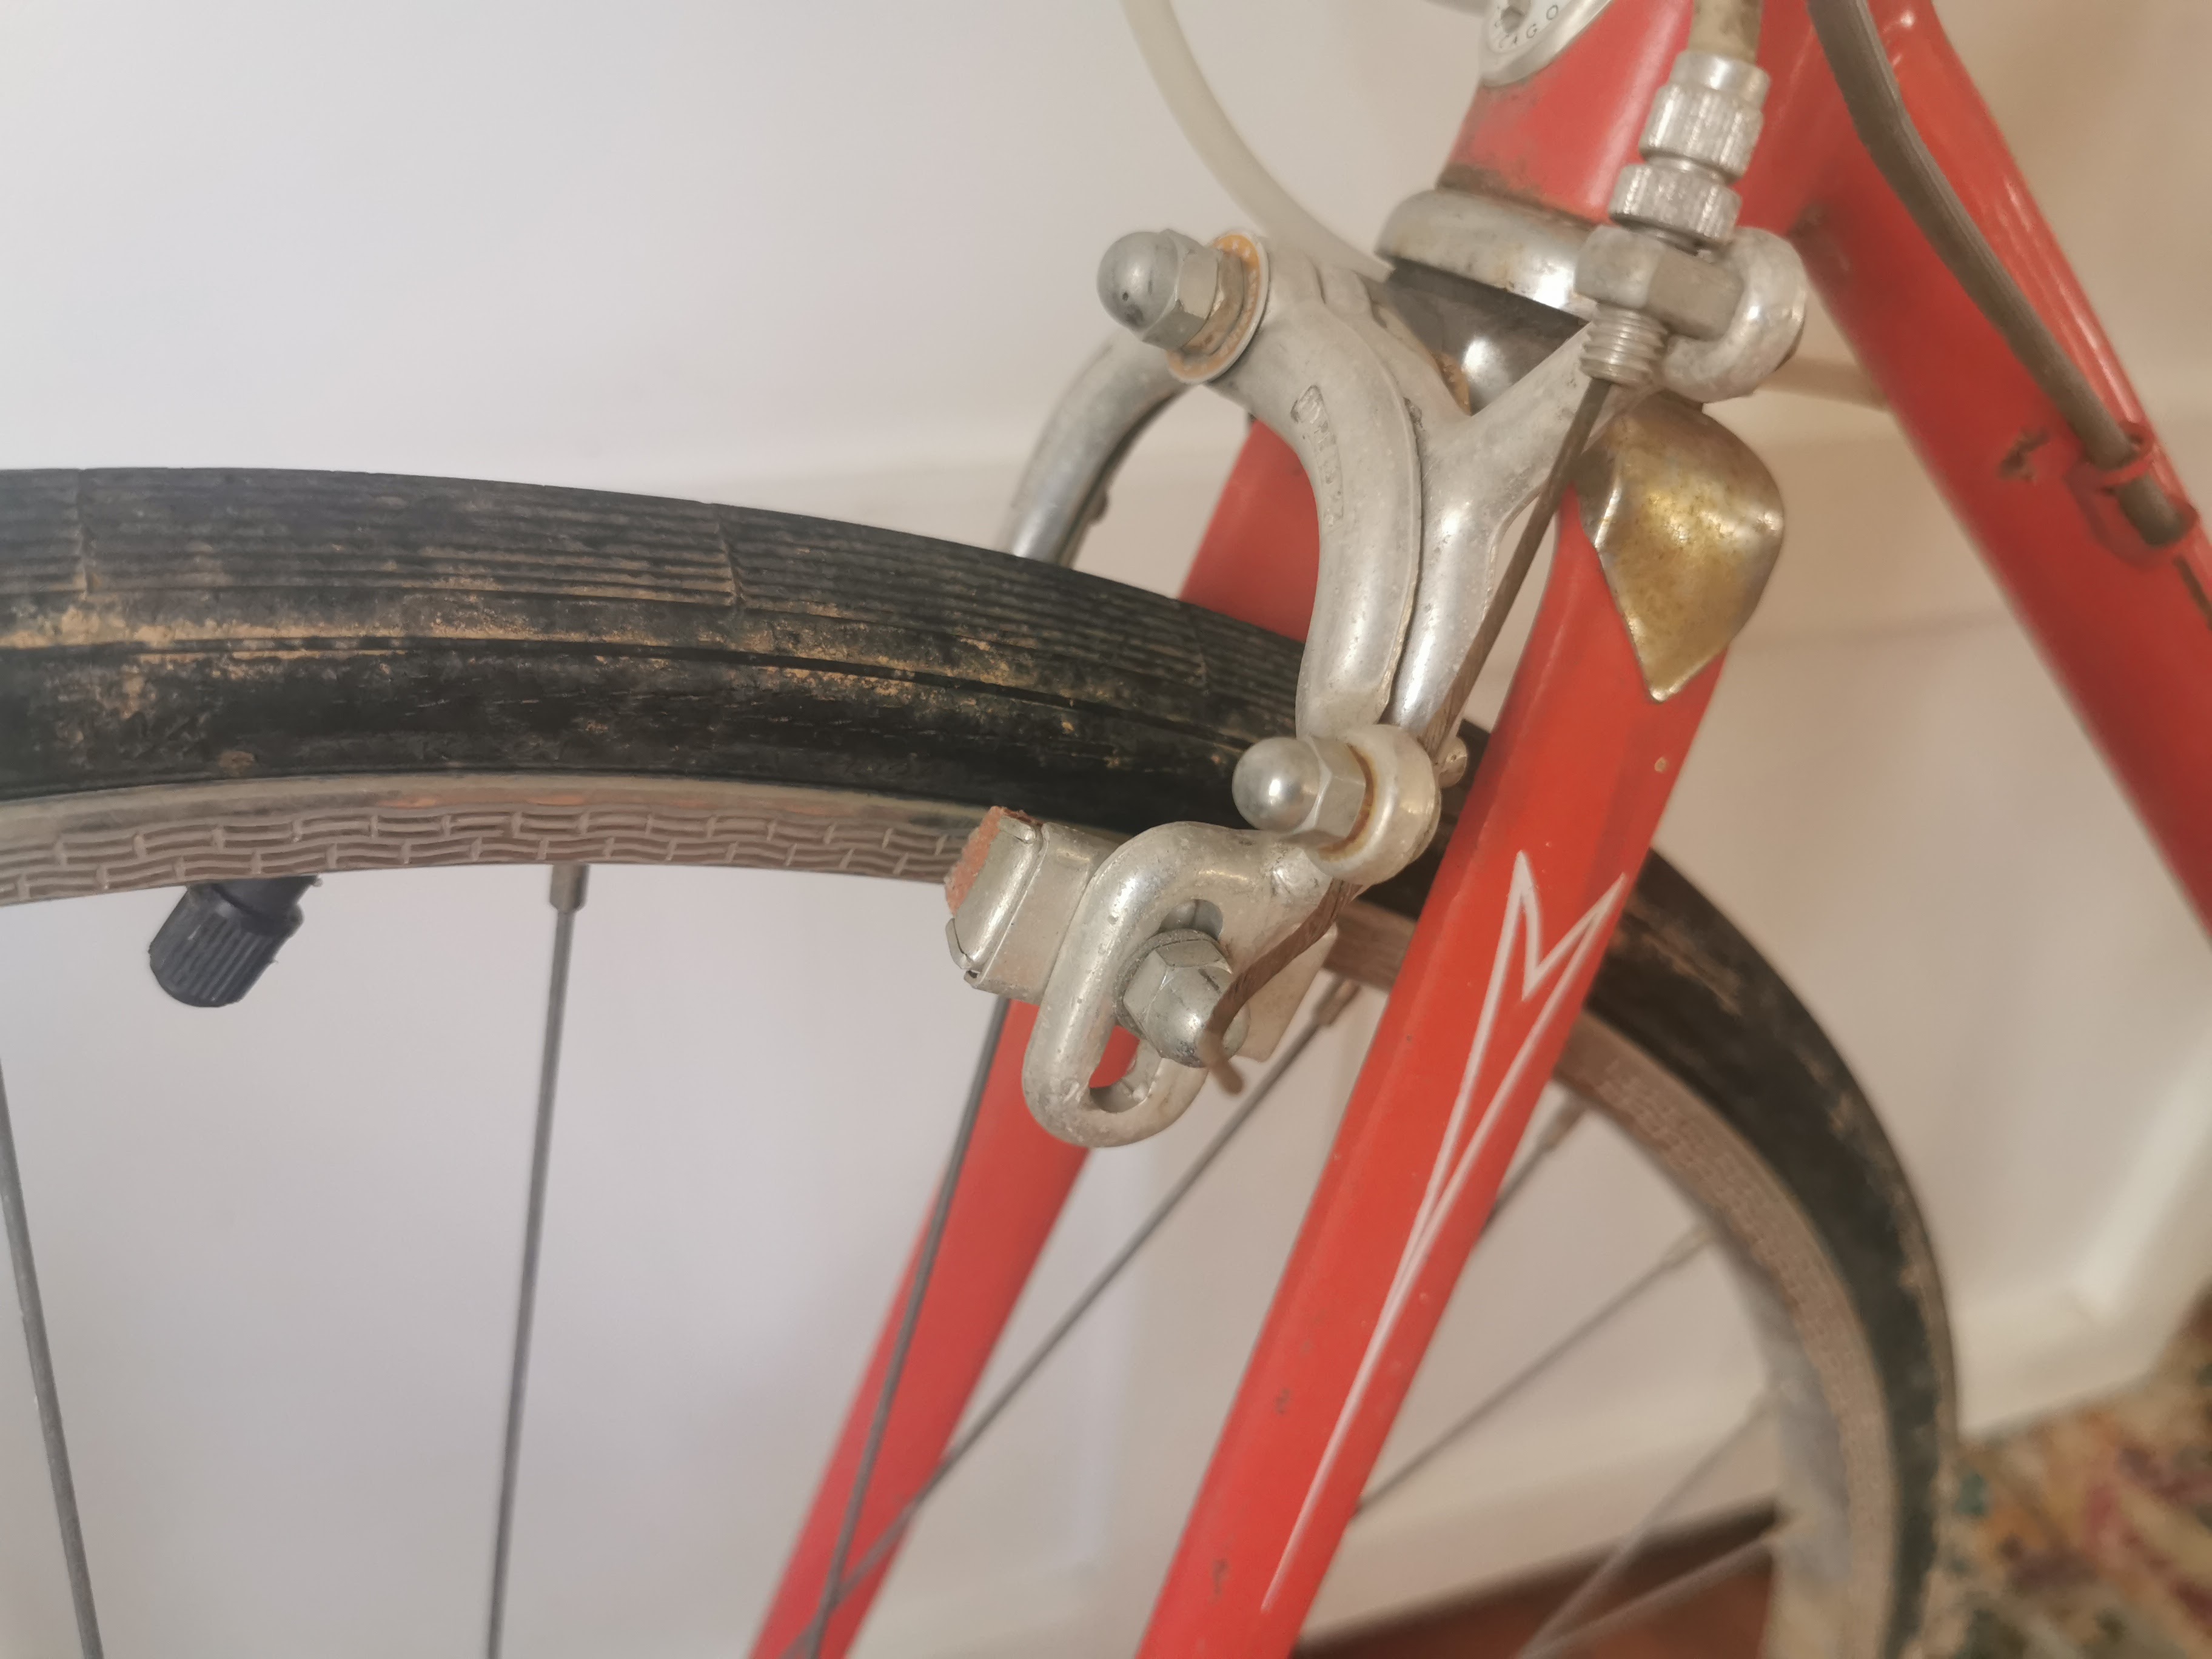
Here are the brake calipers and derailleurs before they are cleaned.


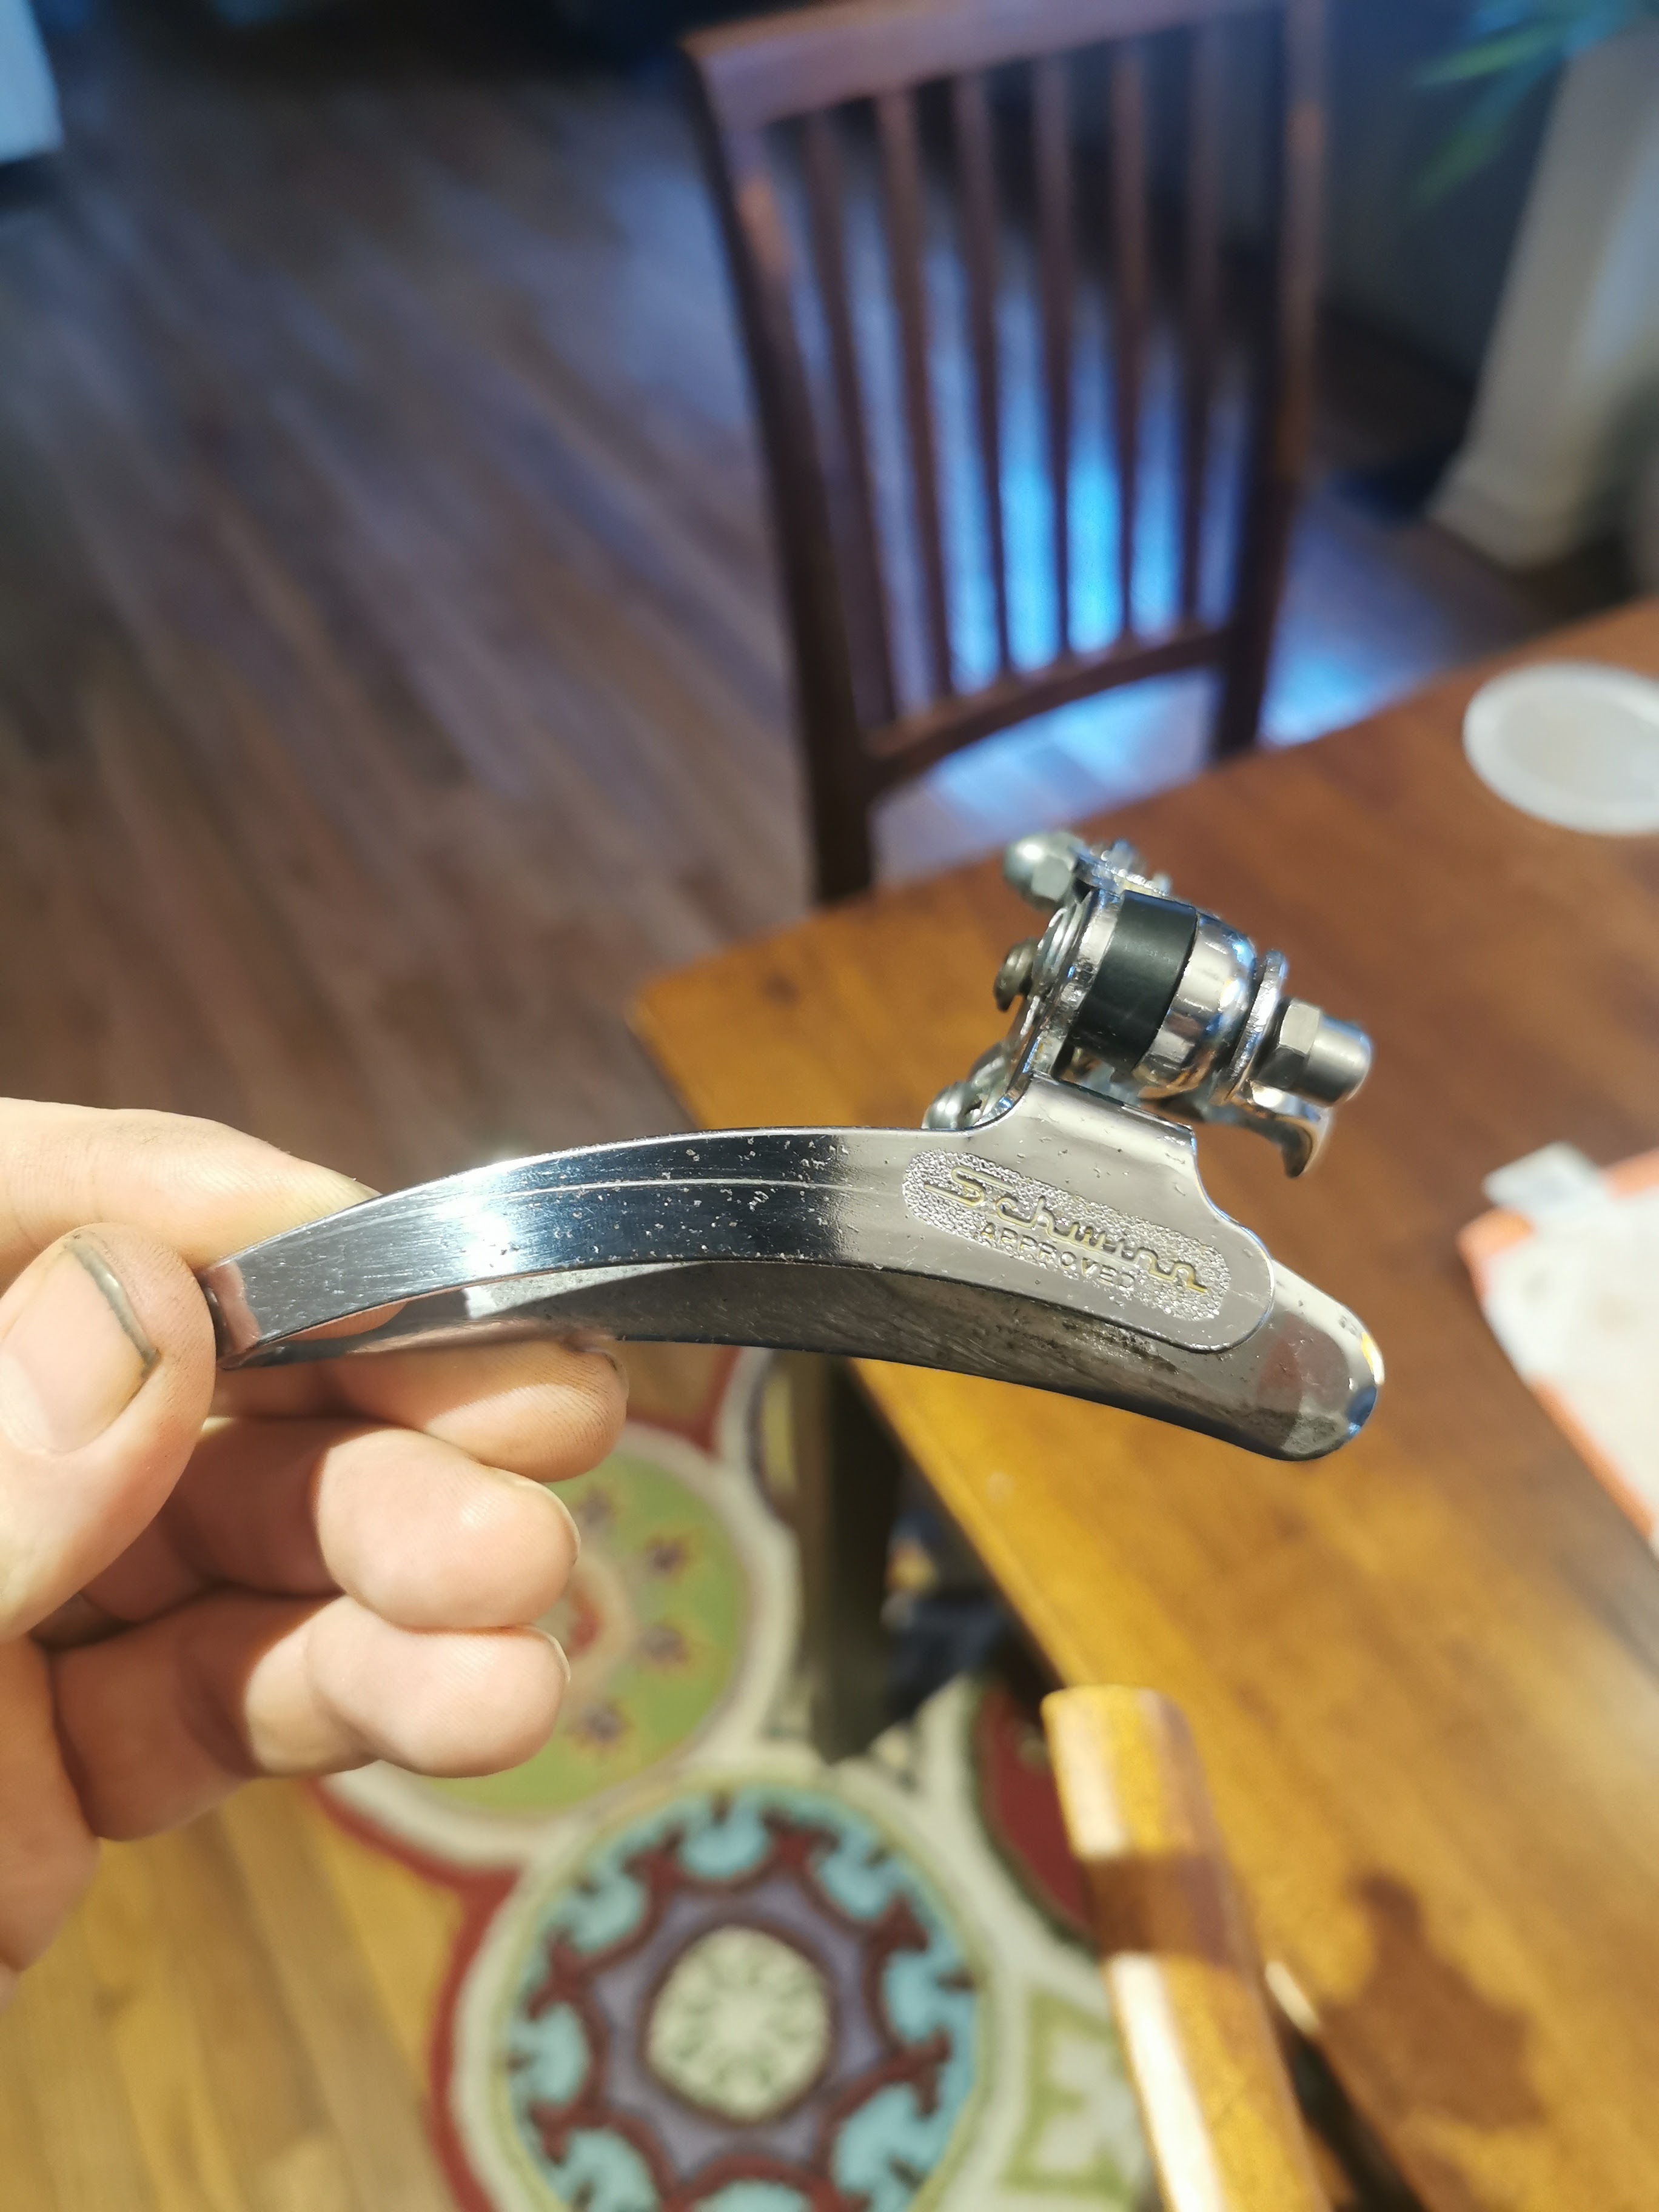
Here they are after they’ve been cleaned, including a couple comparison before / after pics.


And the crank before and after.

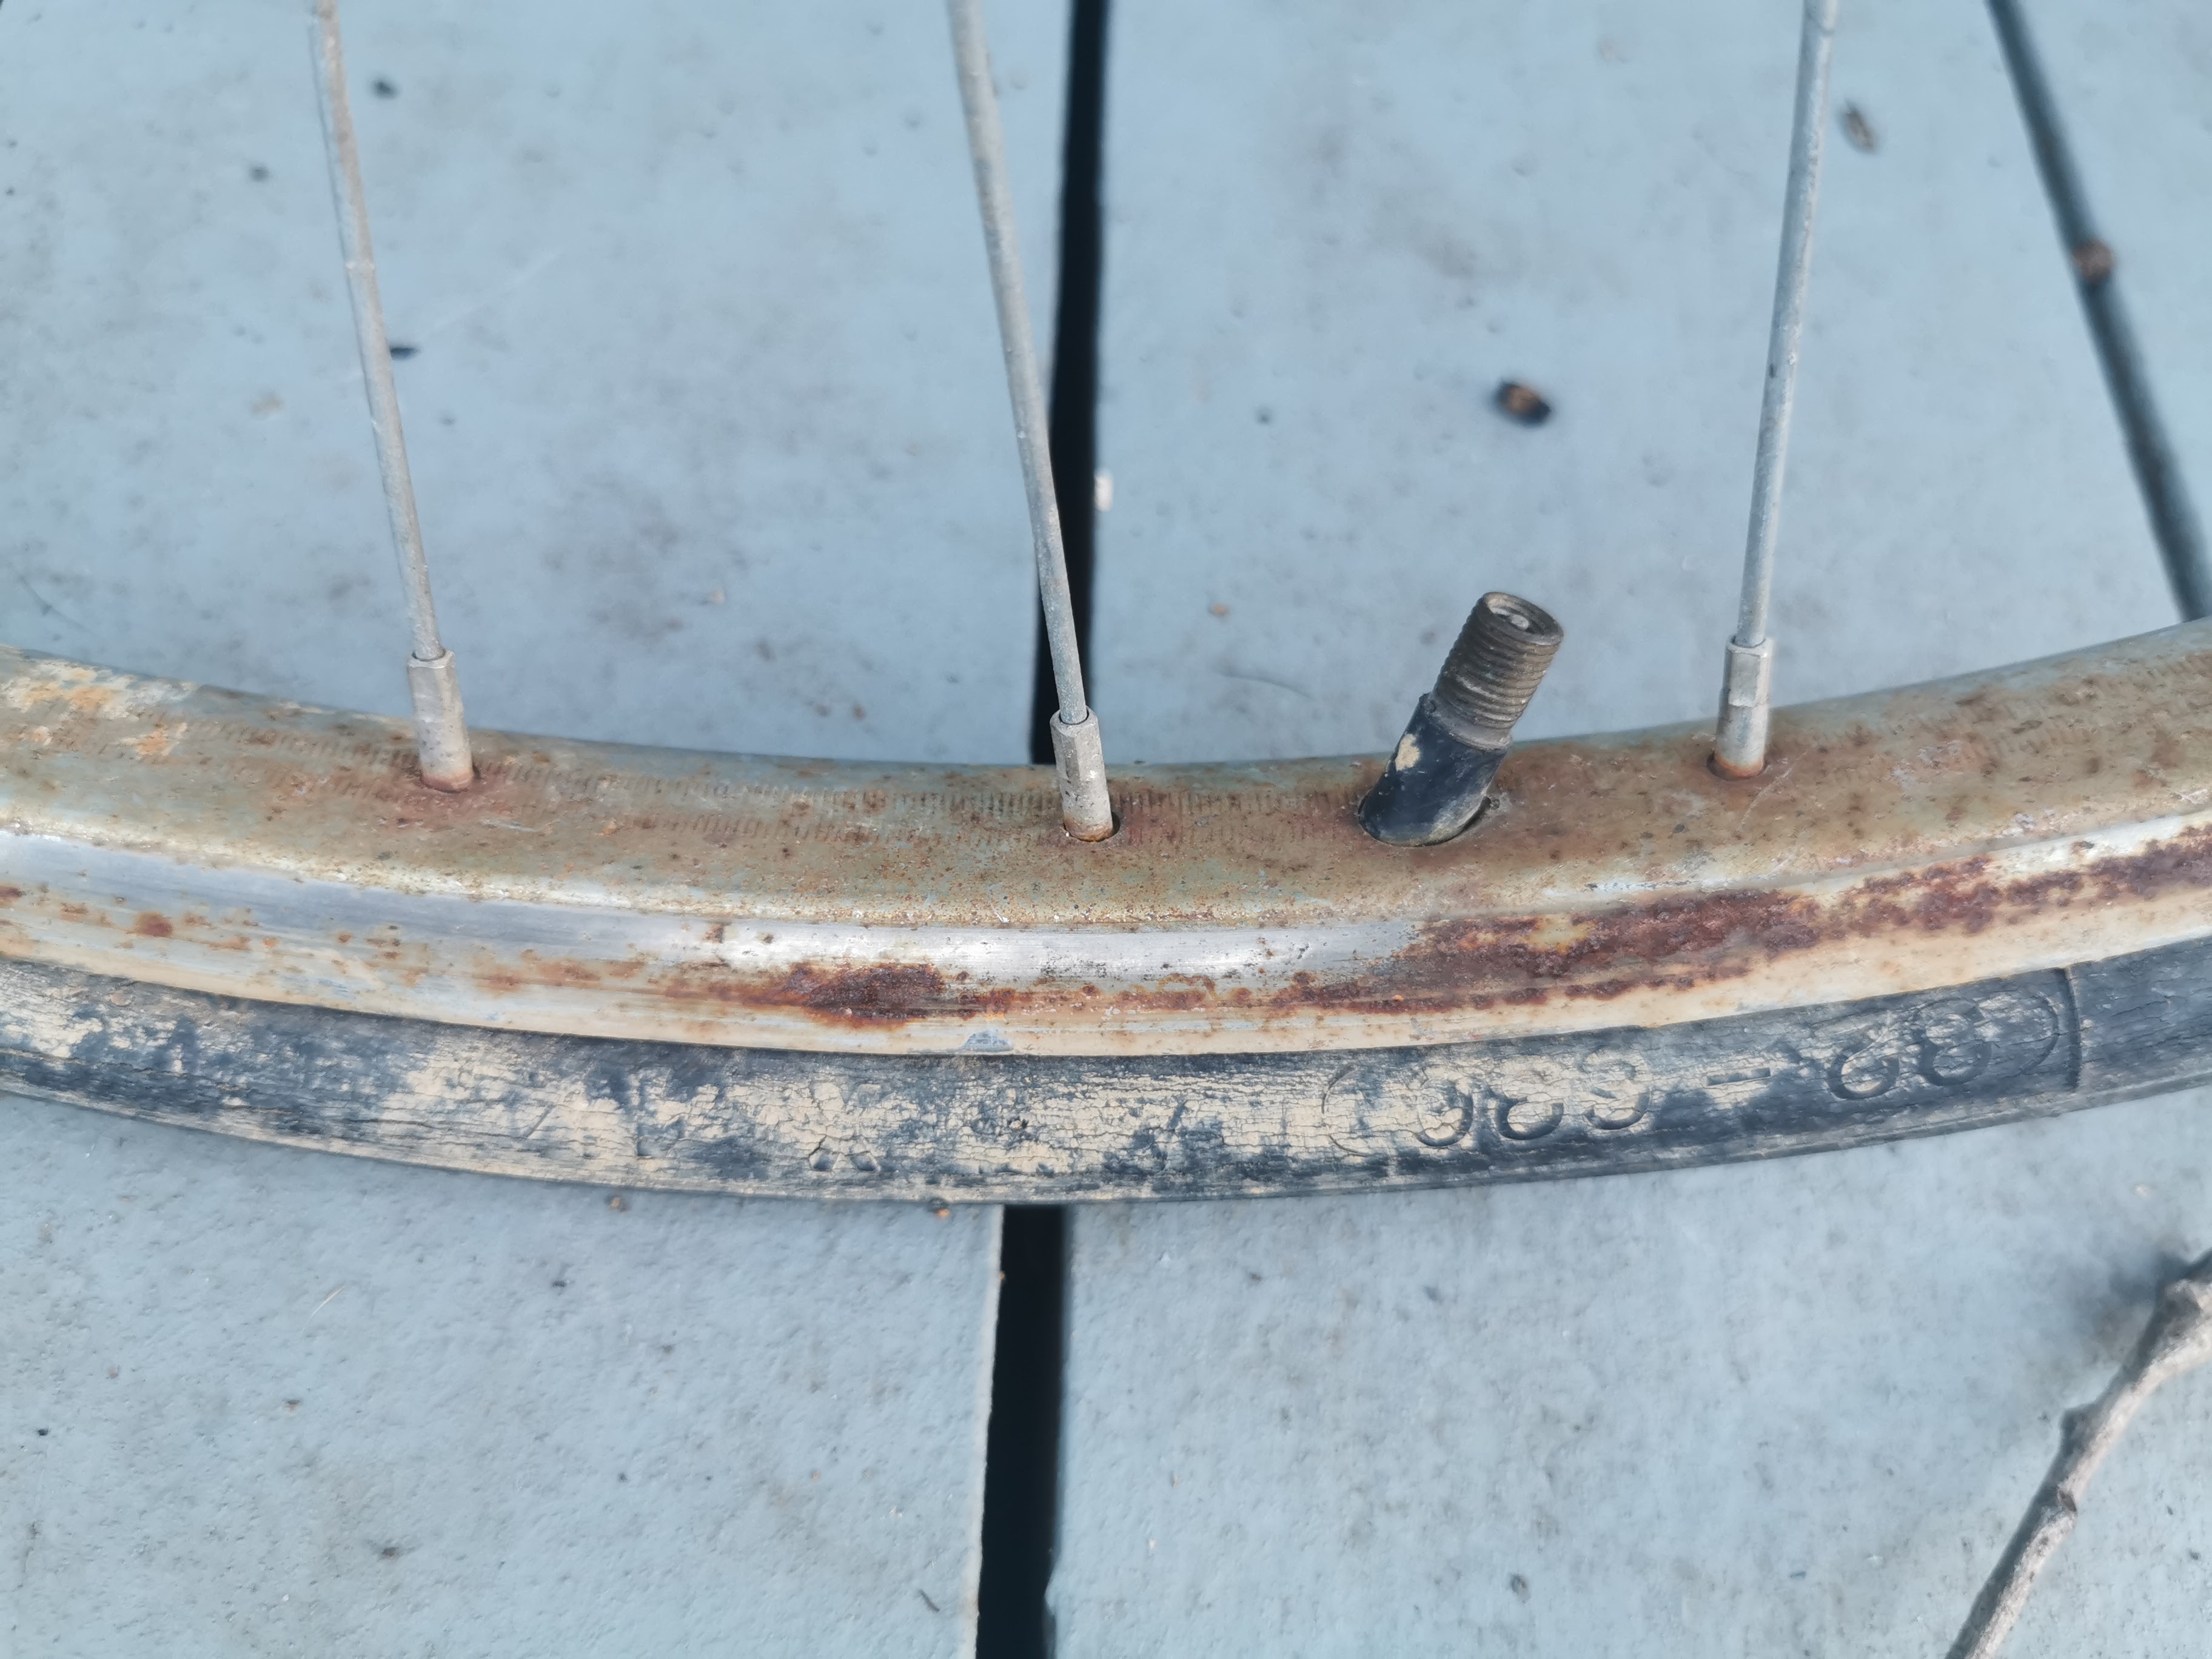
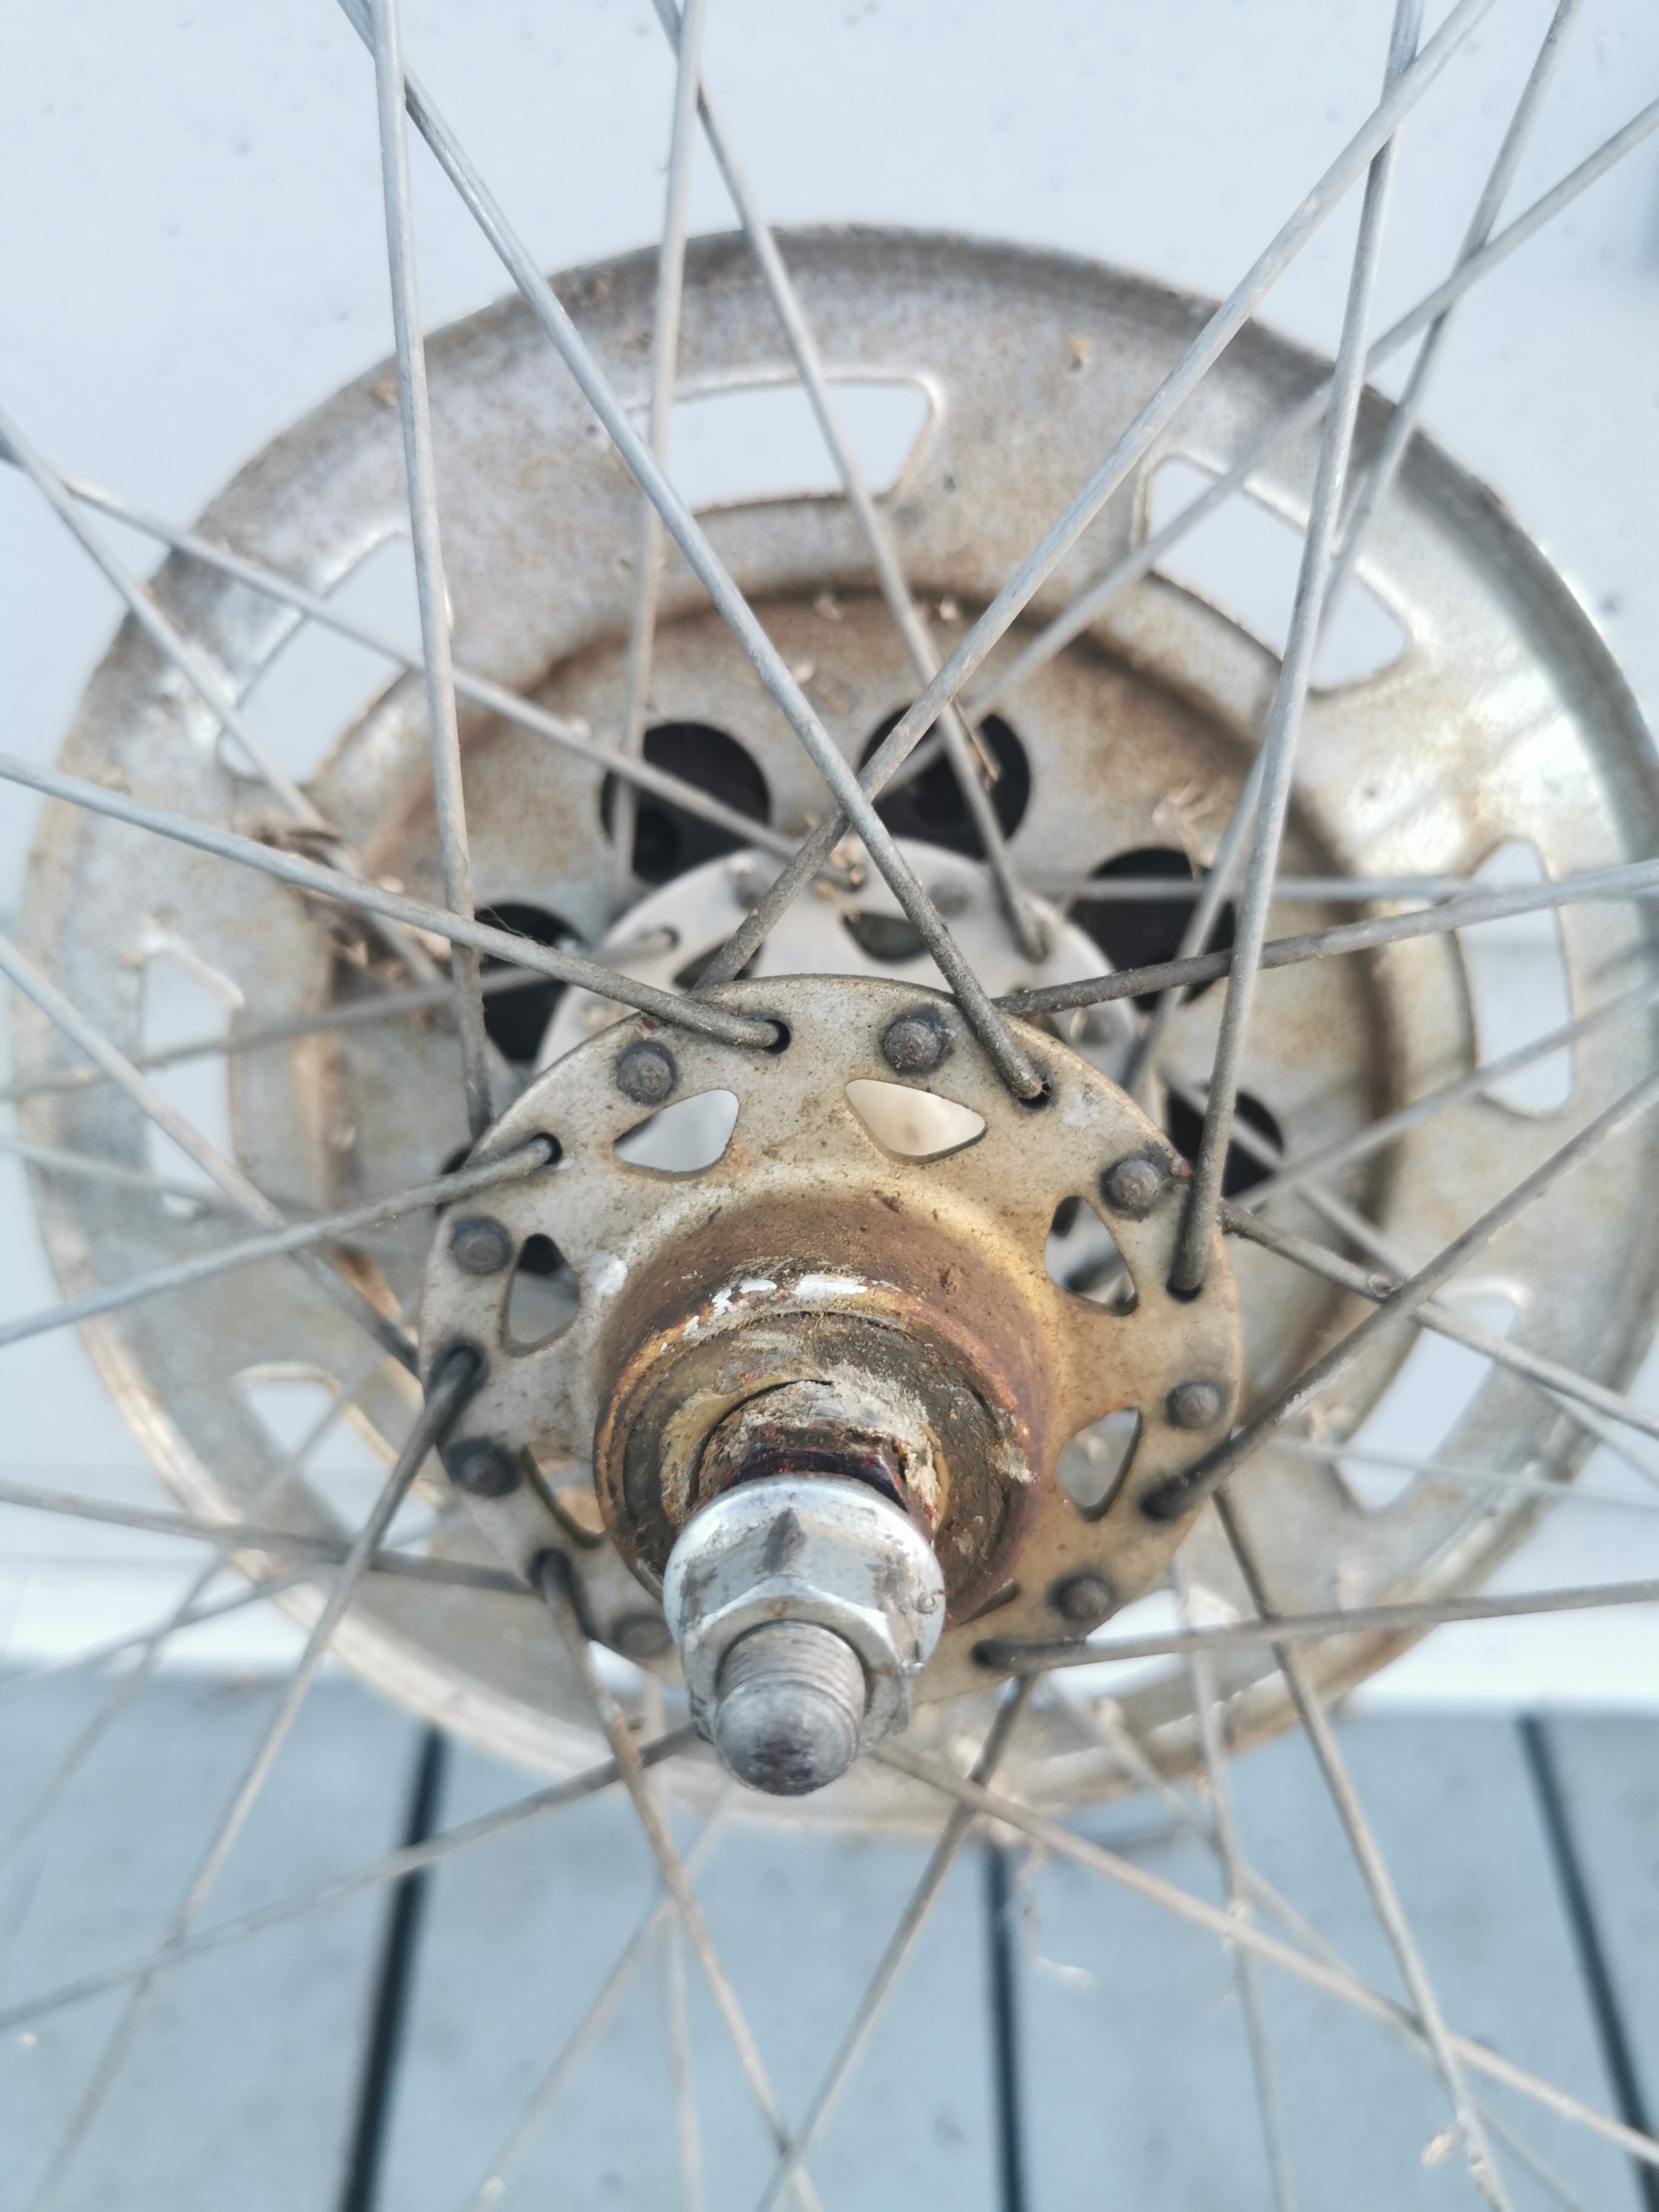
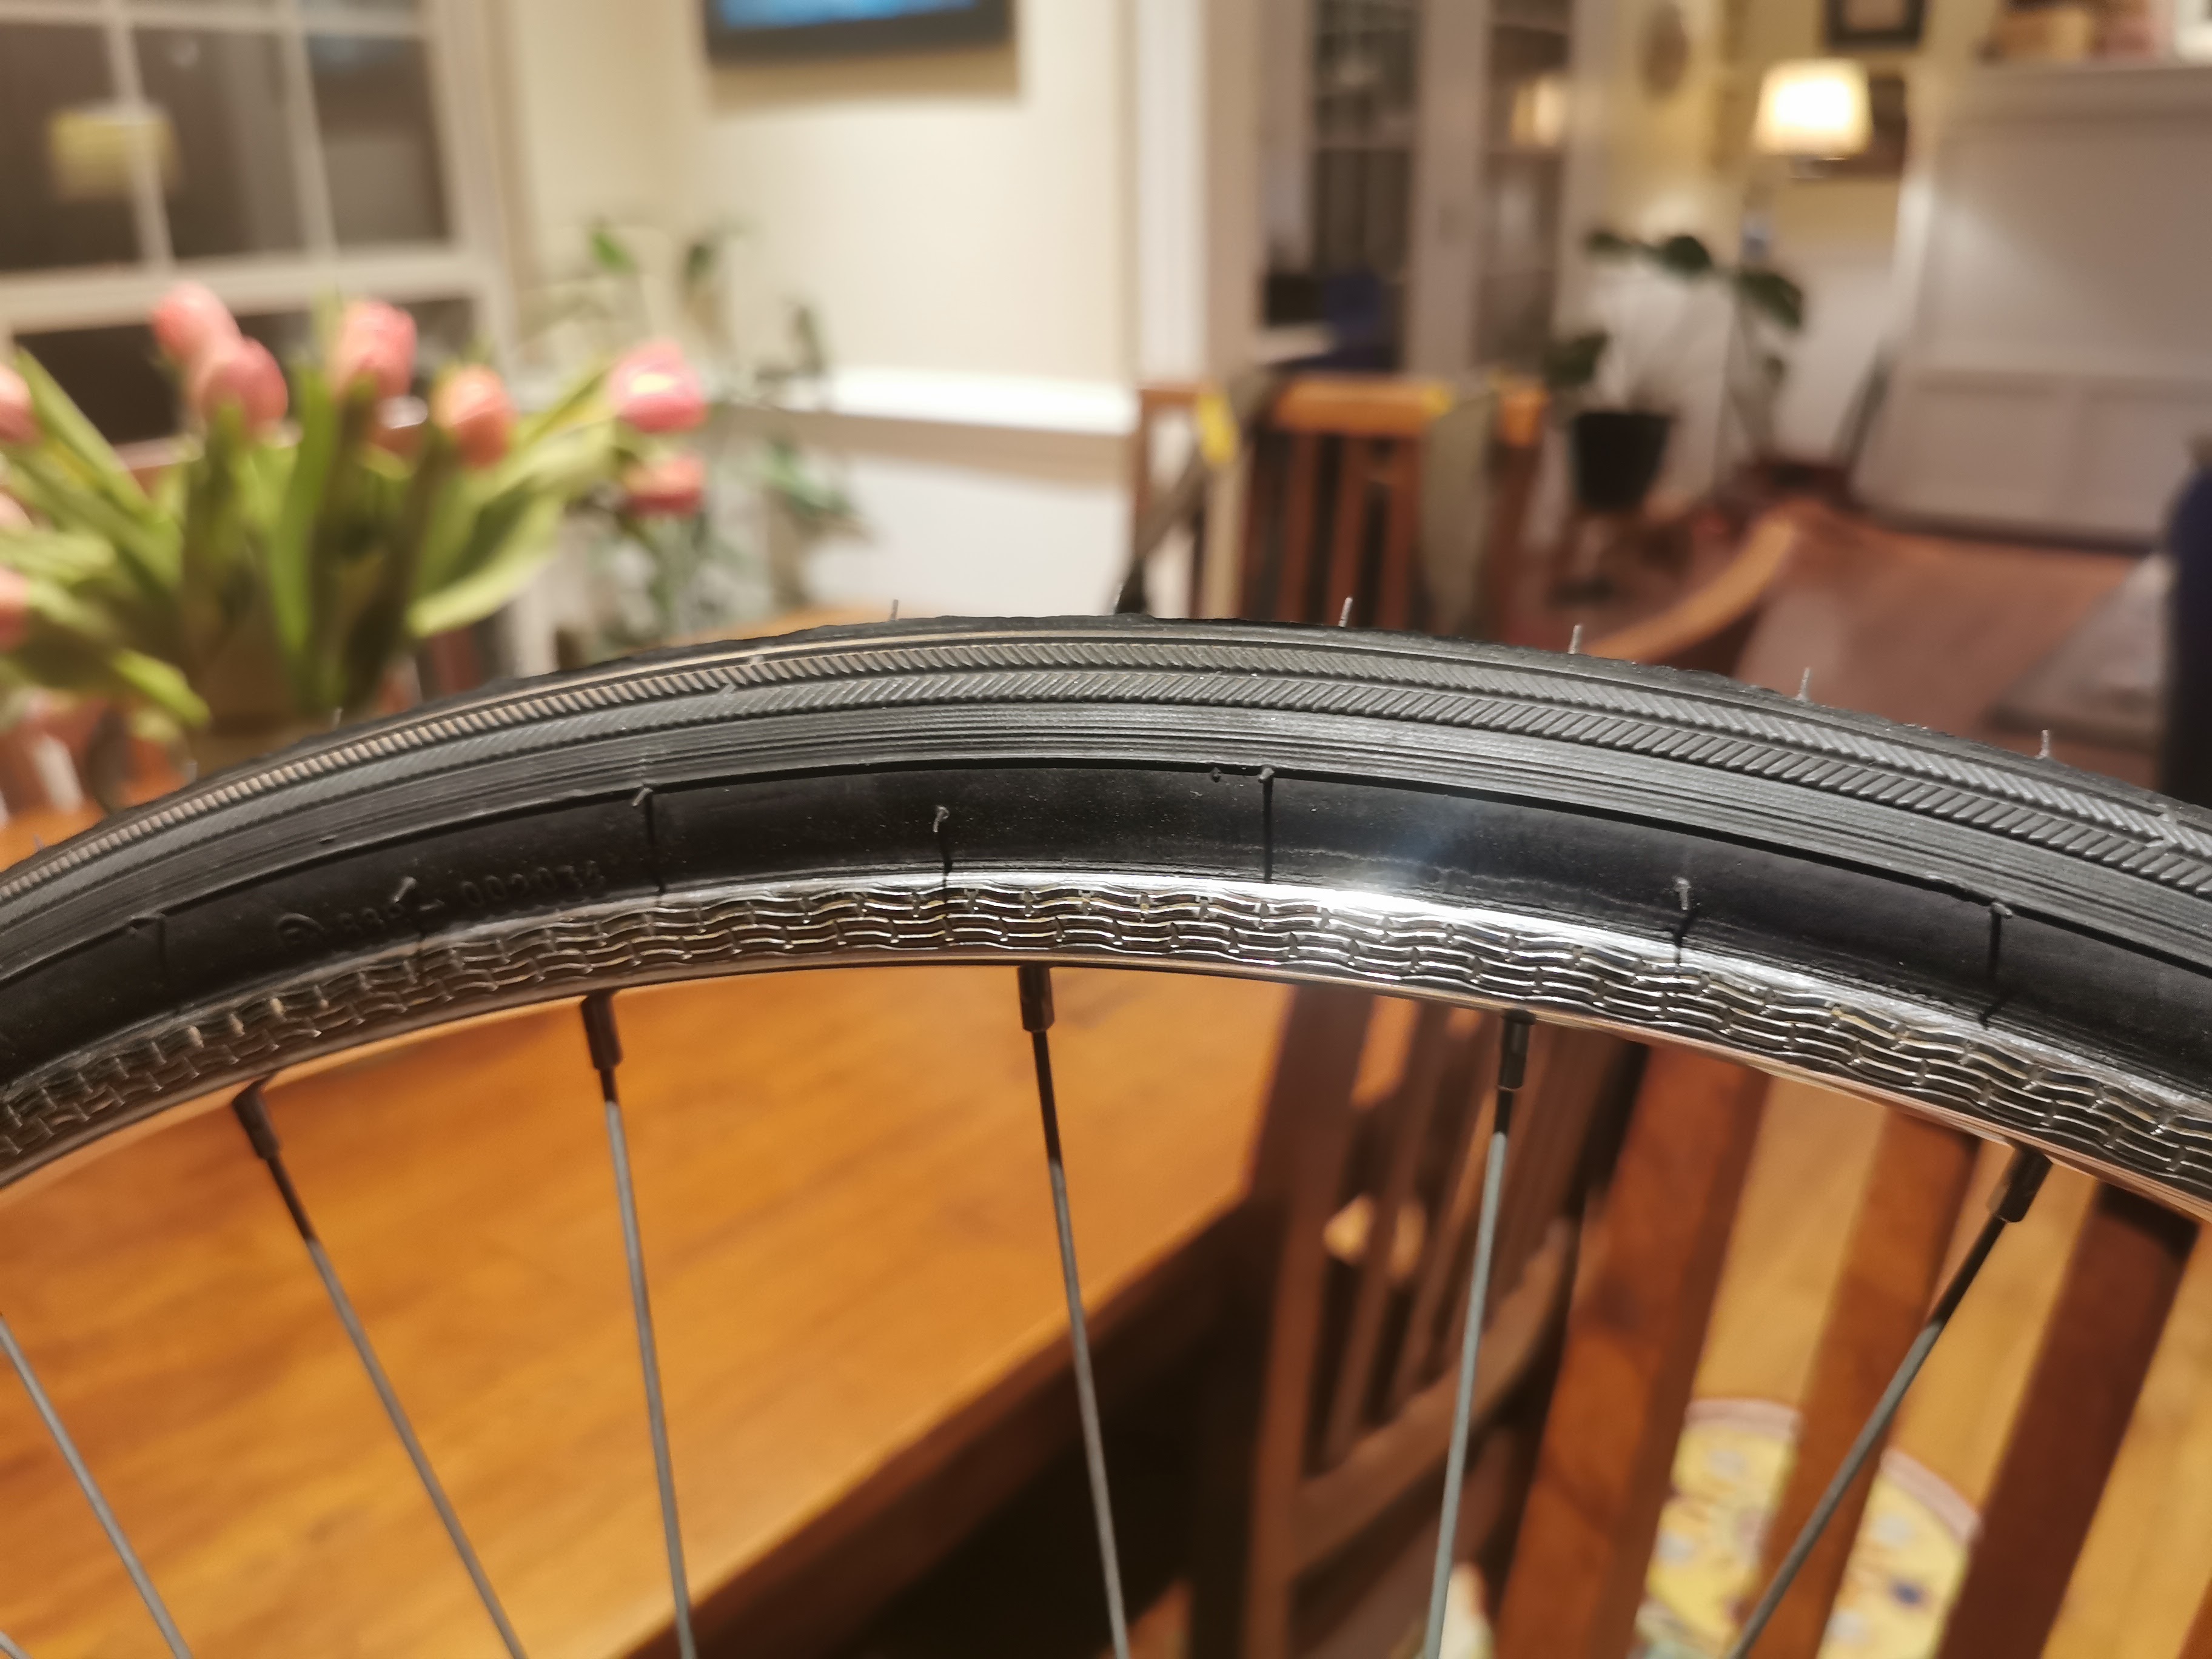
Working on the wheels and tires. Repacked the bearings in the wheels and adjusted the cones. Some before and after pics.


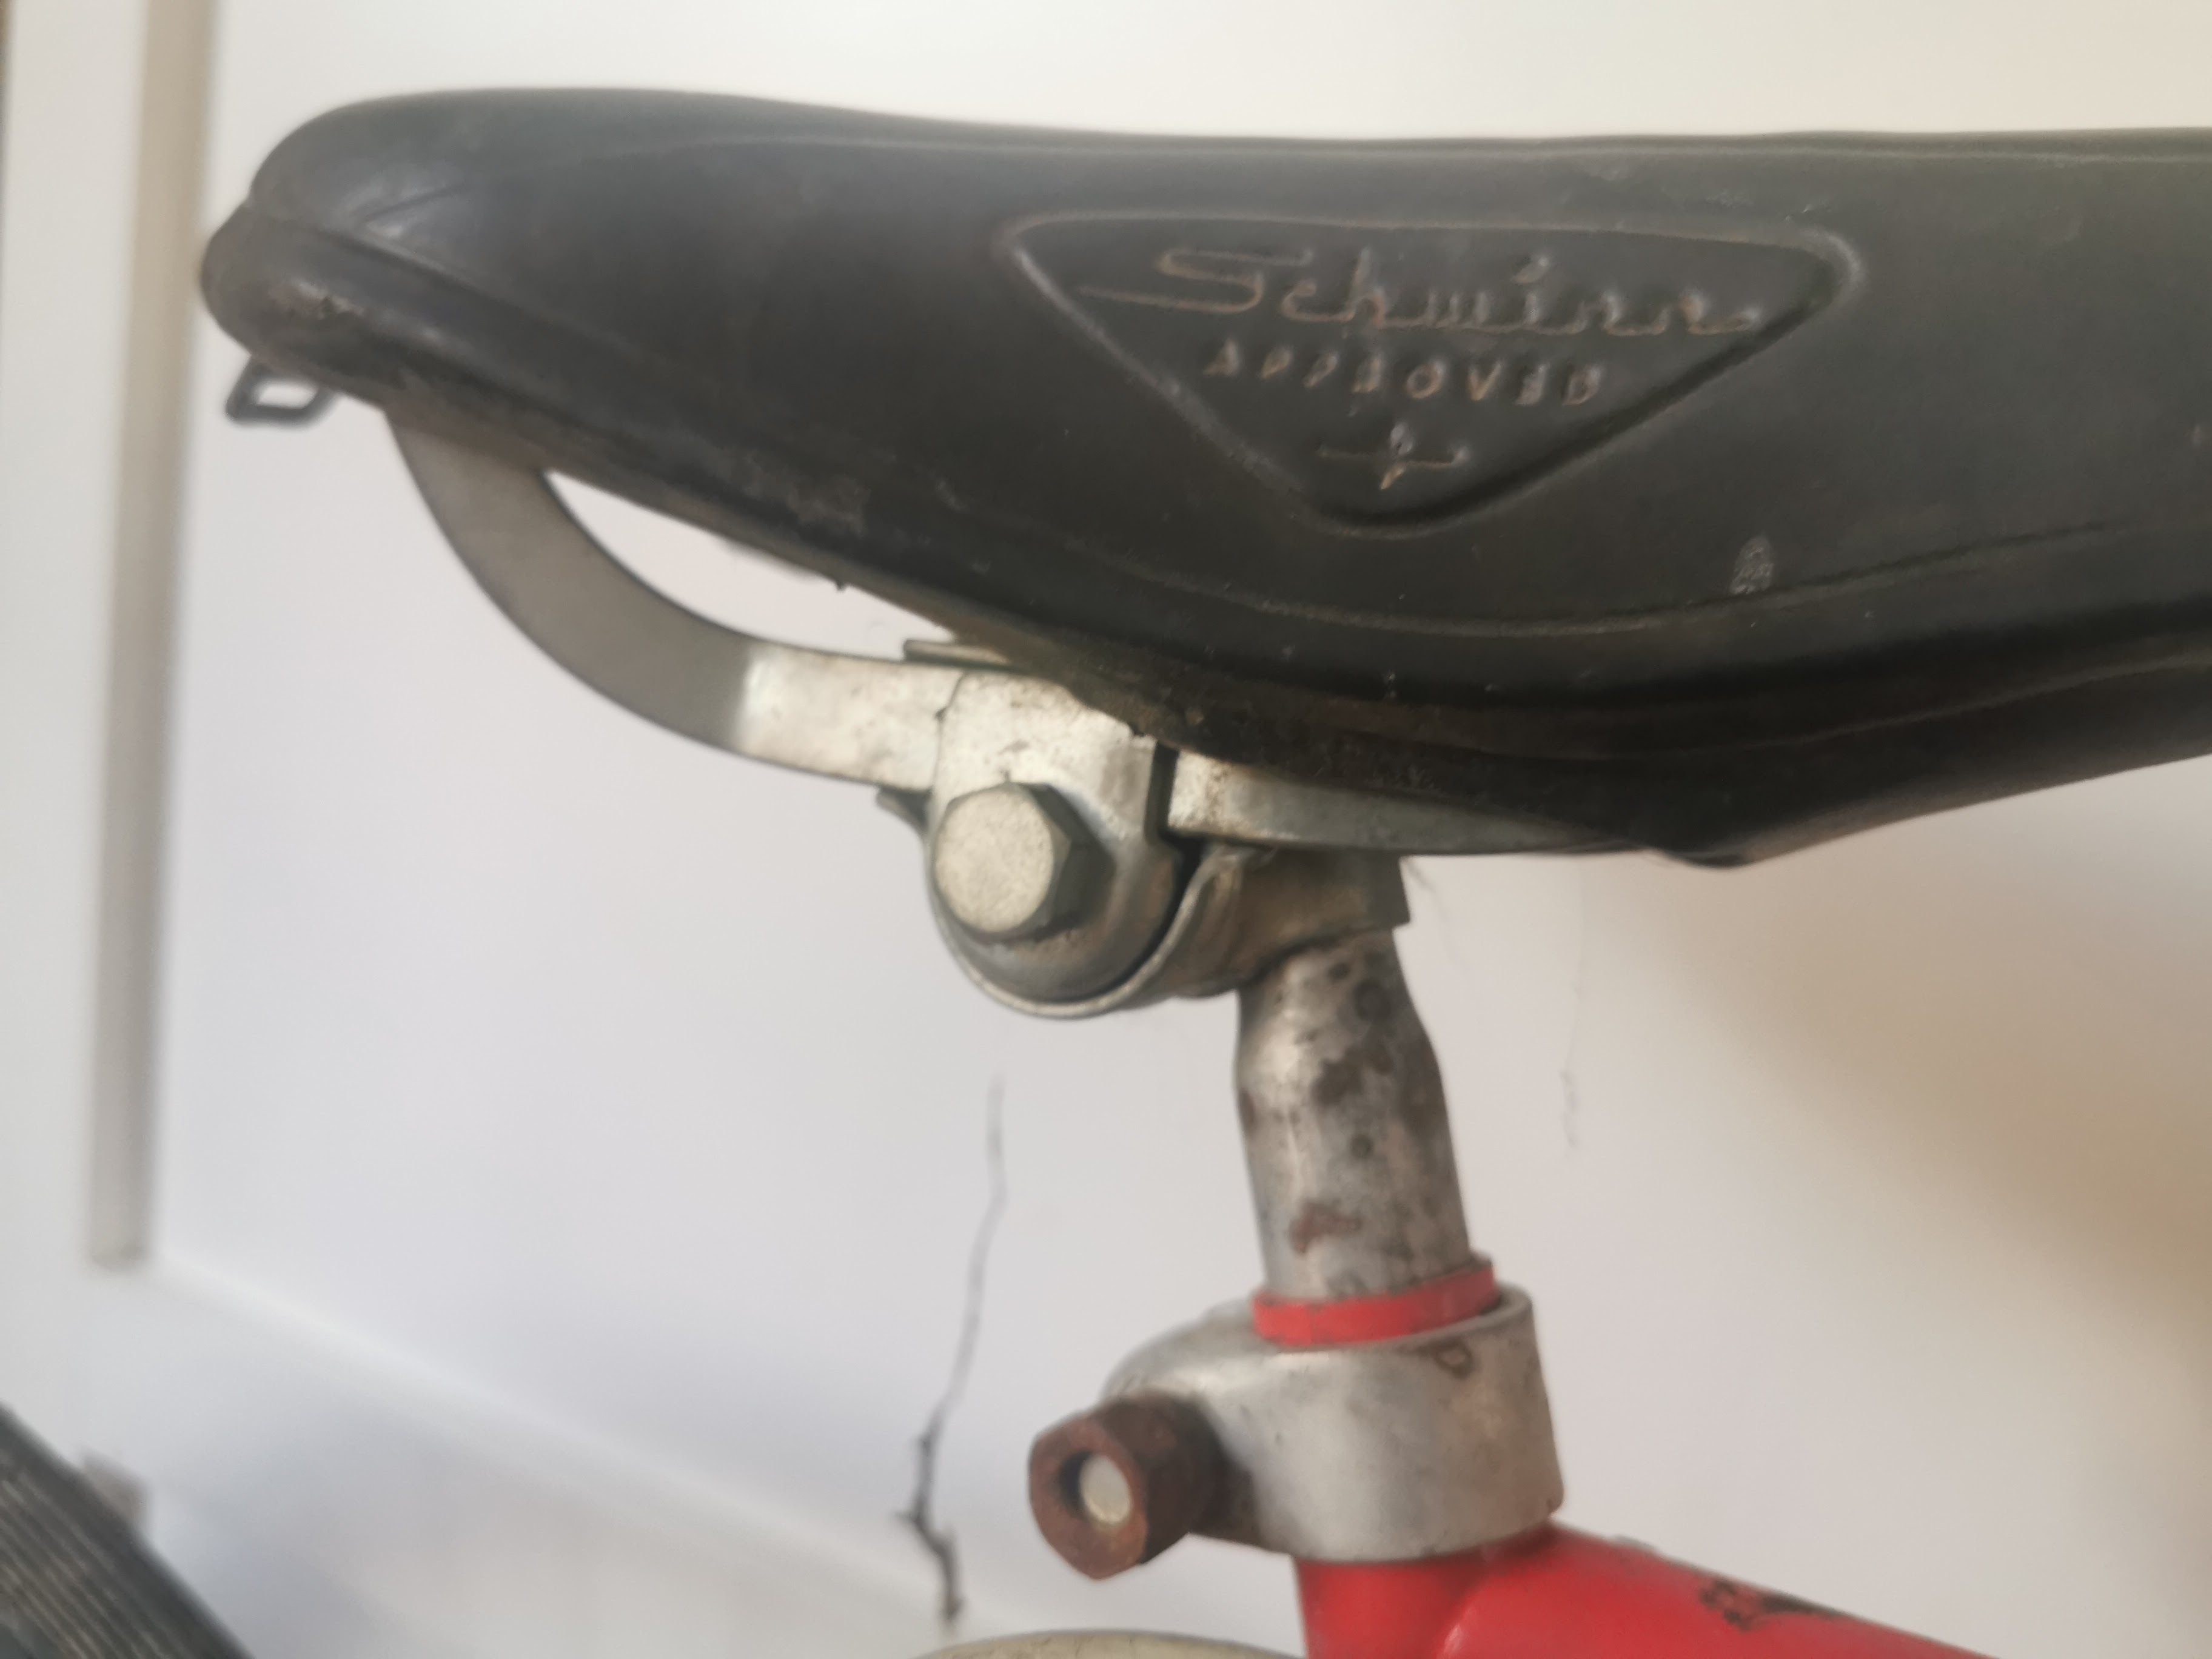
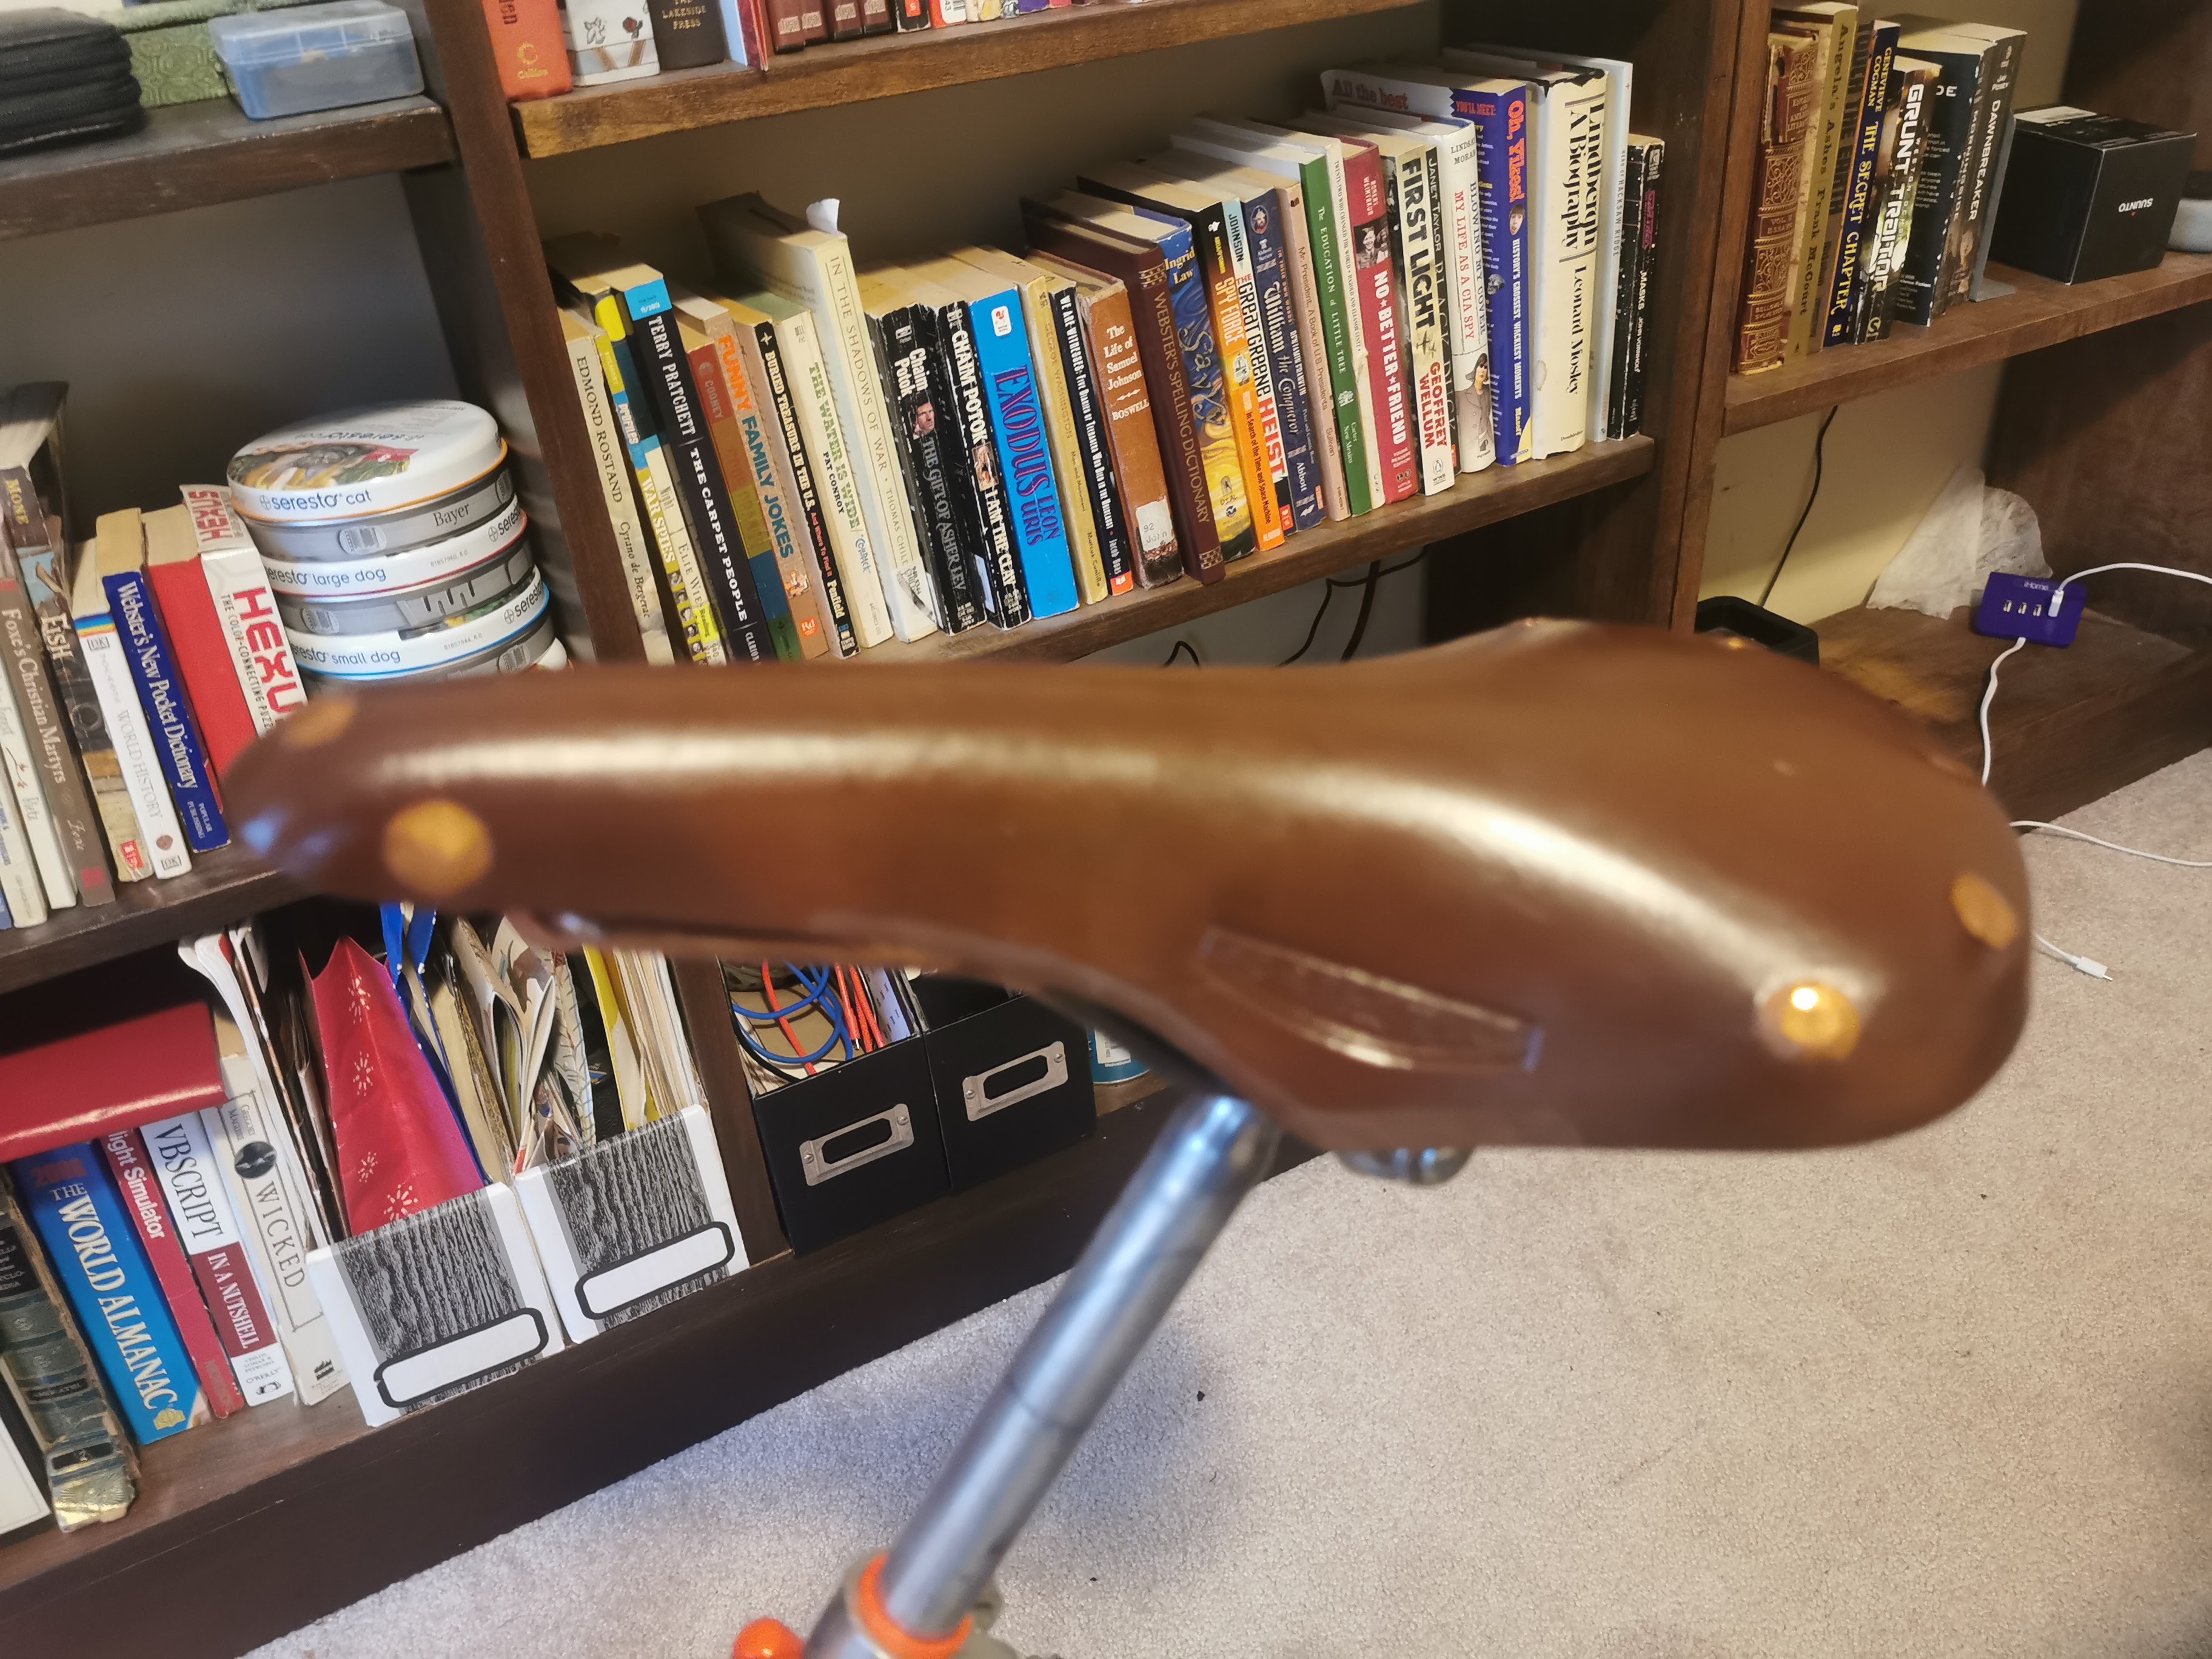
And for the seat, I actually tried to clean up the original seat but it was bent underneath, making it look like a banana if I am looking down at it from over the bike. I considered getting another black seat but wanted to go with brown, and also considered going with a more expensive Brooks saddle, but settled for a Persons saddle – new, old stock – for about half the cost of a Brooks saddle.


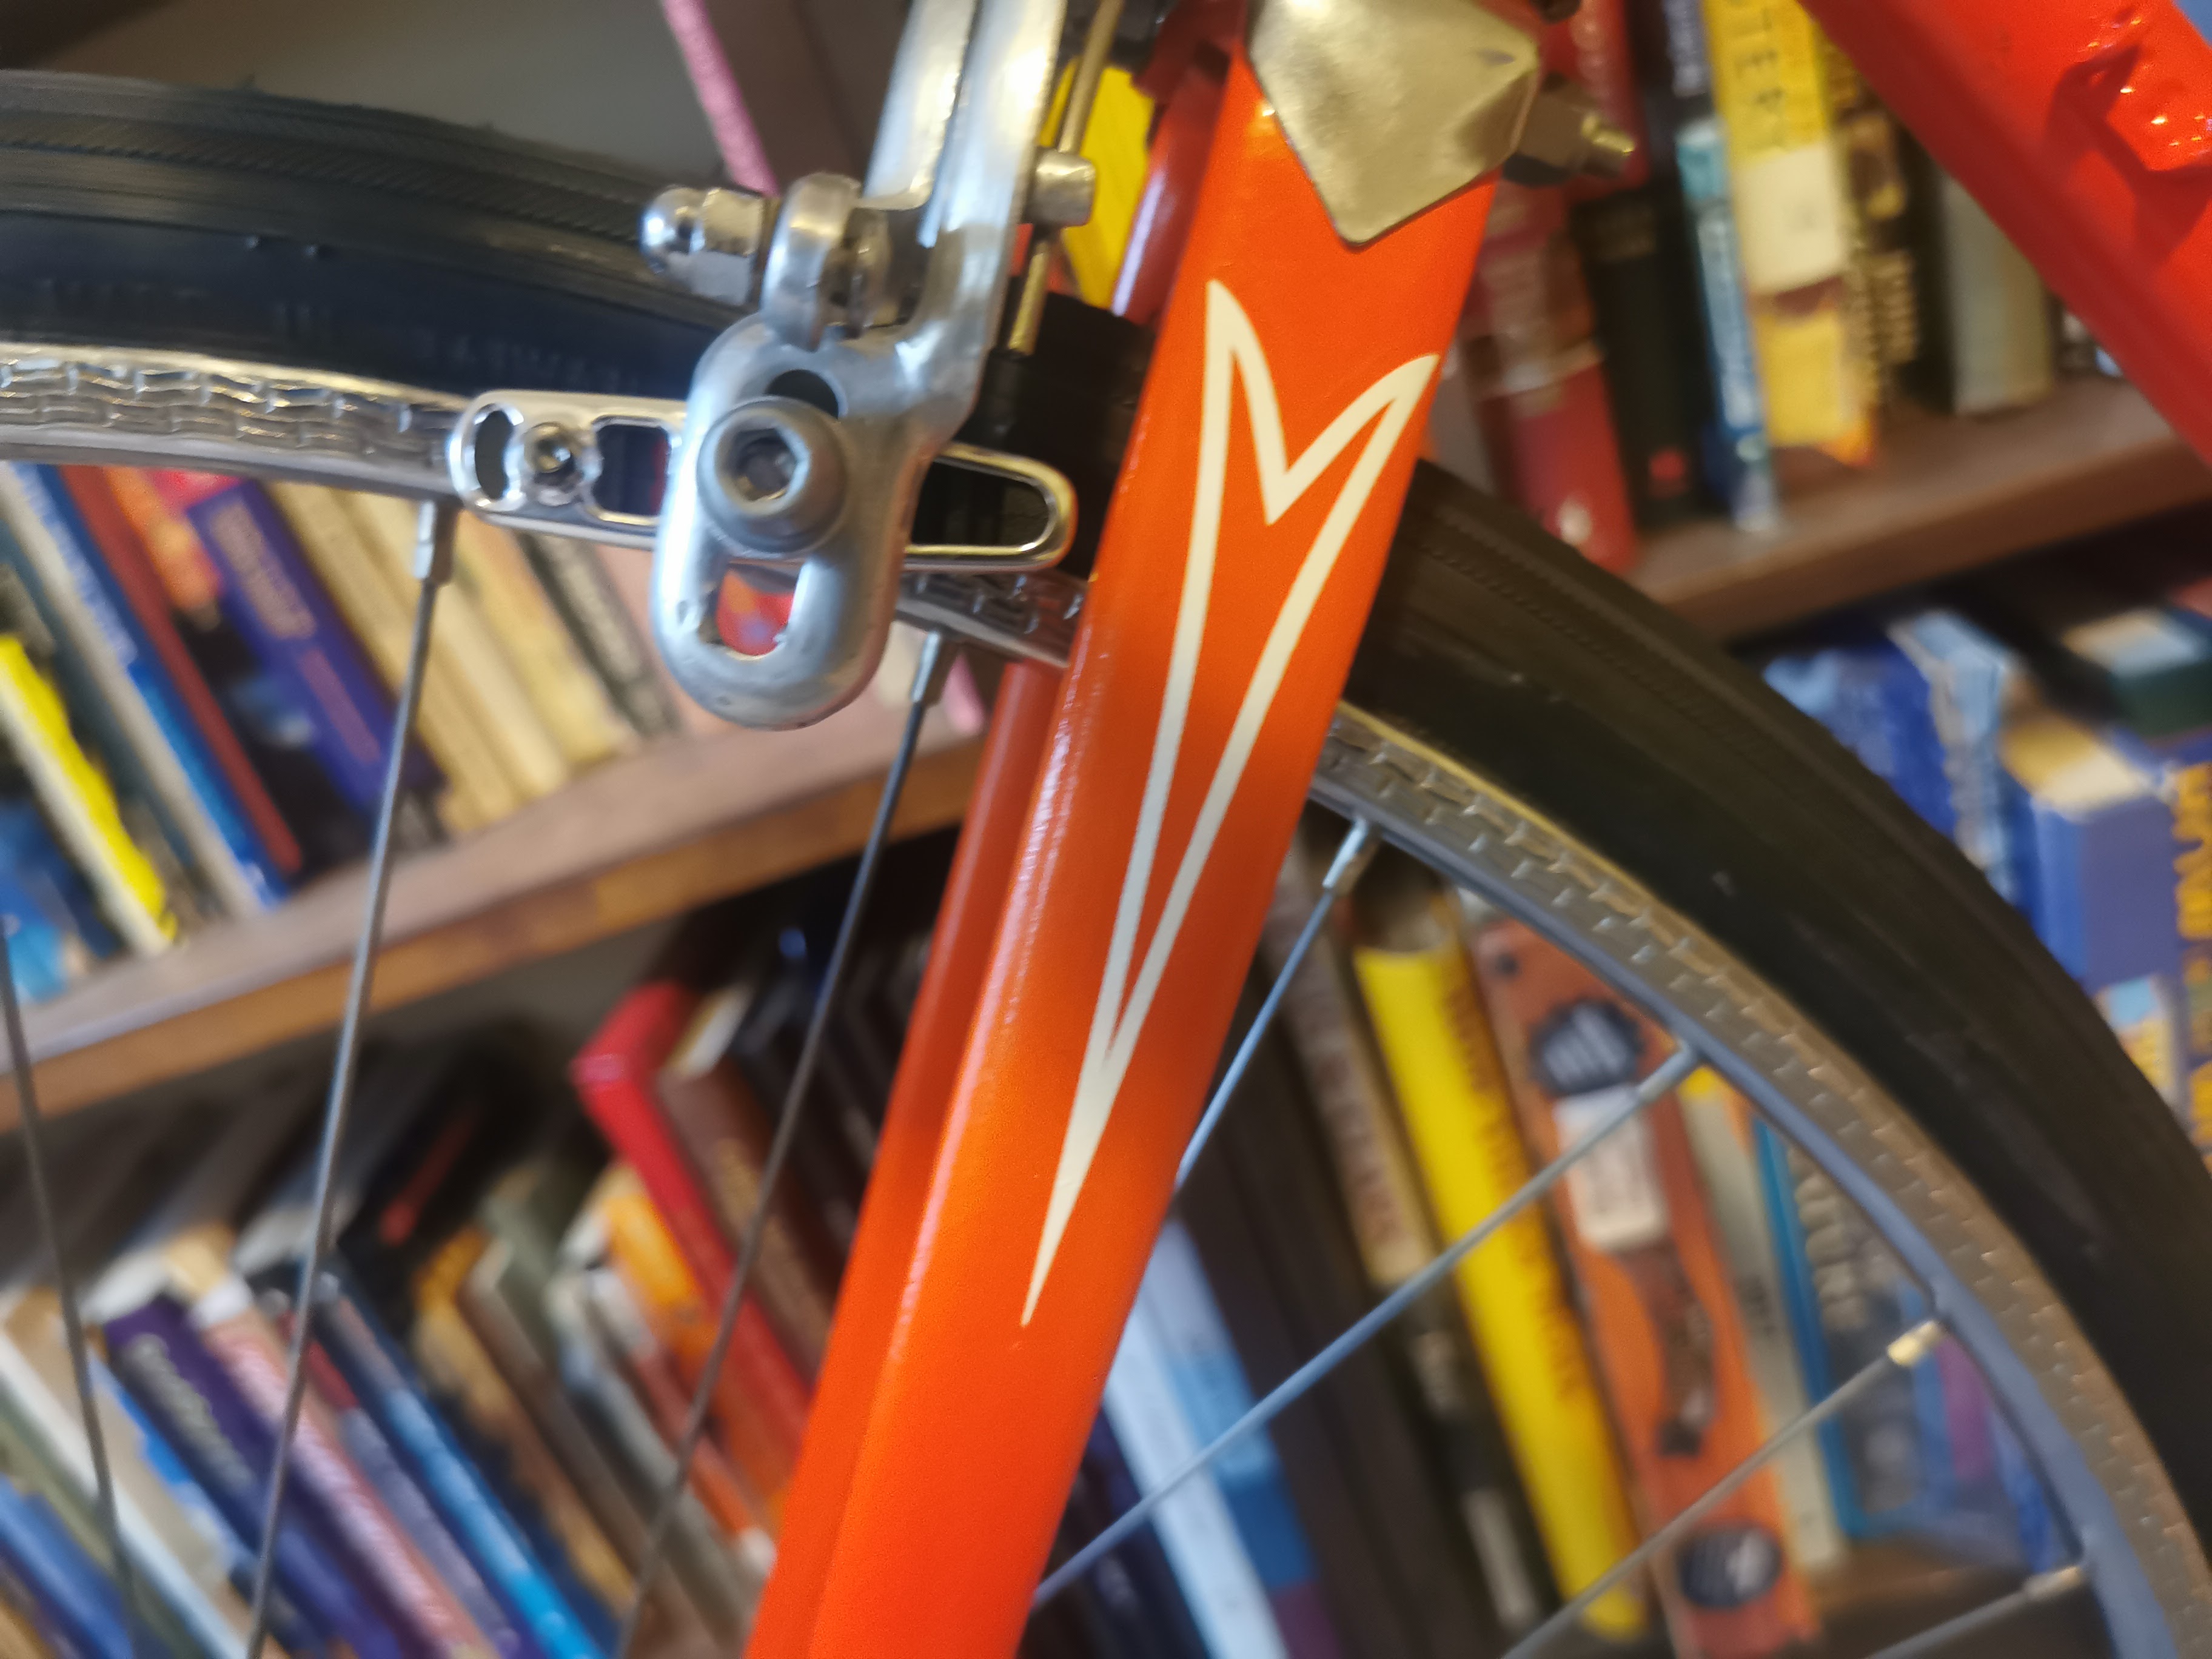
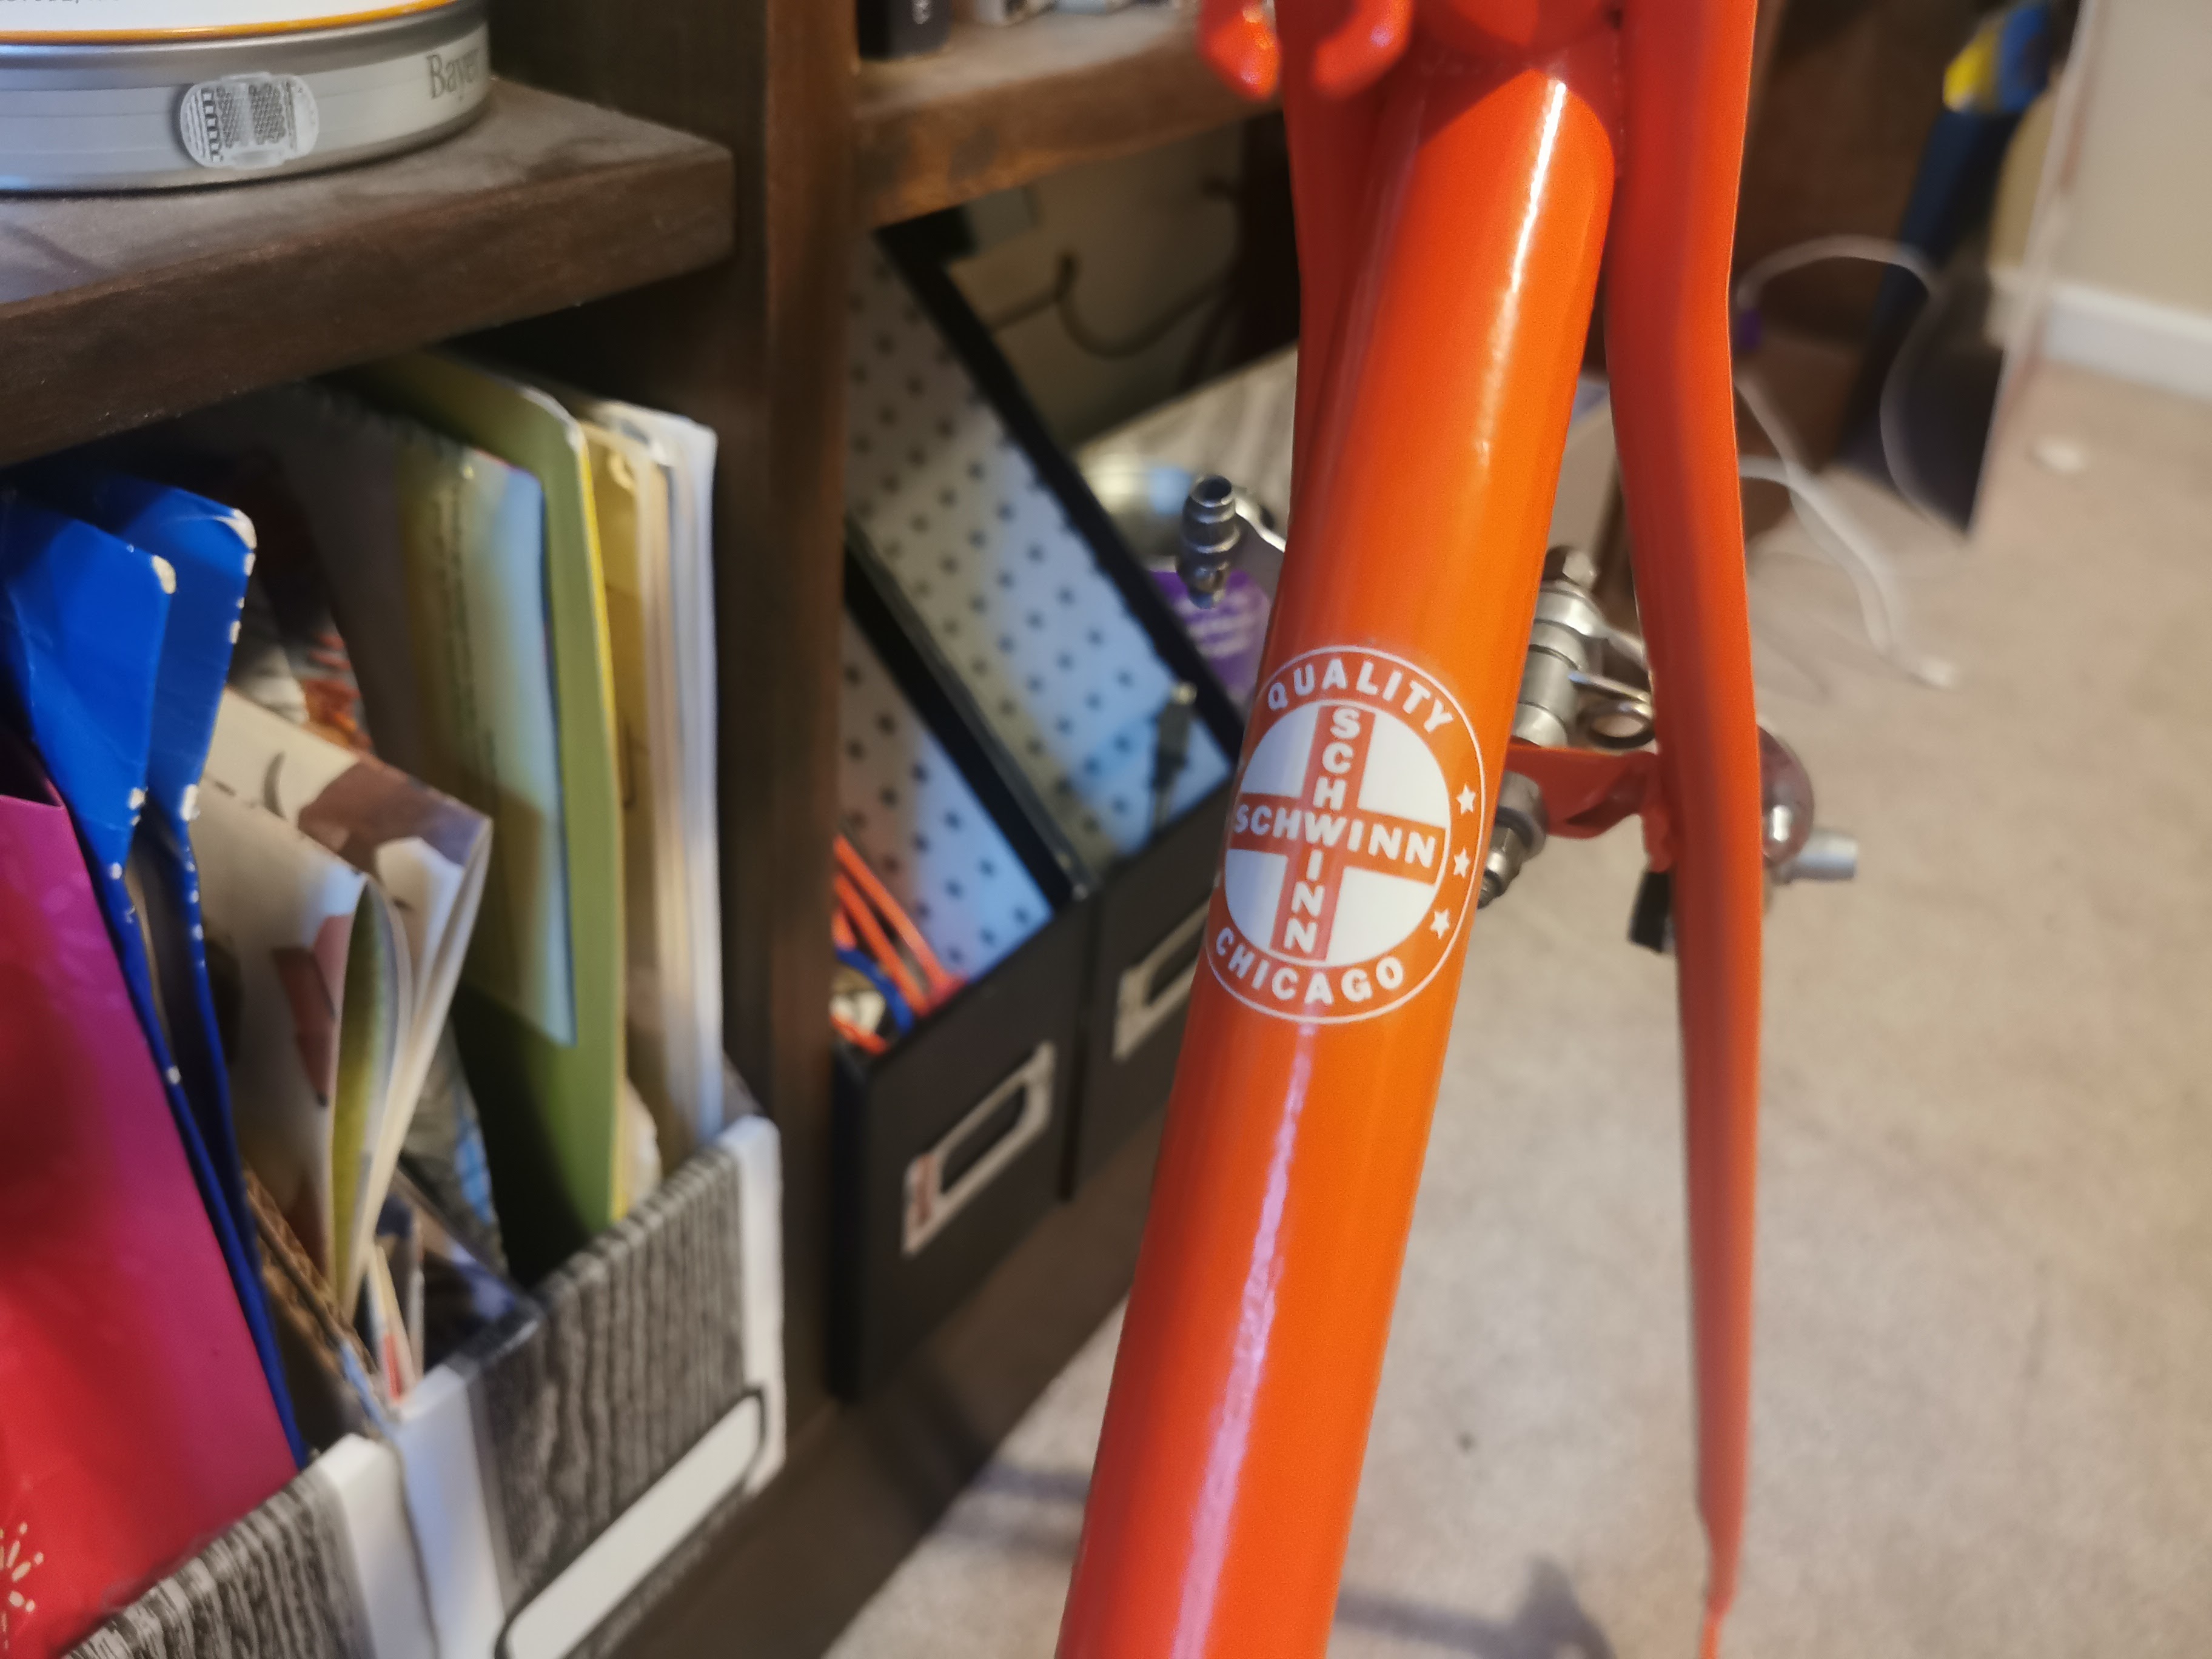
Replaced the decals… these are the best pics I got of the old ones. And below that, the new ones. Got them on eBay. They are water decals, the appropriate kind for fixie restoration projects.


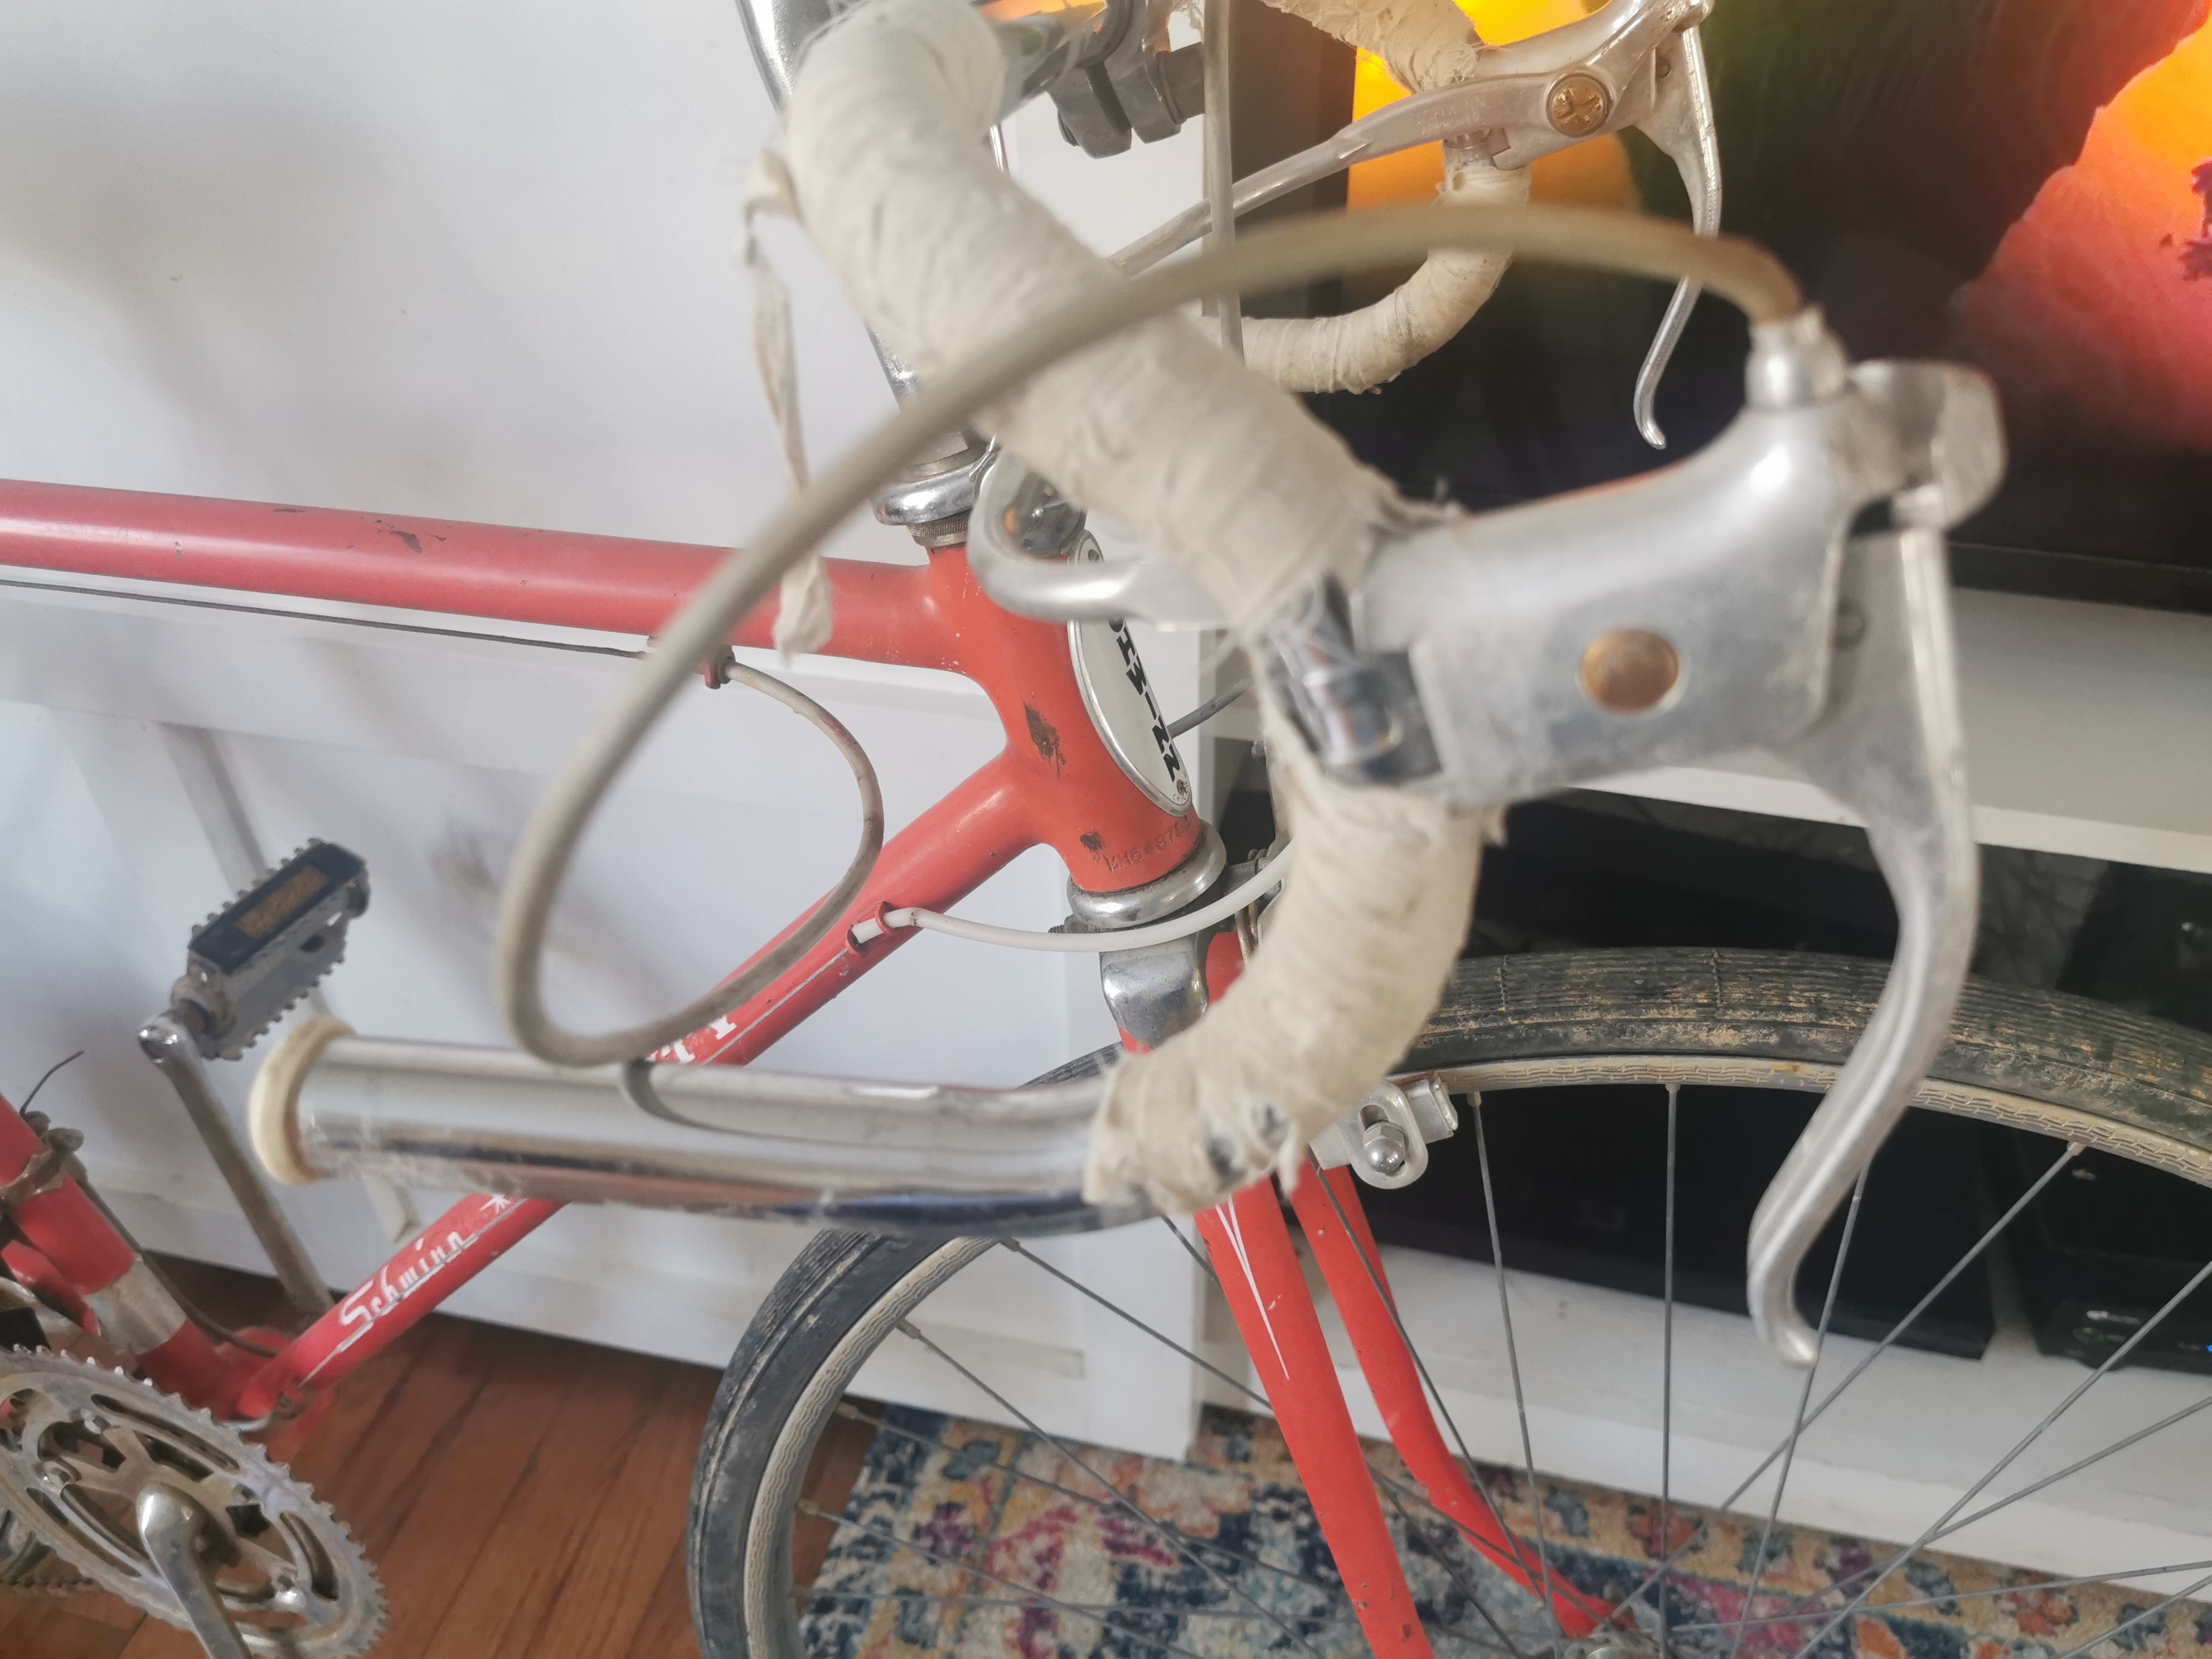
And handlebar tape. I didn’t want the white cloth tape since I’m actually planning to ride this. Wanted something softer. So I got Brooks tape, but used the original bar plugs. Doesn’t look as good as the Brooks plugs, but it stays with the original. Below is before and after.


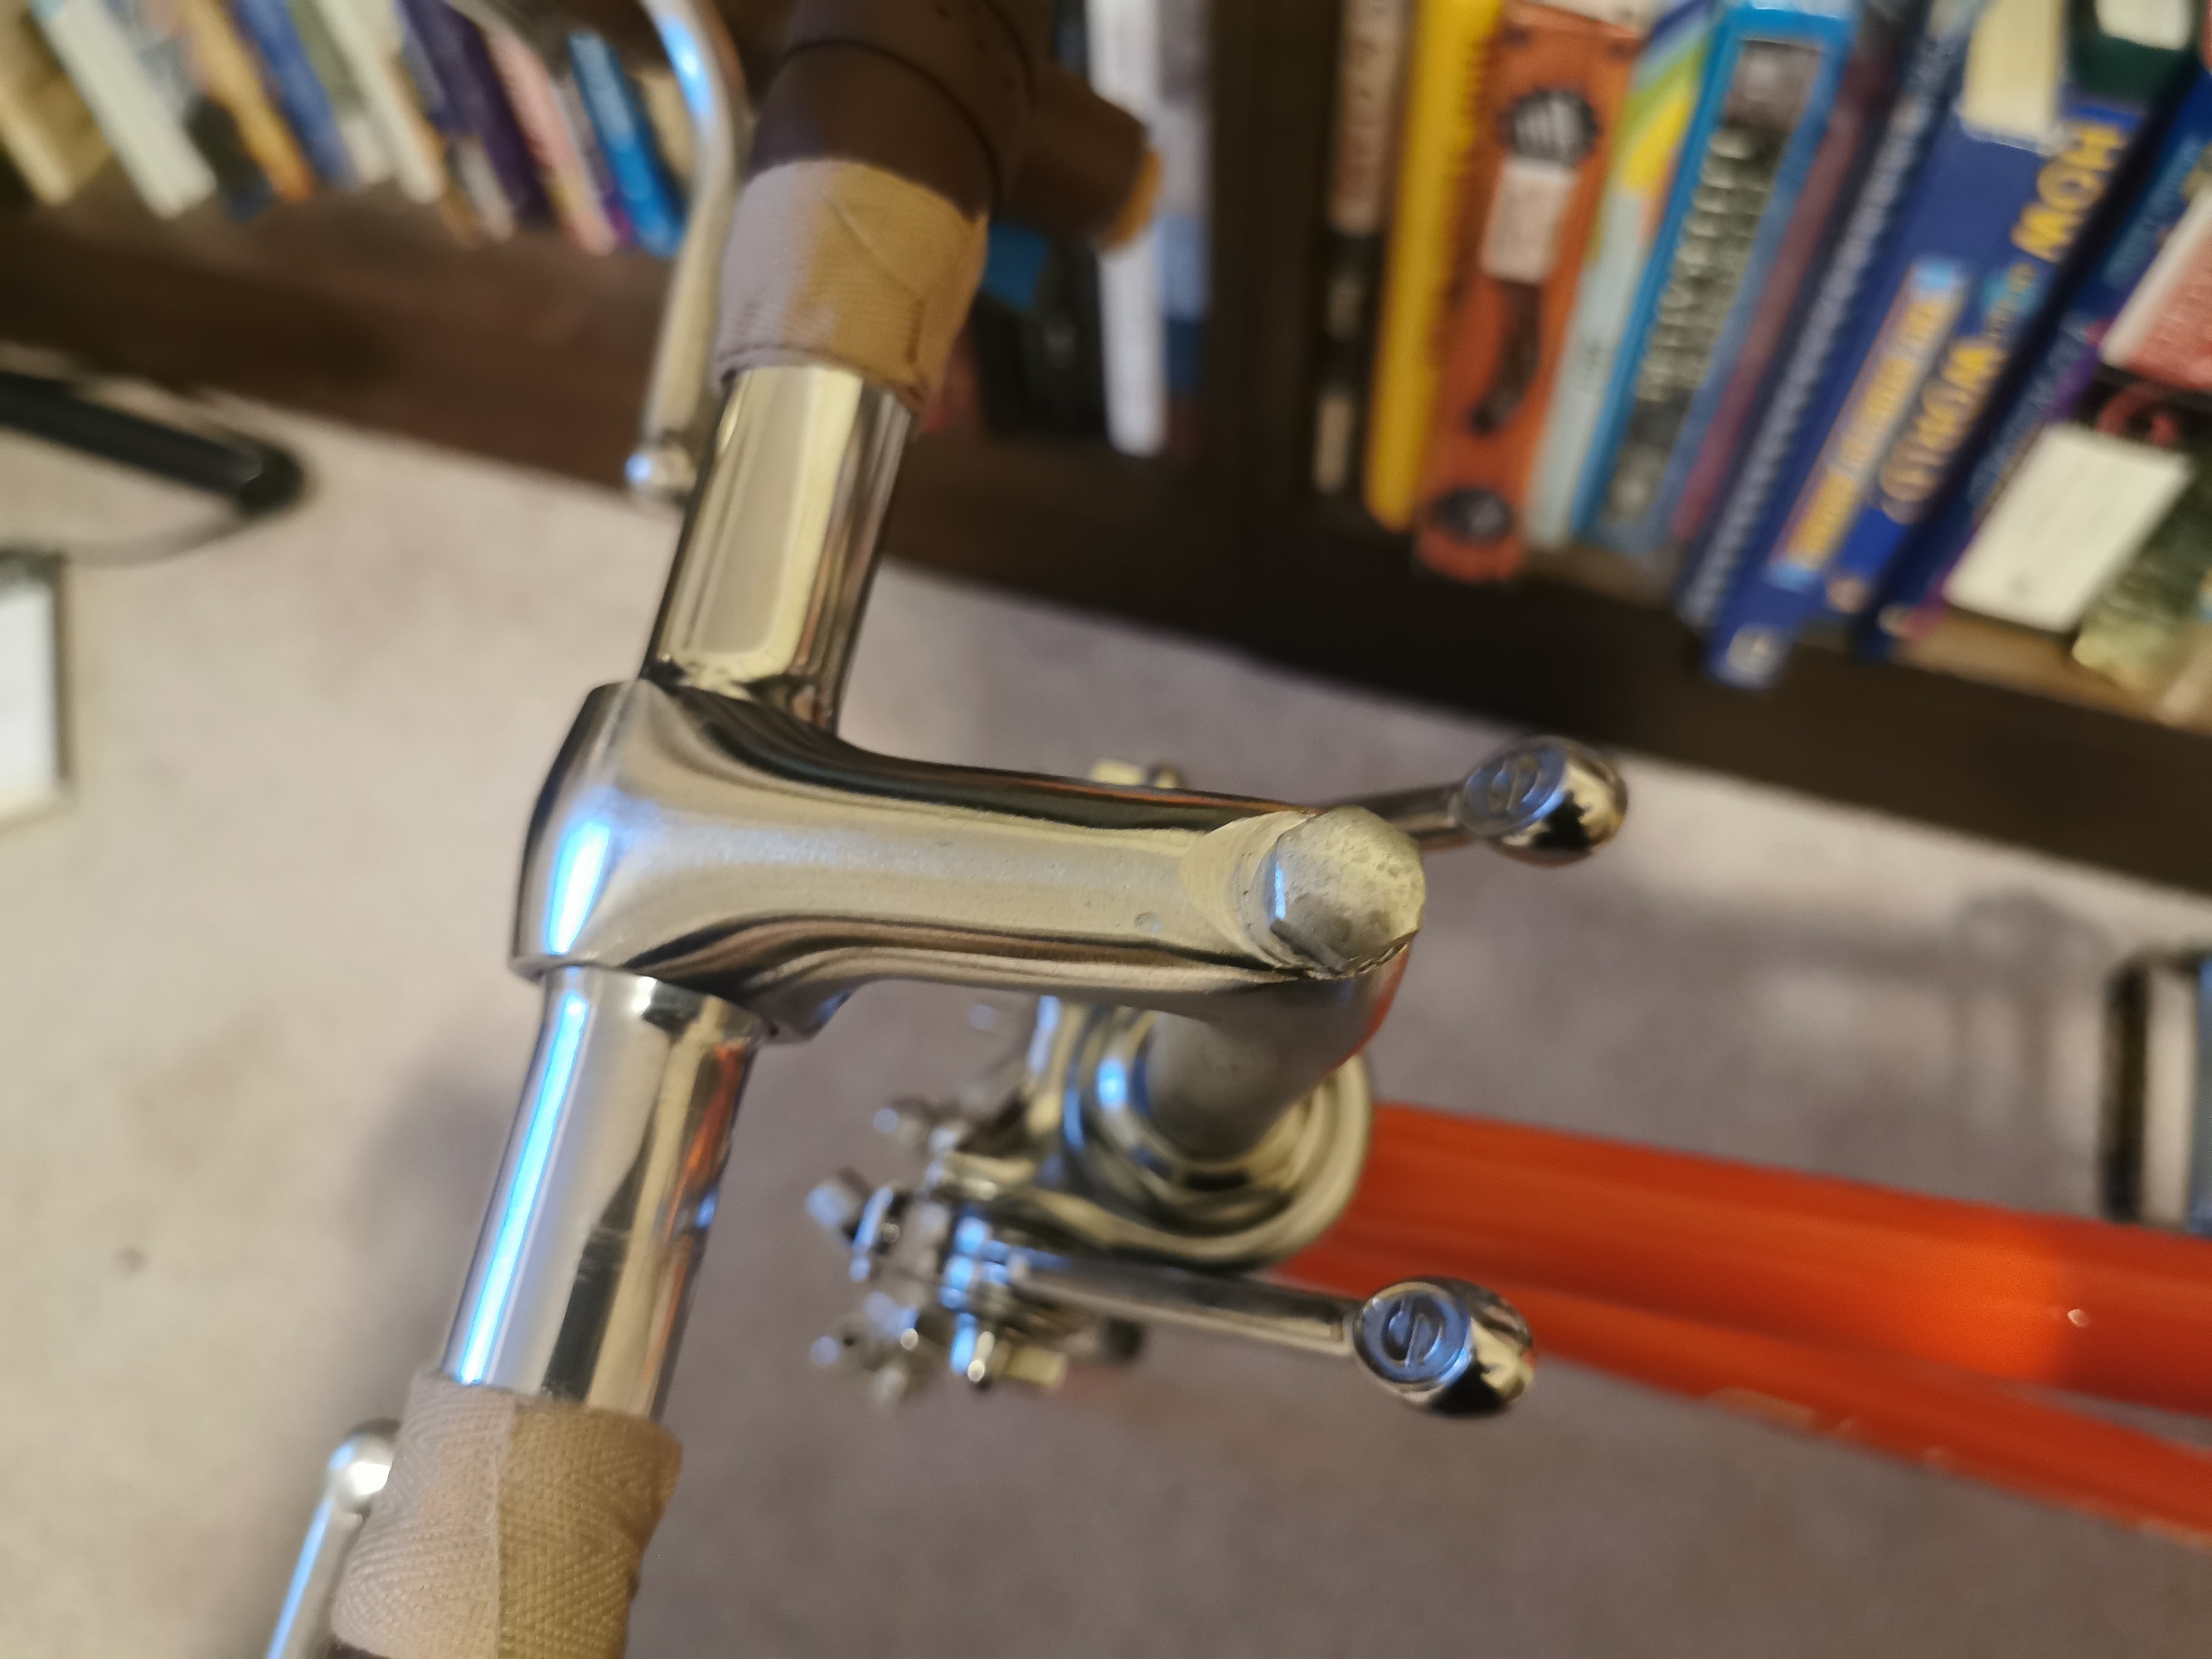
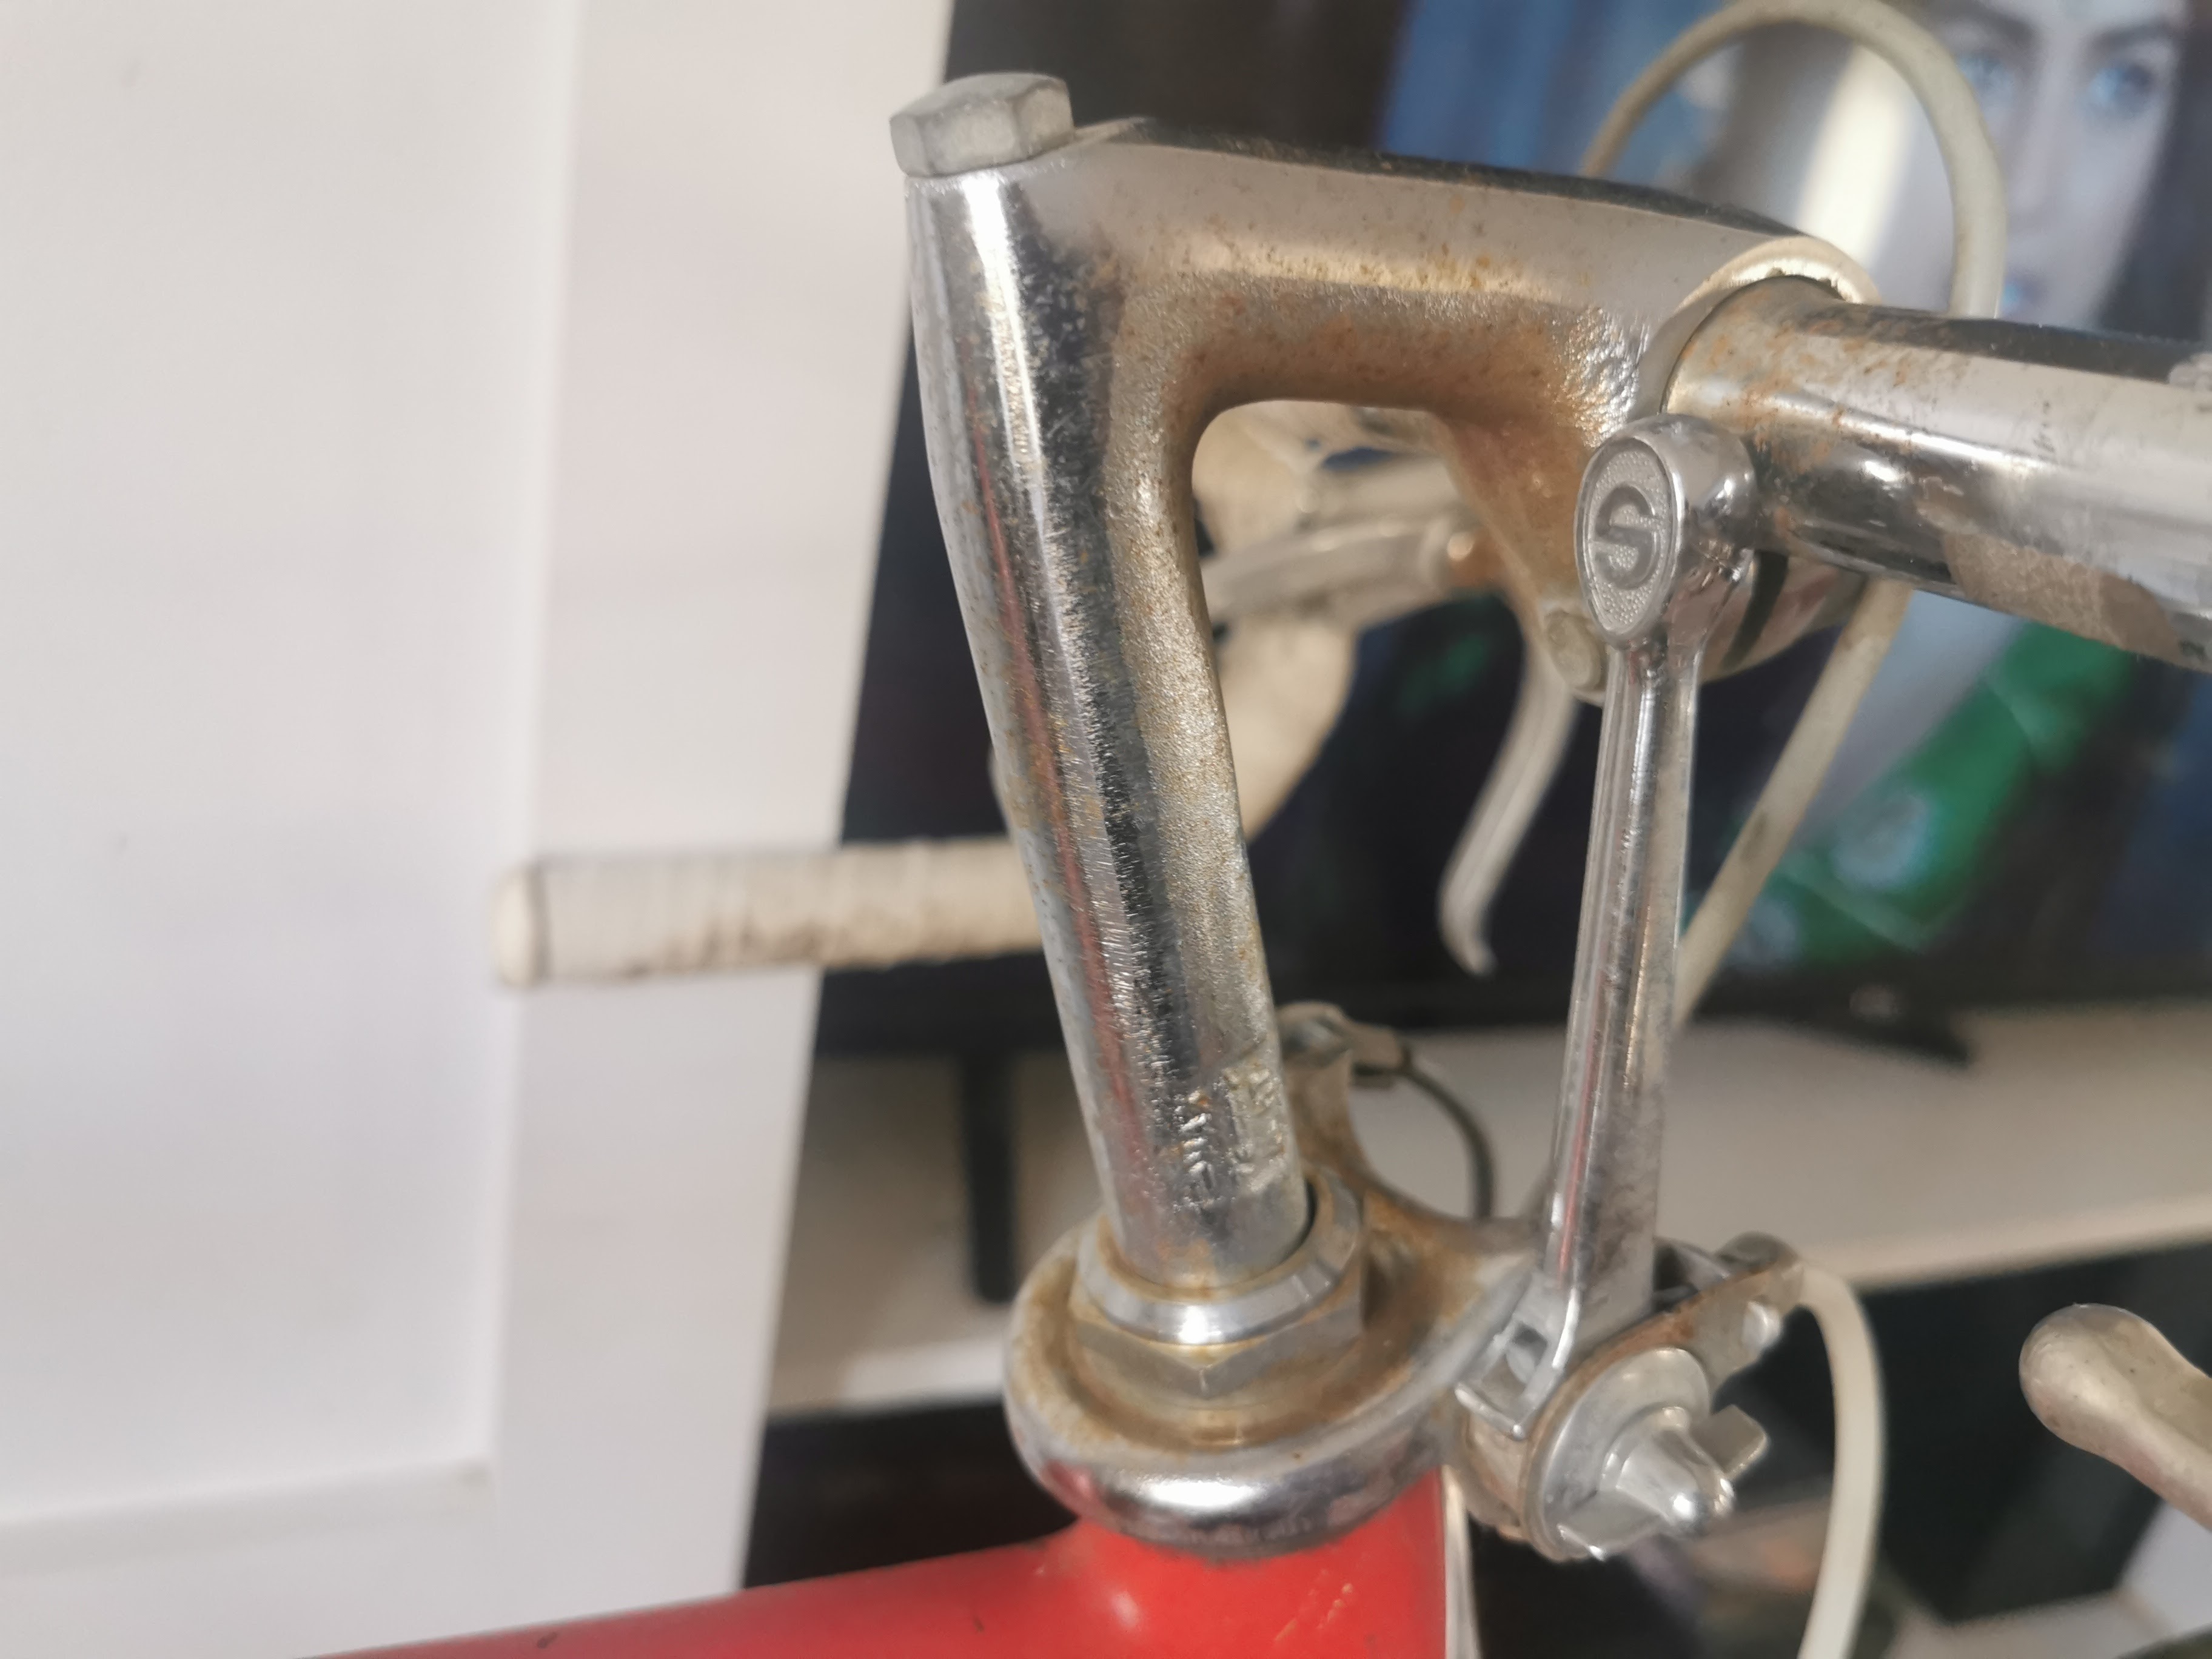
And the handlebar stem cleaned up nicely as well. Before and after.


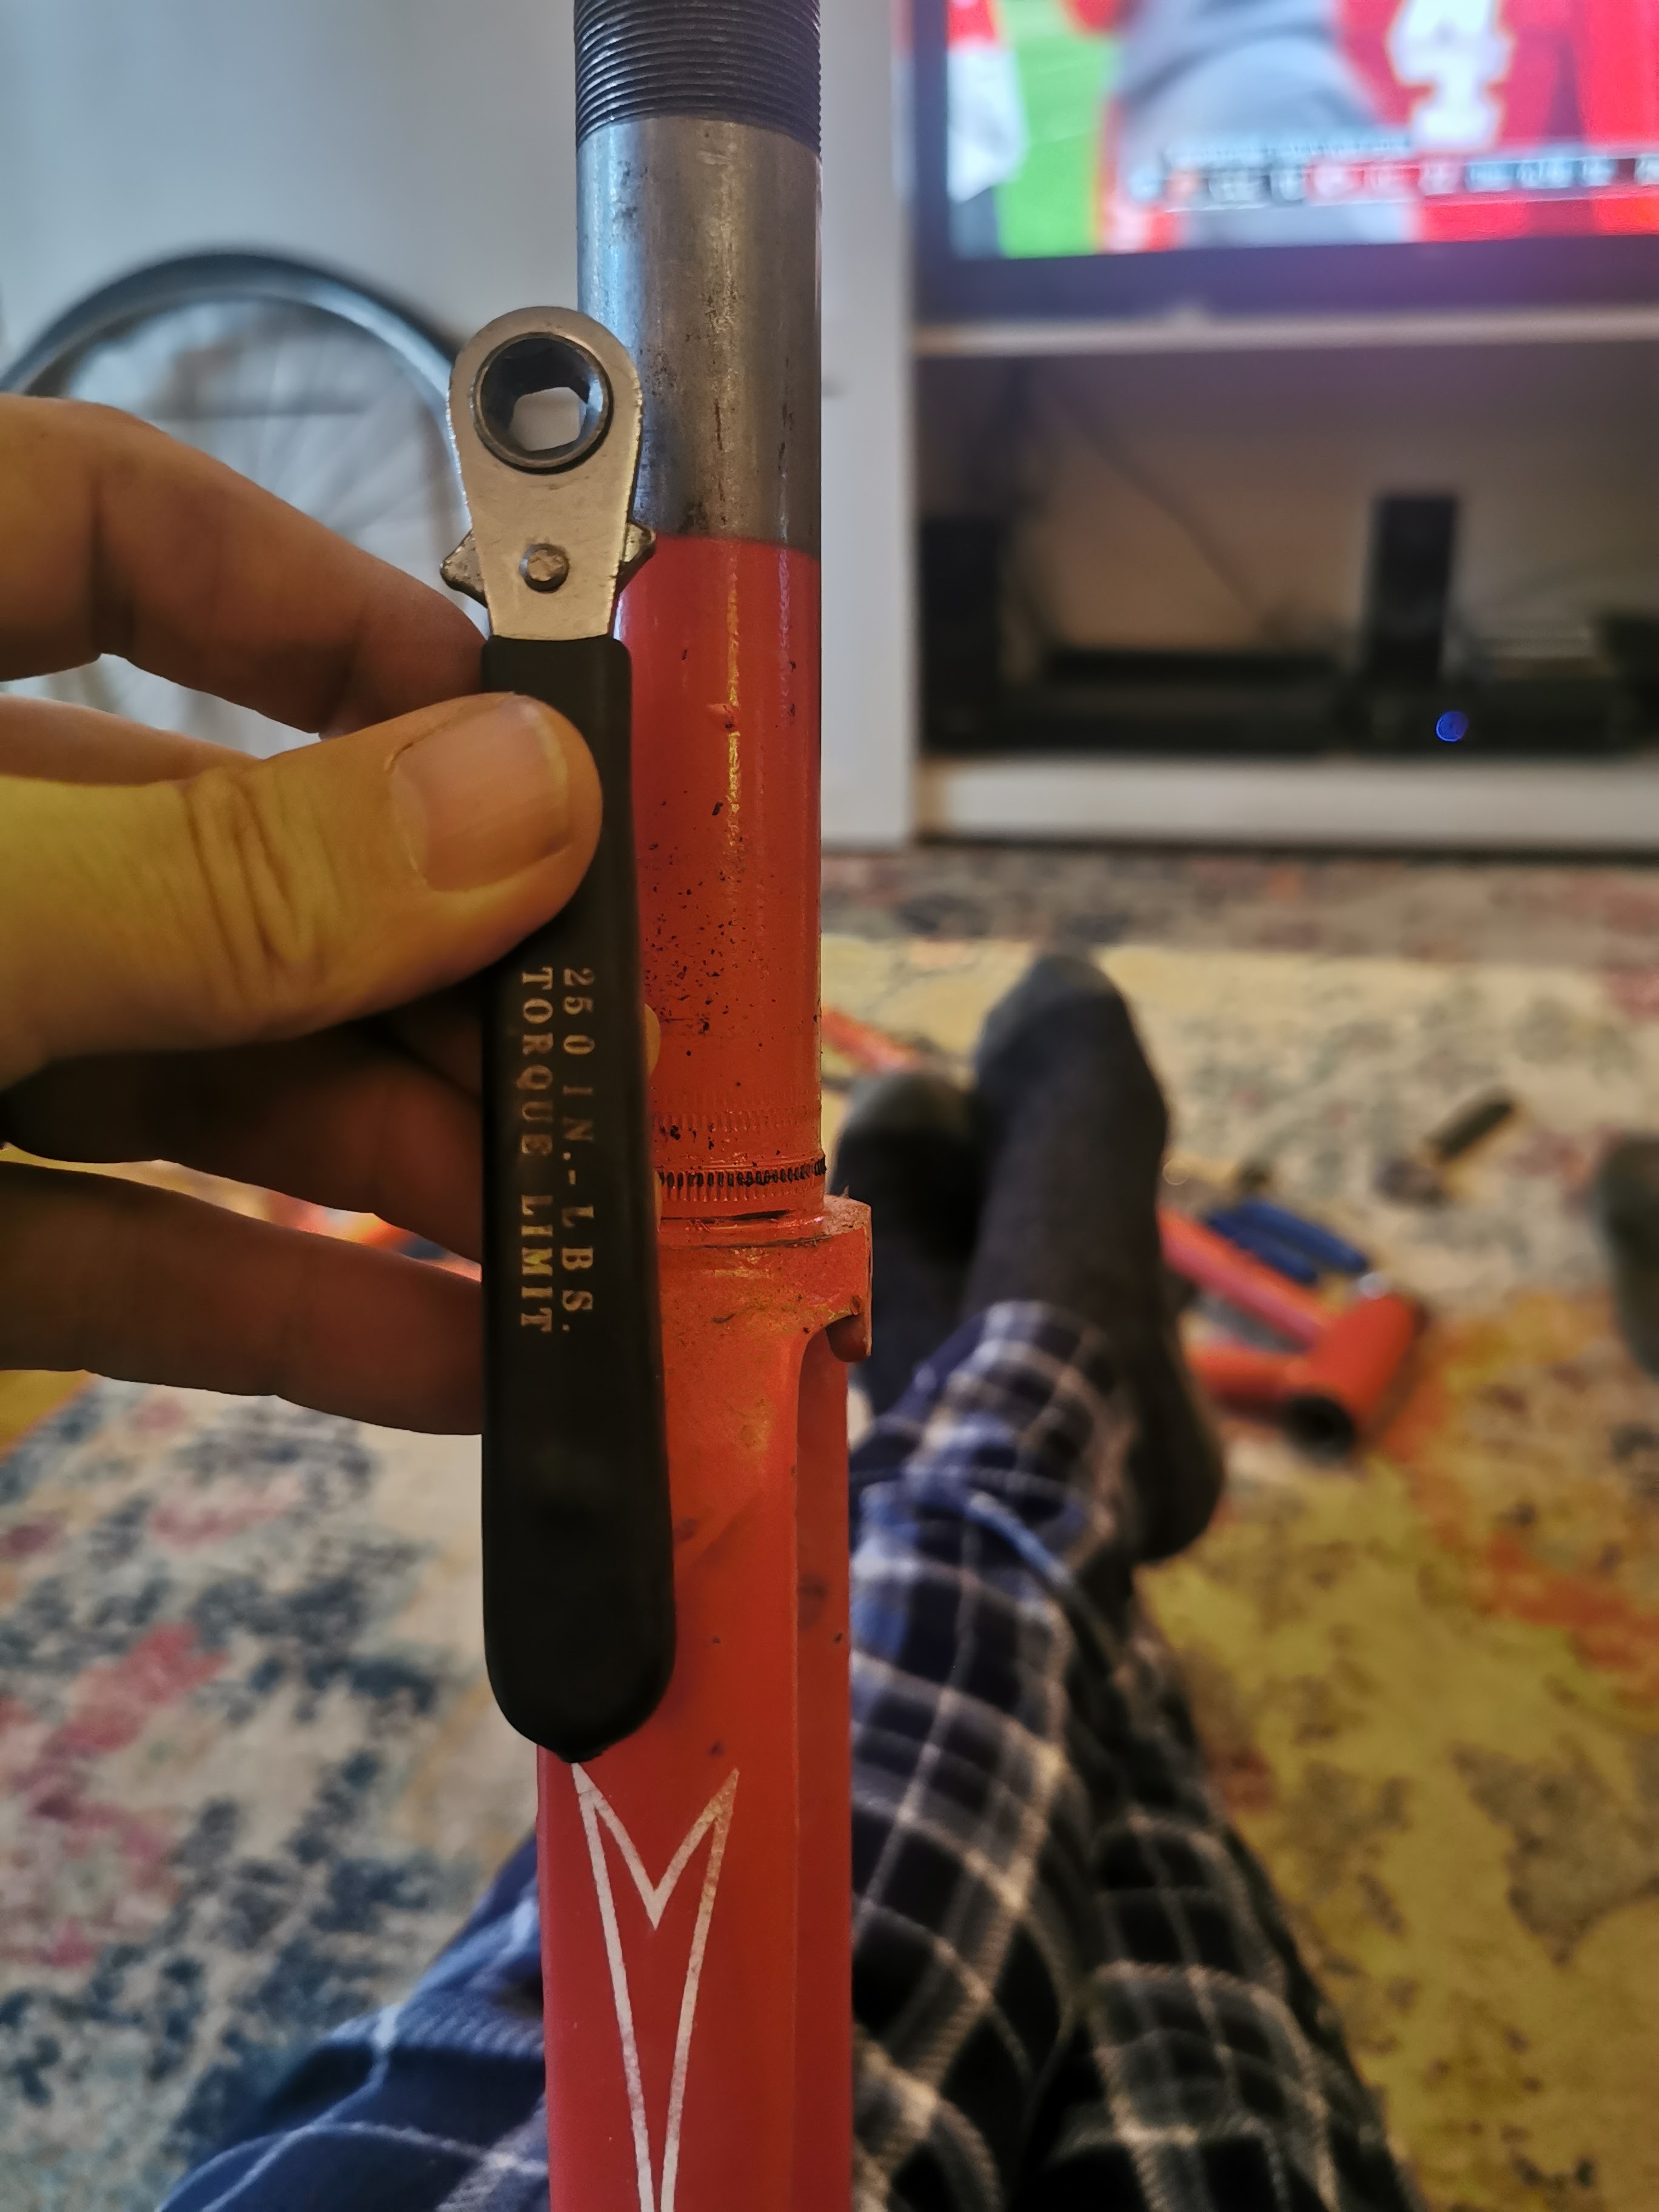
At this point the Varsity is just waiting for cables and the rear tire. I had to wait for about three weeks for a tool to arrive from Greece so I can take the rear flywheel off. And then I’ll take it to the LBS to get it trued. Then I’ll clean it, pack it, and it will be ready to go. Cables are on the way. But here are some pics of the progress TD.